Using Payment Links+
Topics covered on this page
Payment Links+
How to Subscribe to Payment Links+
First-Time Setup for Store Managers
Complete the following steps after logging in to the Merchant Dashboard for the first time.
- Log in to the Merchant Dashboard.
- Go to App Center on the left navigation menu.
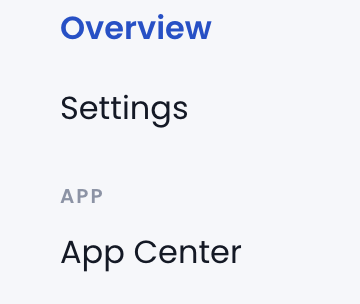
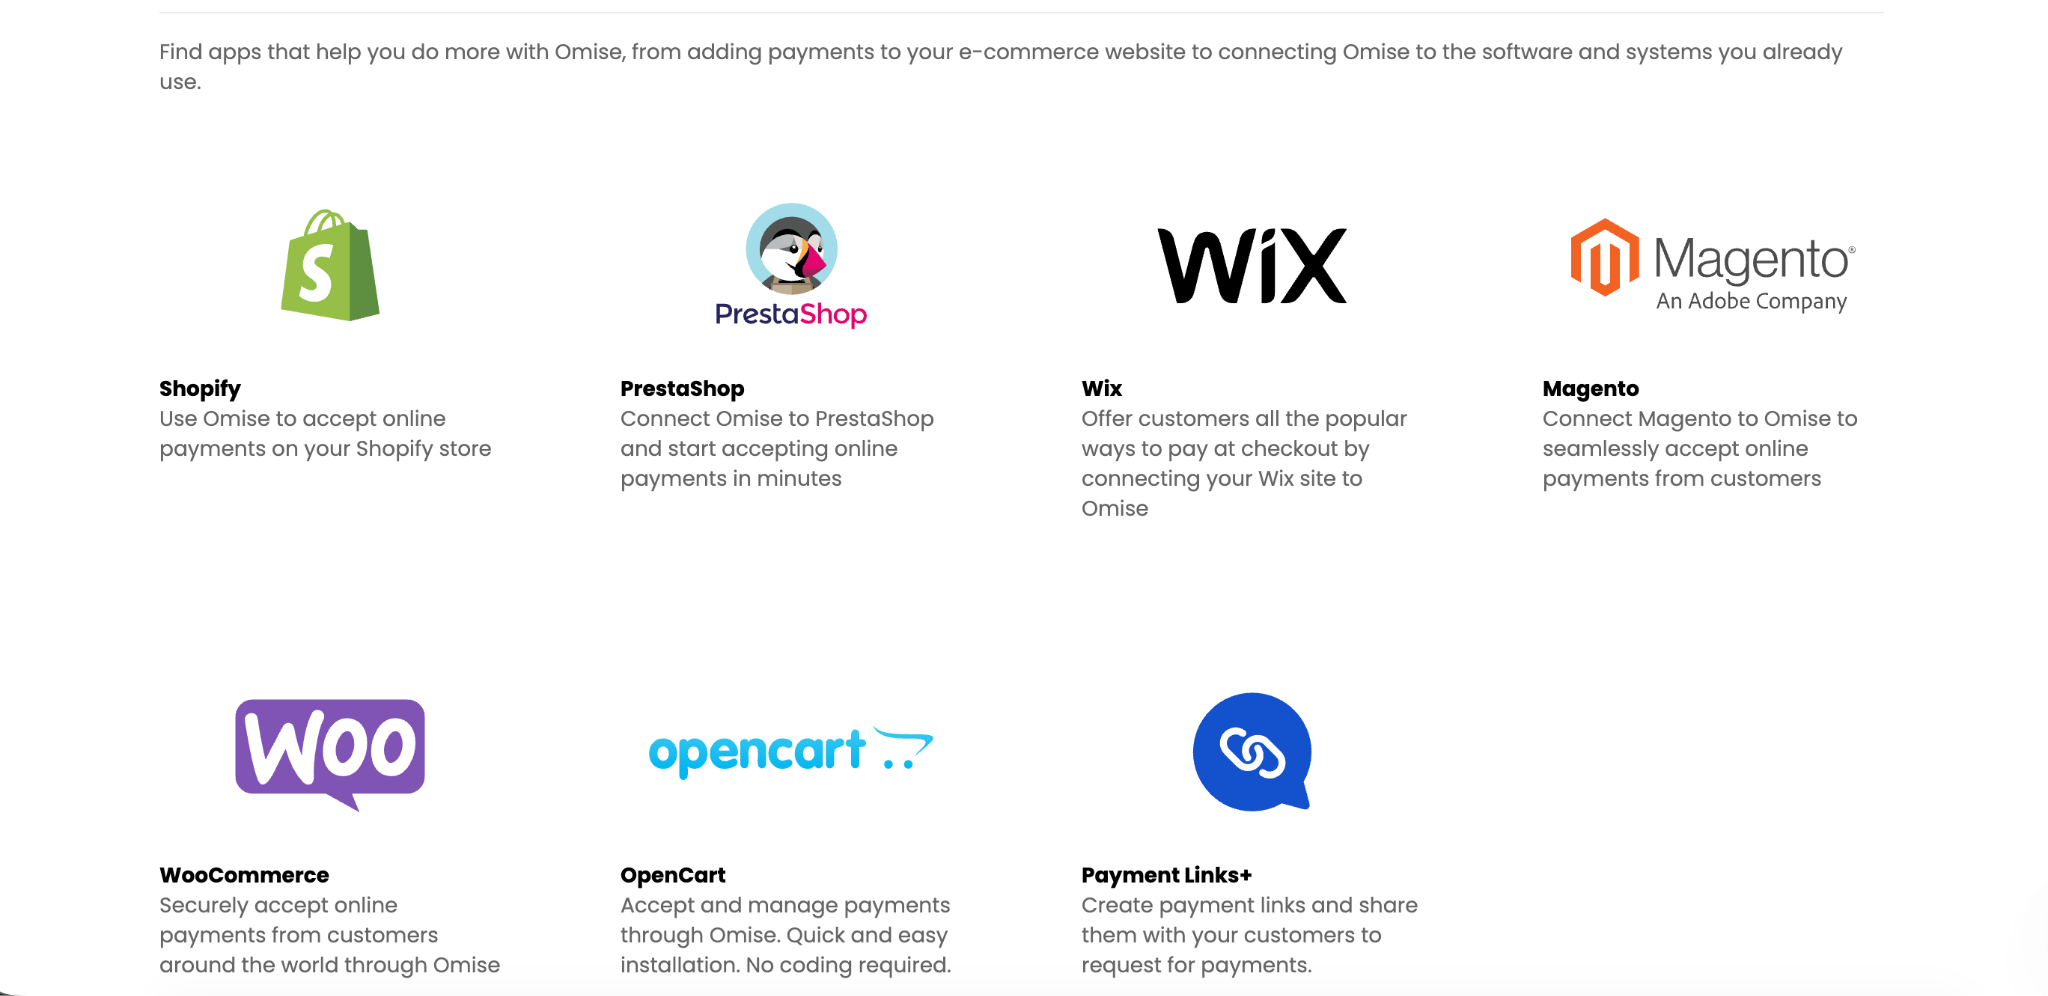
- Select Payment Links+ from App Center and subscribe.
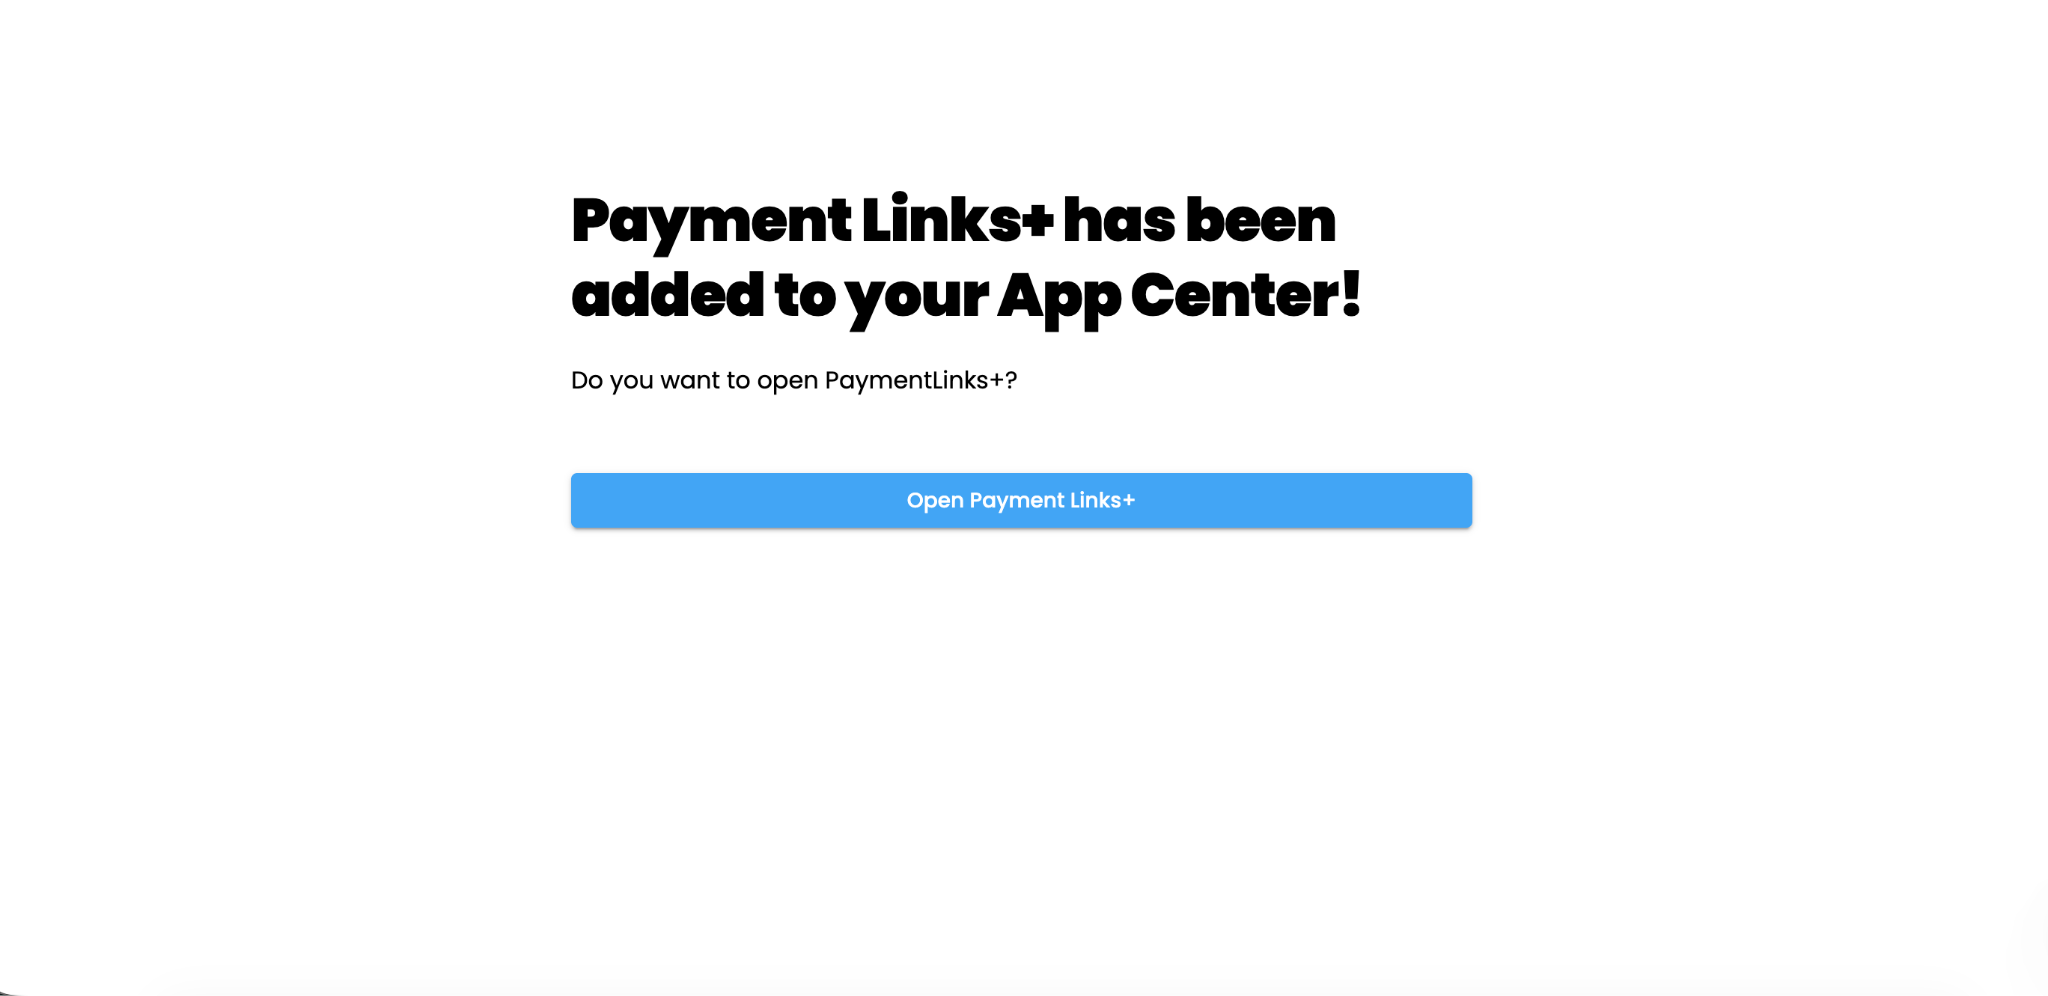
- Click Open Payment Links+.
- Submit your store profile details, upload your logo, and add your refund policy.
- The approval process takes 1-3 business days.
- Once you receive the approval email, log in to your dashboard and click Get Started.
How to Set Up Your Store Information
- After logging in, click Get Started in the top-right corner.
- Customize your branding: theme, background color, text color, and localization settings.
- The system configures your public and private keys automatically under Settings.
How to Manage Your Team and Members
Add a Team
- Go to Settings > Teams.
- Click Add Team.
- Enter the team information:
- Team name
- Email address
- Role assignment
- Click Send Invite.
Add a Member to a Team
- Go to Settings > Teams.
- Click Add Member next to the relevant team.
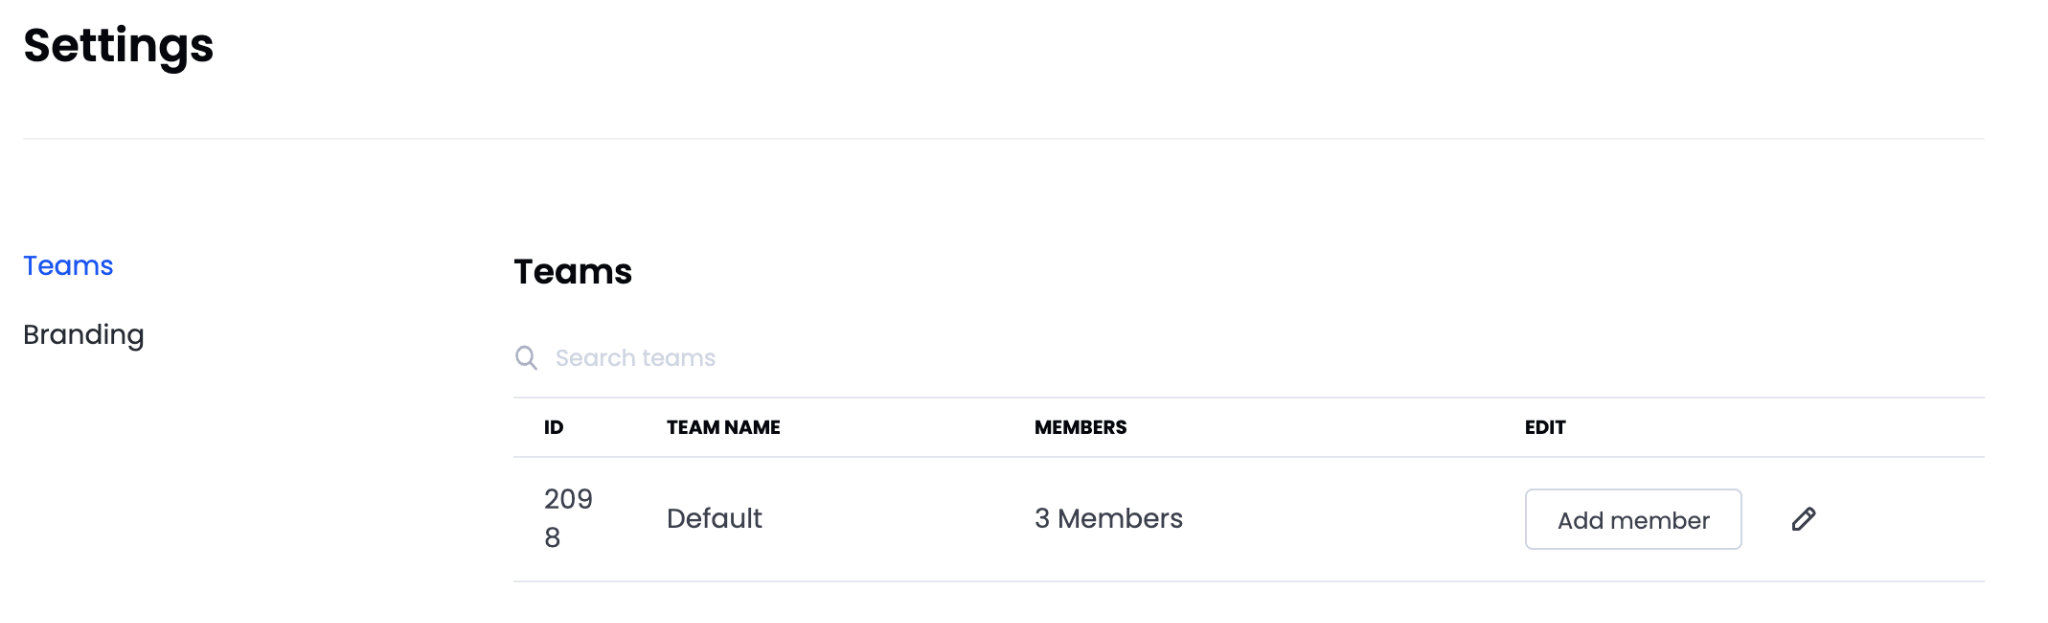
- Enter the member information:
- Email address
- Role assignment
- Click Send Invite.
Roles and Permissions
Use the following table to select the appropriate role when inviting a member.
| Role | Description |
|---|---|
| Company Manager | Receives the confirmation email when a payment completes |
| Store manager | Has all permissions, assigns permissions to teams, and receives the confirmation email when a payment completes |
| Template creator | Creates and edits templates |
| Link generator | Creates, edits, and shares links |
| Viewer | Views created links (read-only access) |
Edit Team or Member Information
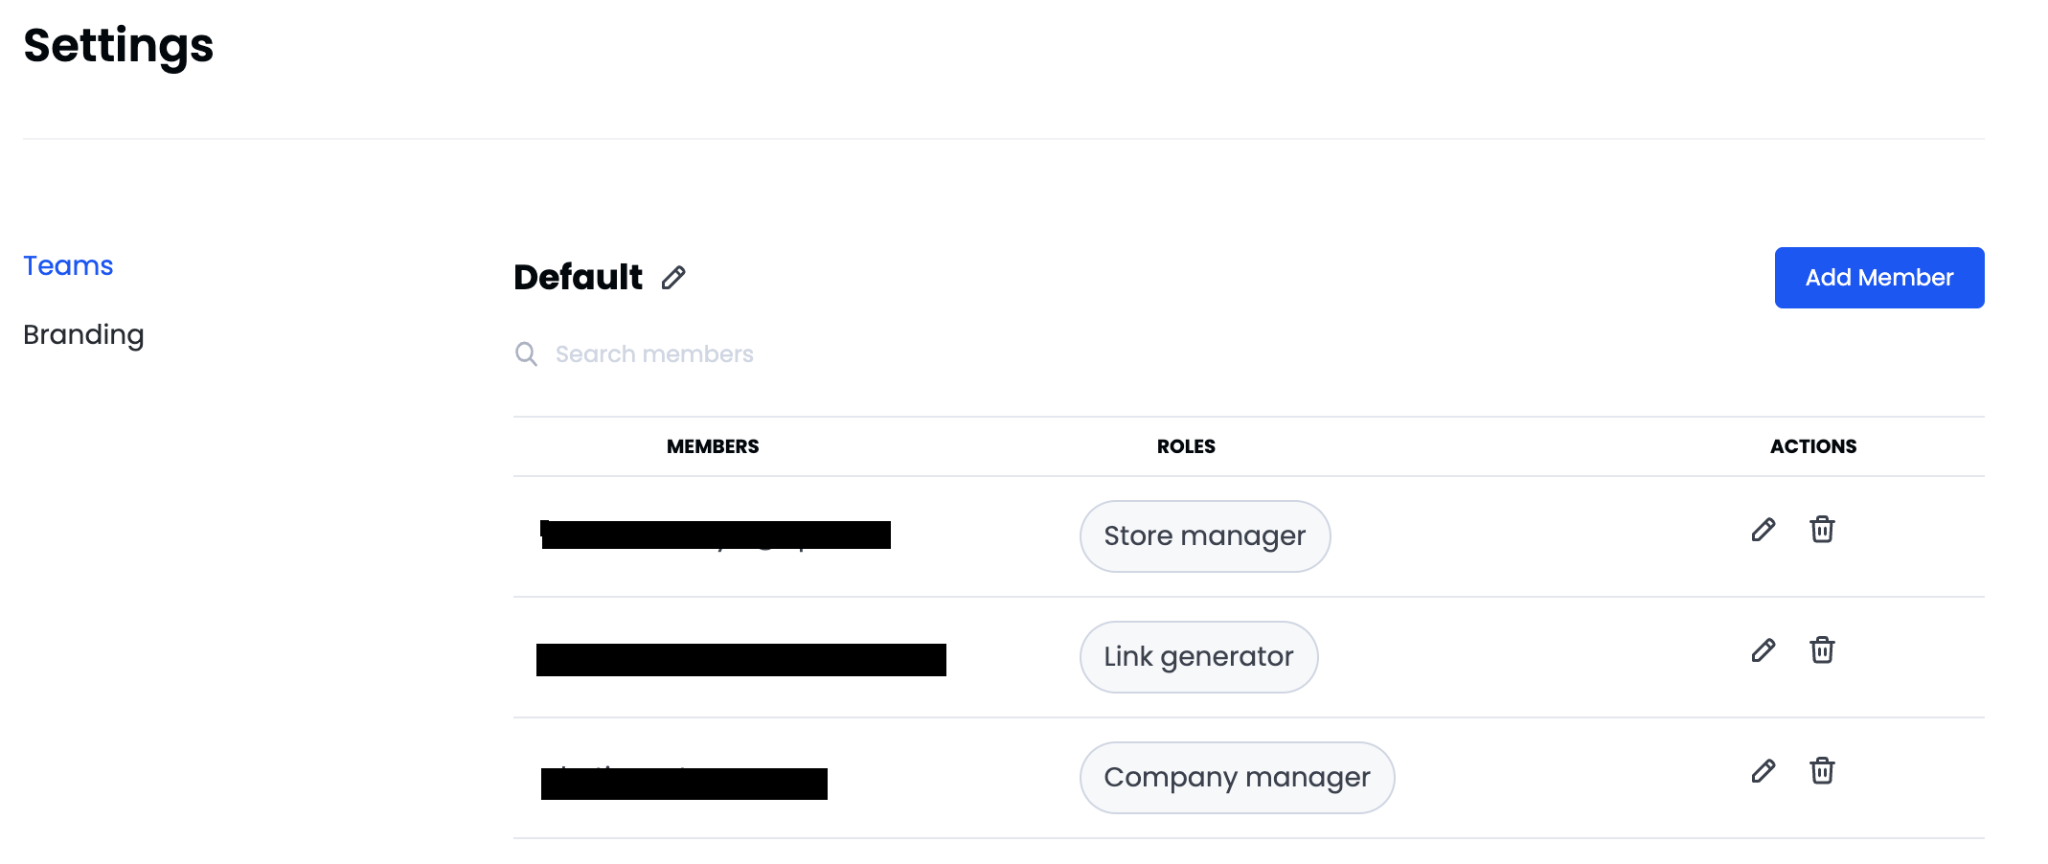
- Go to Teams and click the Edit icon.
- To change the team name, click the Edit icon next to the team name.
- To edit a member's details, click the Edit icon next to the member.
Remove a Team Member
- Go to Teams and click the Edit icon.
- Click the Delete icon next to the member you want to remove.
How to Manage Templates
Overview
The dashboard supports two types of templates:
| Template type | Purpose |
|---|---|
| Payment template | Accept payments from customers |
| Save card (NPA) template | Save a customer's card and generate a Customer ID for future use, such as charge schedules |
Important: These two template types serve different purposes. A Payment template collects money from the customer. A Save card (NPA) template does not charge the customer - it stores card details so you can run scheduled or repeat charges later without requiring a website integration.
How to Create a Payment Template
Step 1: Open the Create template dialog
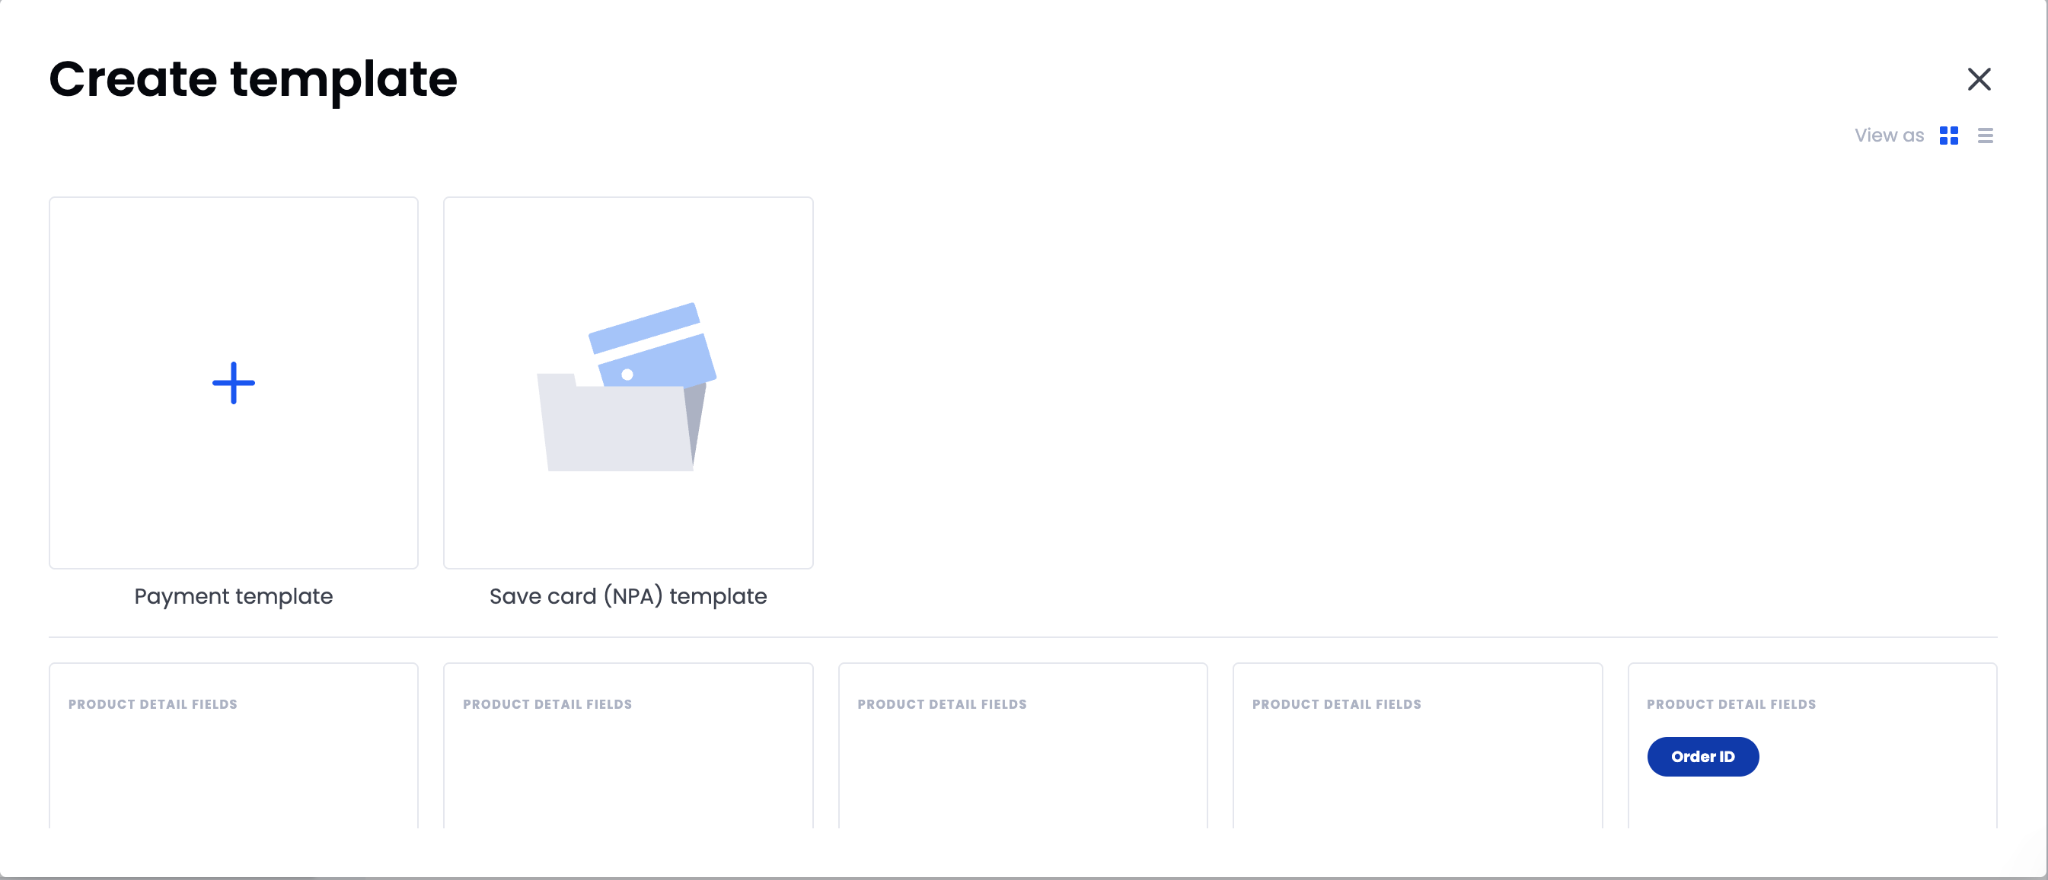
- In the sidebar, under Create, select Create template.
- In the Create template dialog, select Payment template (the tile with the + icon).
A Save card (NPA) template tile is also available. Select this only if your goal is to store card details for future charges - not to collect a payment now.
Step 2: Enter template information
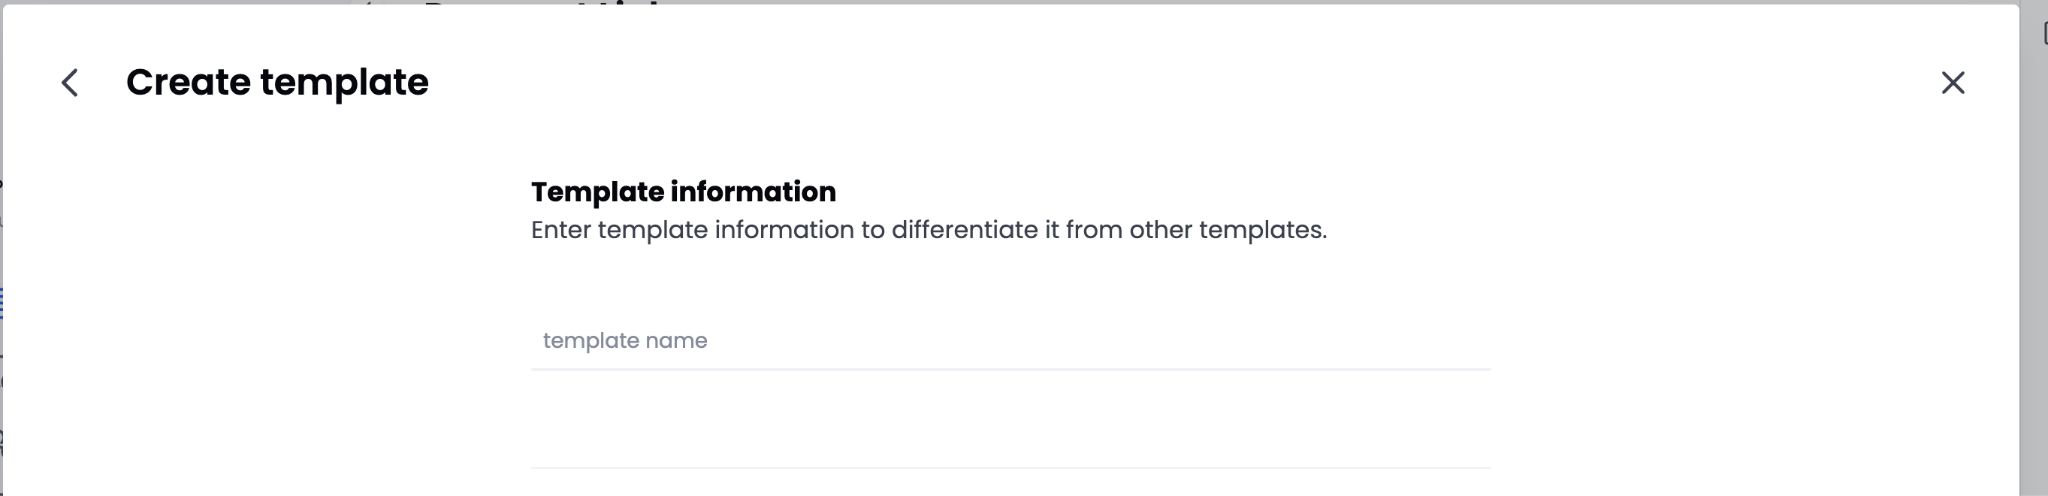
Under Template information, enter a template name to differentiate this template from others.
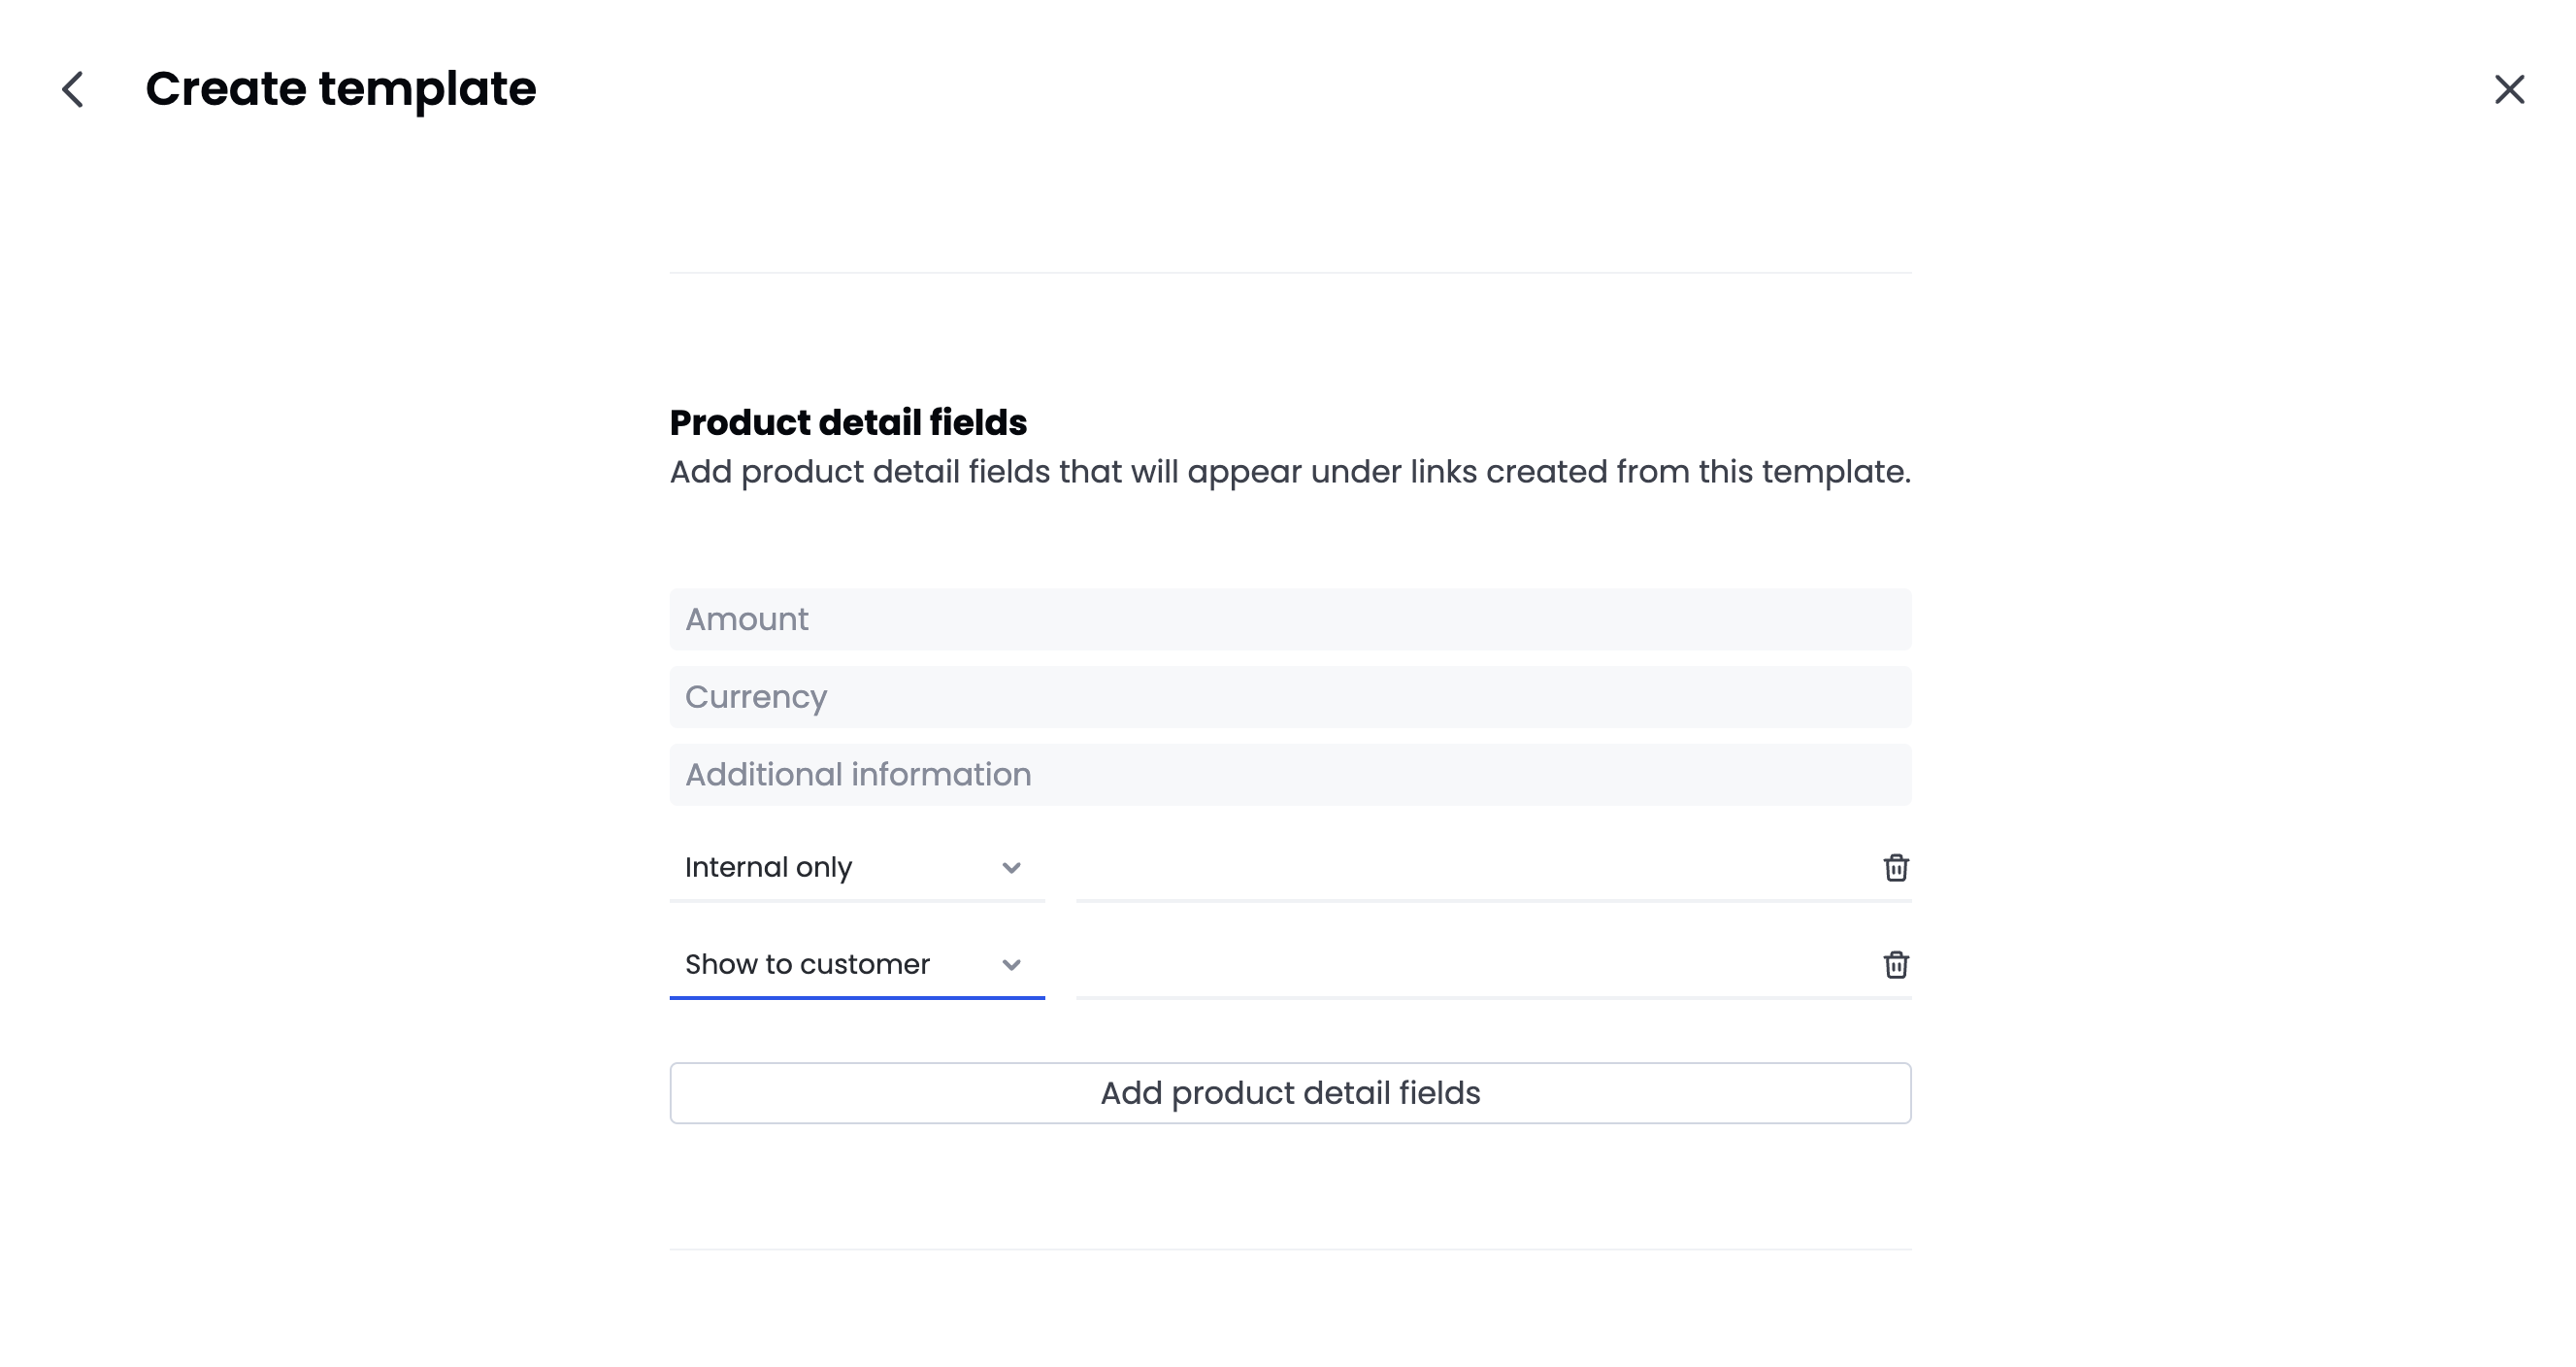
Step 3: Add product detail fields Under Product detail fields, fill in the fields that will appear on payment links created from this template:
| Field | Required | Description |
|---|---|---|
| Amount | Yes | The payment amount |
| Currency | Yes | The currency for the transaction |
| Additional information | No | Any supplementary details to display on the link |
To add a custom field, click Add product detail fields. Each custom field has a visibility setting and a text box for the field name. Select one of the following visibility options:
| Visibility | Description |
|---|---|
| Internal only | The field is visible only to your team. The customer does not see it on the payment link. |
| Show to customer | The field appears on the payment link that the customer opens. |
You can add more than one custom field. To remove a custom field, click the trash icon next to it.
Step 4: Configure the Return URL (optional)
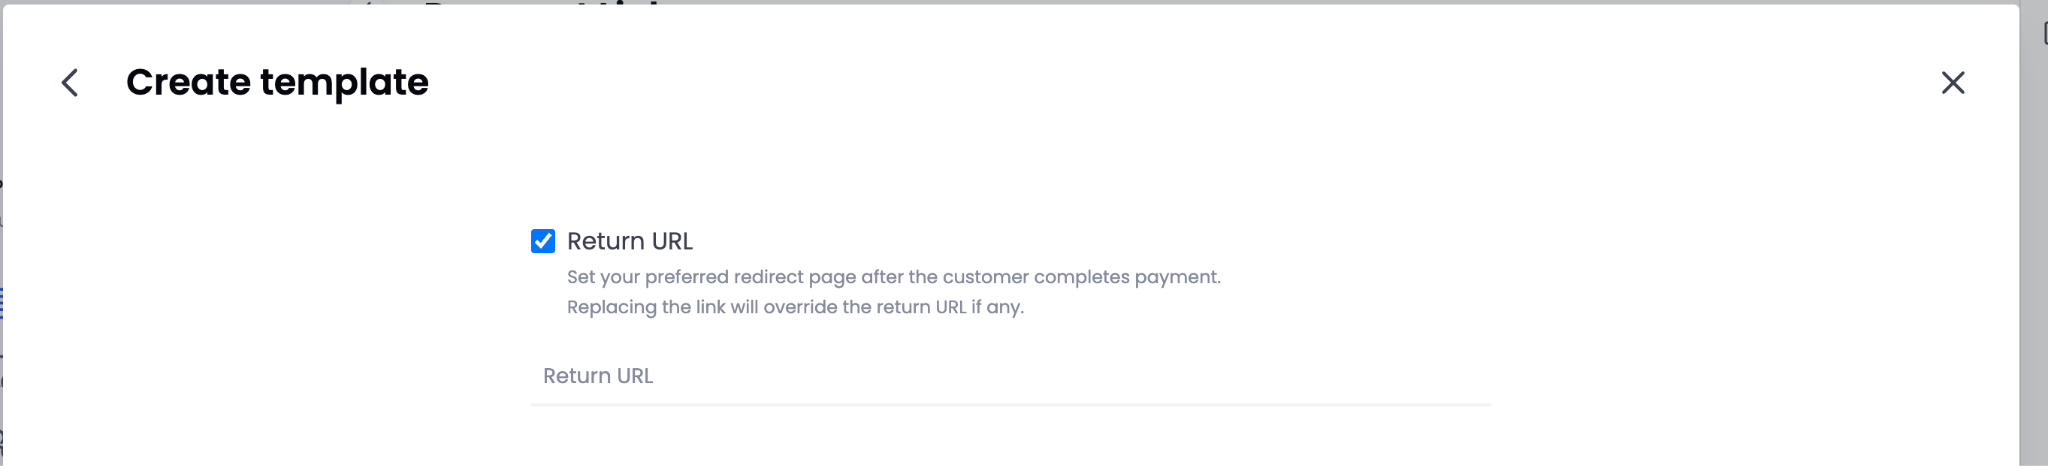
By default, the Return URL option stays disabled. To enable post-payment redirection, select the Return URL checkbox, then enter a URL in the Return URL field. The system redirects the customer to this URL after they complete payment.
If you also configure a return URL on the individual payment link, the link-level setting overrides the template-level Return URL.
Step 5: Select payment methods
Under Payment methods, select at least one method that will apply to links created from this template. The system does not pre-select any payment method.
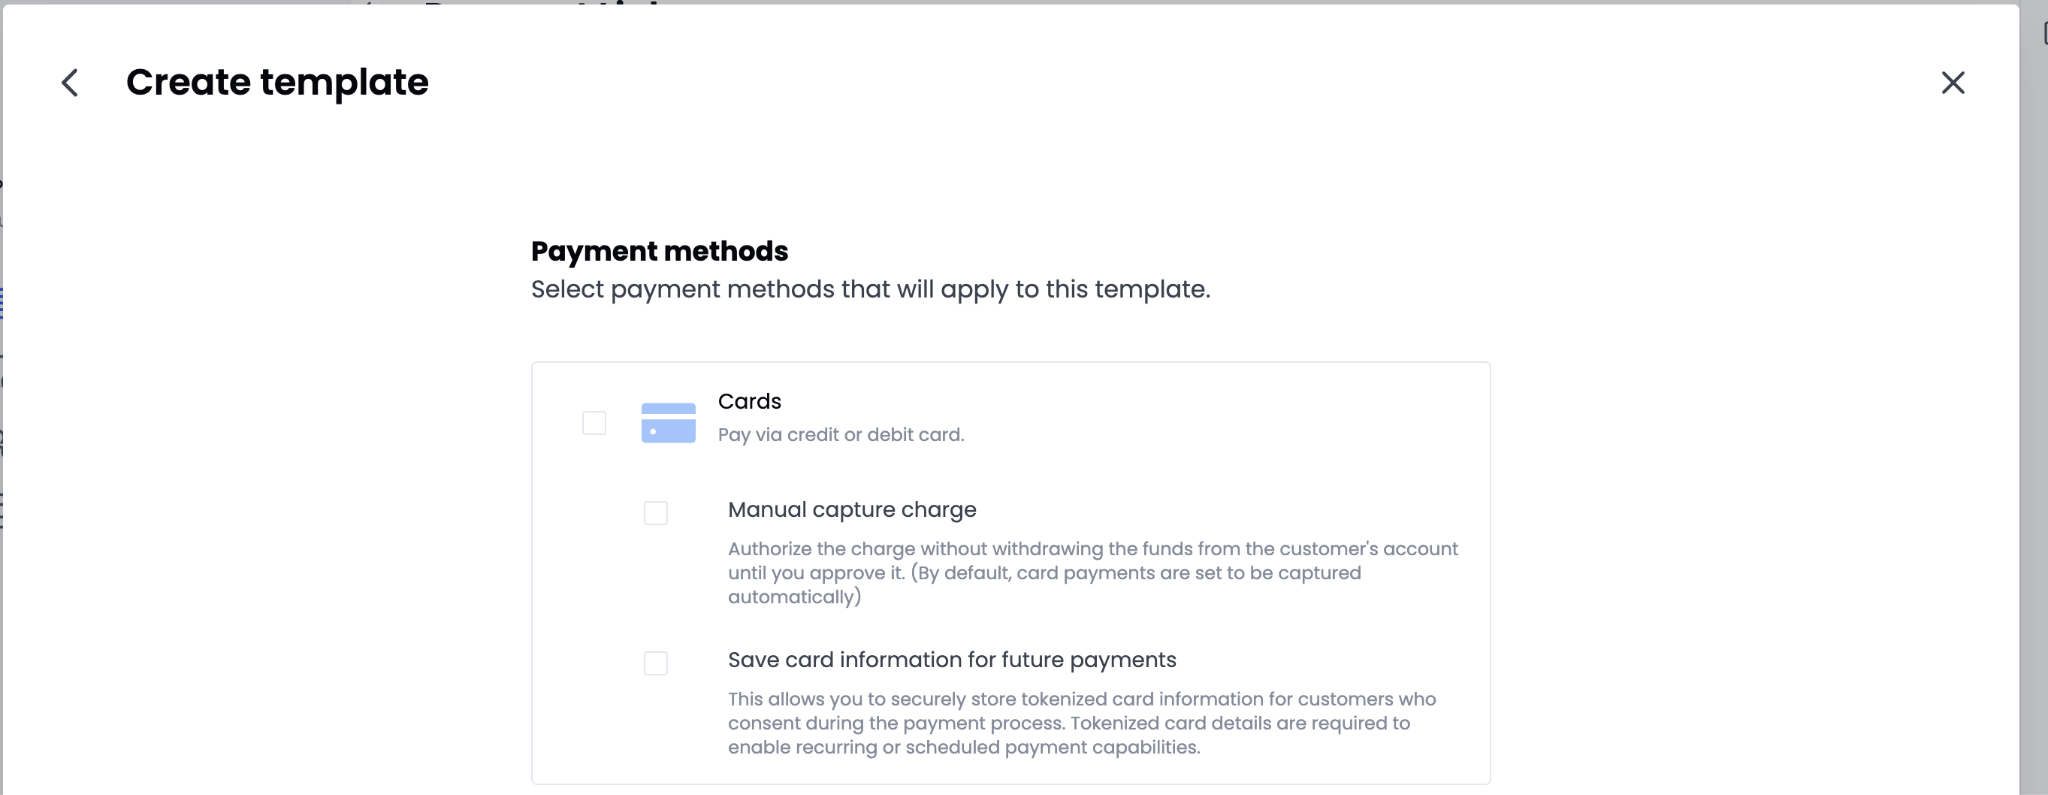
Cards
Select Cards to accept credit or debit card payments. When you select Cards, two additional options become available:
| Option | Description |
|---|---|
| Manual capture charge | Authorizes the charge without immediately withdrawing funds. You must manually approve the capture. By default, the system captures card payments automatically. |
| Save card information for future payments | Stores tokenized card details for customers who consent during checkout. Recurring or scheduled payments require tokenized card details. |
Note: When you enable Save card information for future payments, the customer must explicitly consent to having their card saved during the payment process.
Other payment methods
| Method | Description |
|---|---|
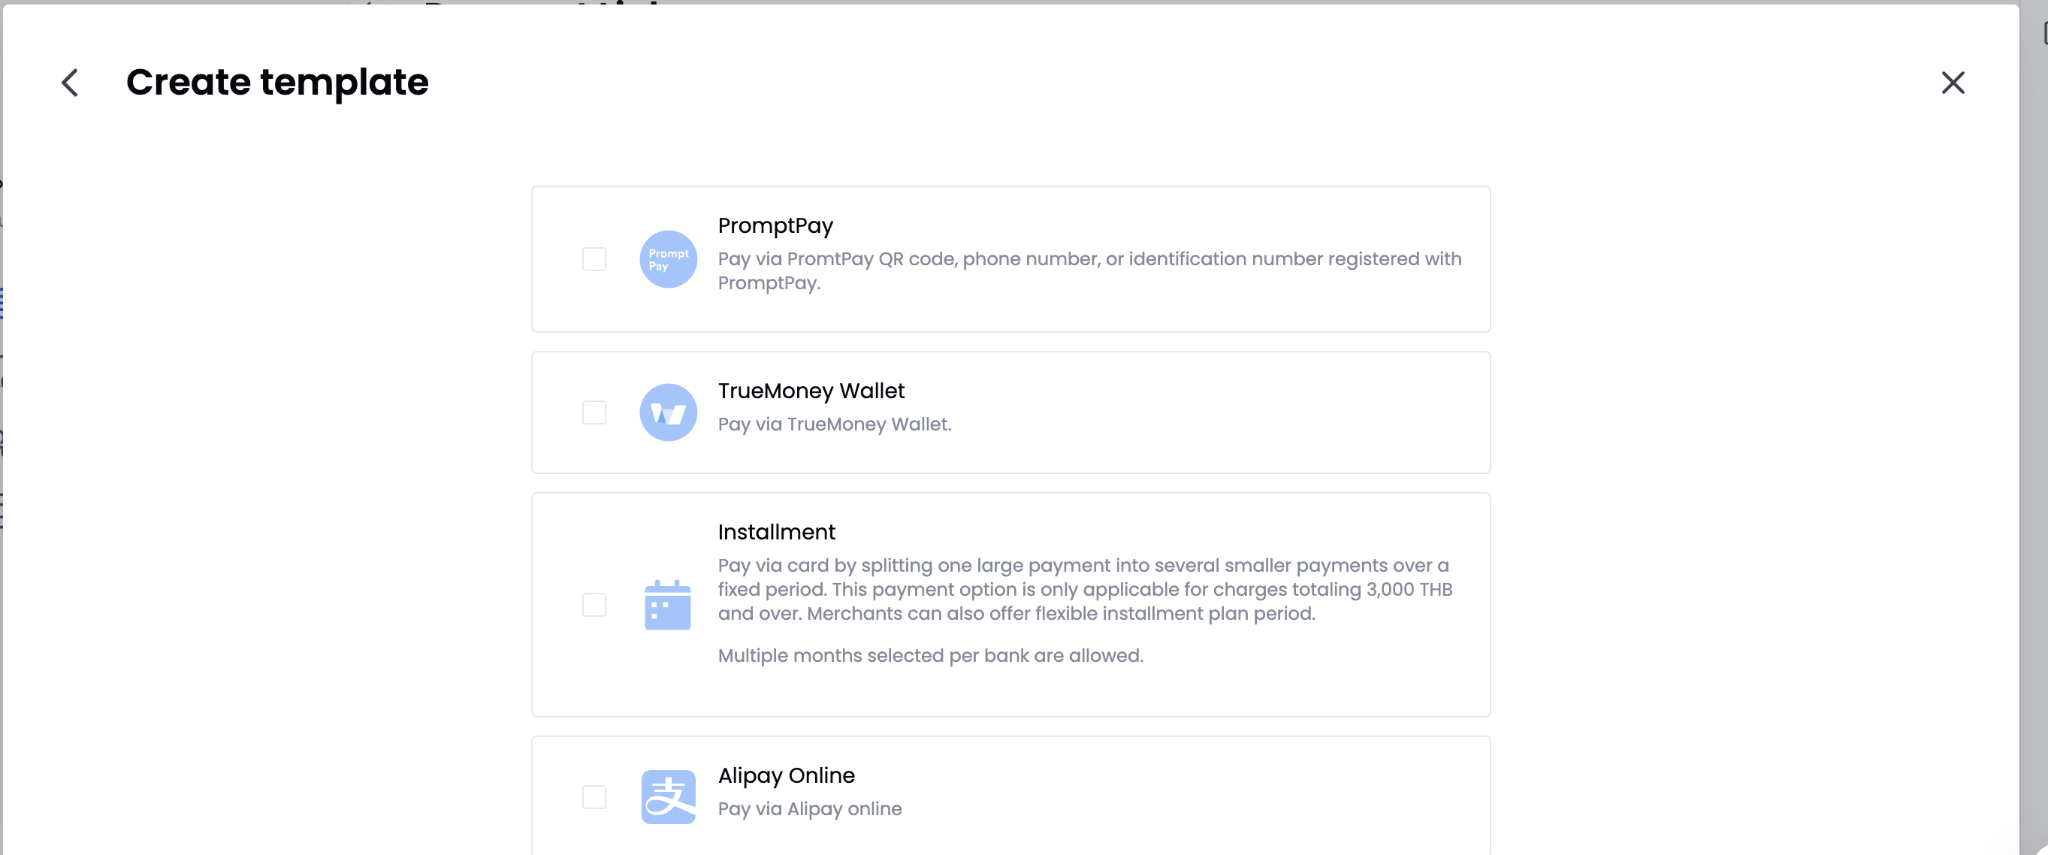
| PromptPay | Pay via PromptPay QR code, phone number, or identification number registered with PromptPay |
| TrueMoney Wallet | Pay via TrueMoney Wallet |
| Installment | Split a payment into smaller payments over a fixed period. Applicable for charges of 3,000 THB and above. Select the issuer bank and installment period. You can select multiple months per bank. |
| Alipay Online | Pay via Alipay online |
| Alipay HK | Pay via Alipay HK |
| ShopeePay | Pay via ShopeePay |
| GrabPay | Pay via GrabPay |
| Mobile Banking | Pay via mobile banking |
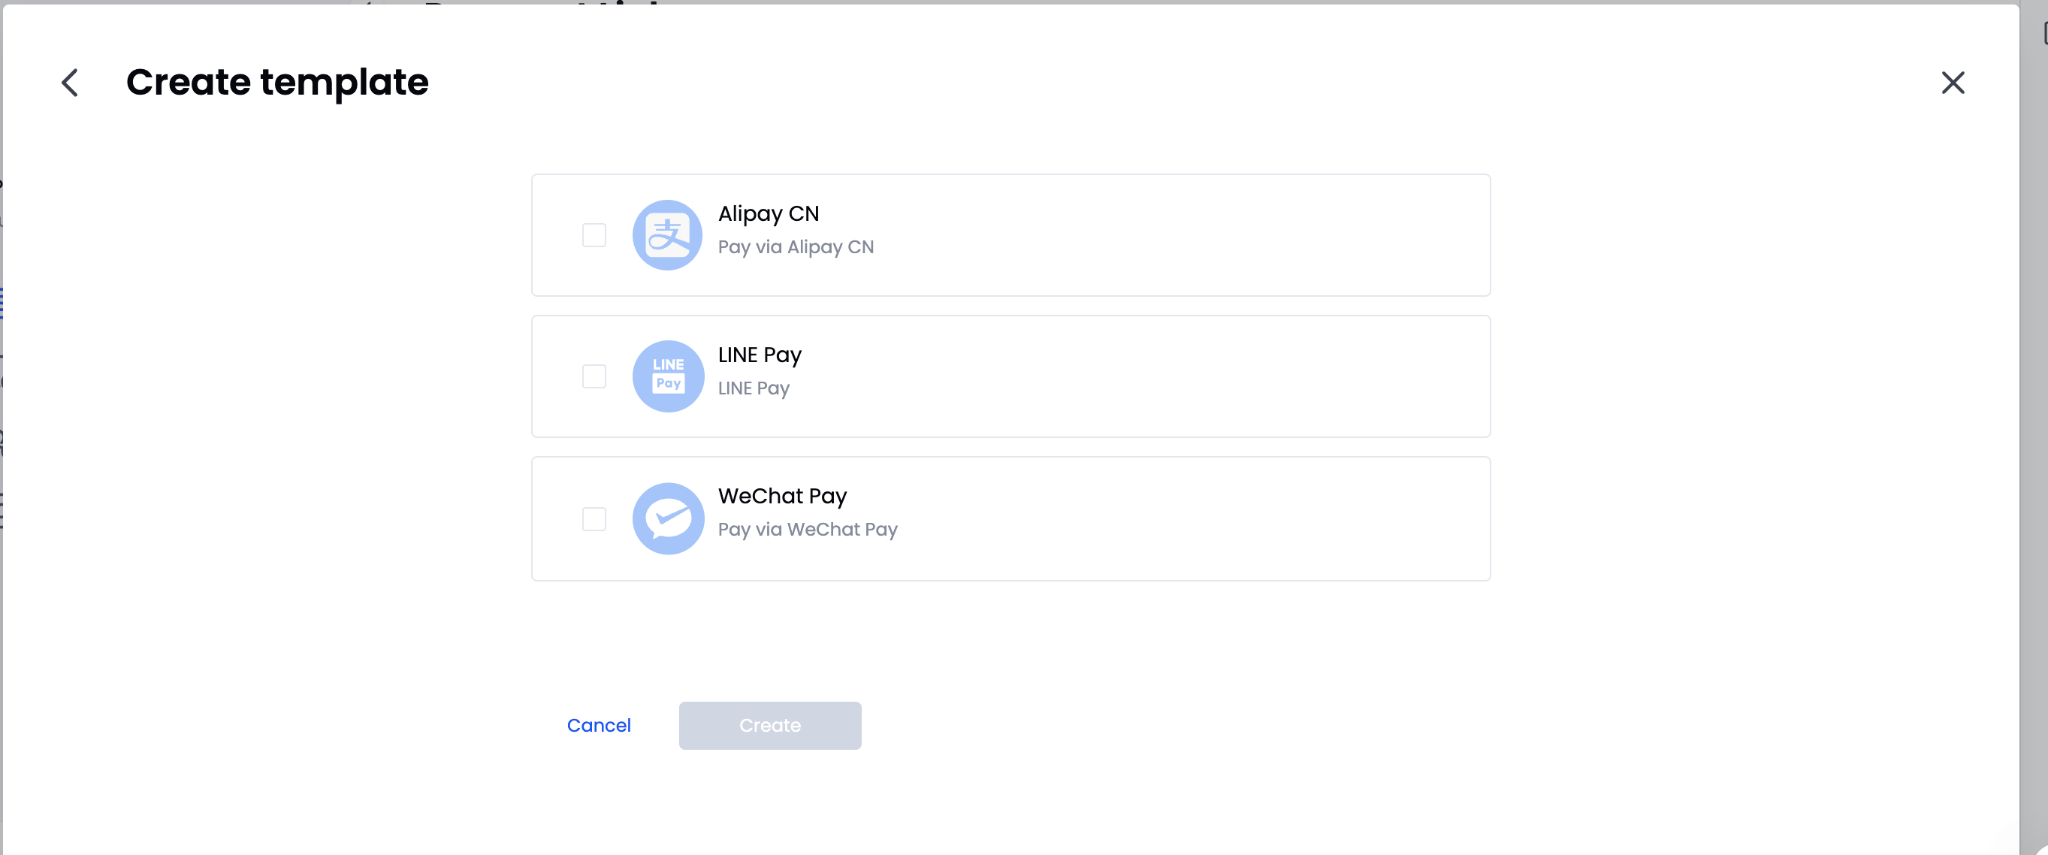
| Alipay CN | Pay via Alipay CN |
| LINE Pay | Pay via LINE Pay |
| WeChat Pay | Pay via WeChat Pay |
Step 6: Create the template
Click Create. Create stays inactive until you complete all required fields. The system displays a success message when it saves the template.
To exit without saving, click Cancel.
How to Create a Save Card (NPA) Template
Step 1: Open the Create template dialog
- In the sidebar, under Create, select Create template.
- In the Create template dialog, select Save card (NPA) template (the tile with the card icon).
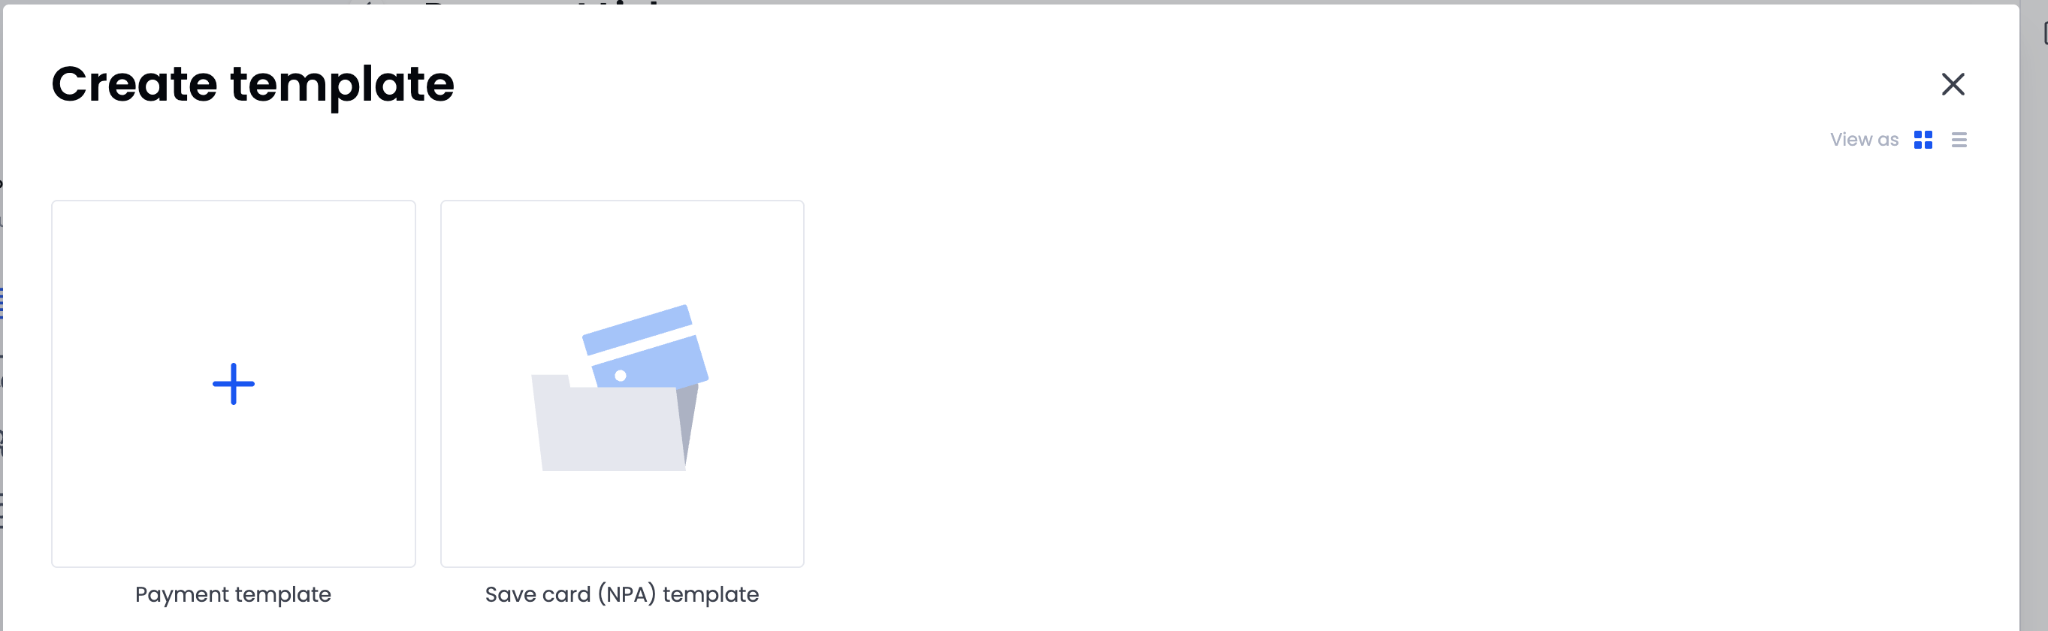
A Payment template tile is also available. Select this only if your goal is to collect a payment - not to save card details.
Step 2: Enter template information
Under Save card template information, enter a template name to differentiate this template from others.
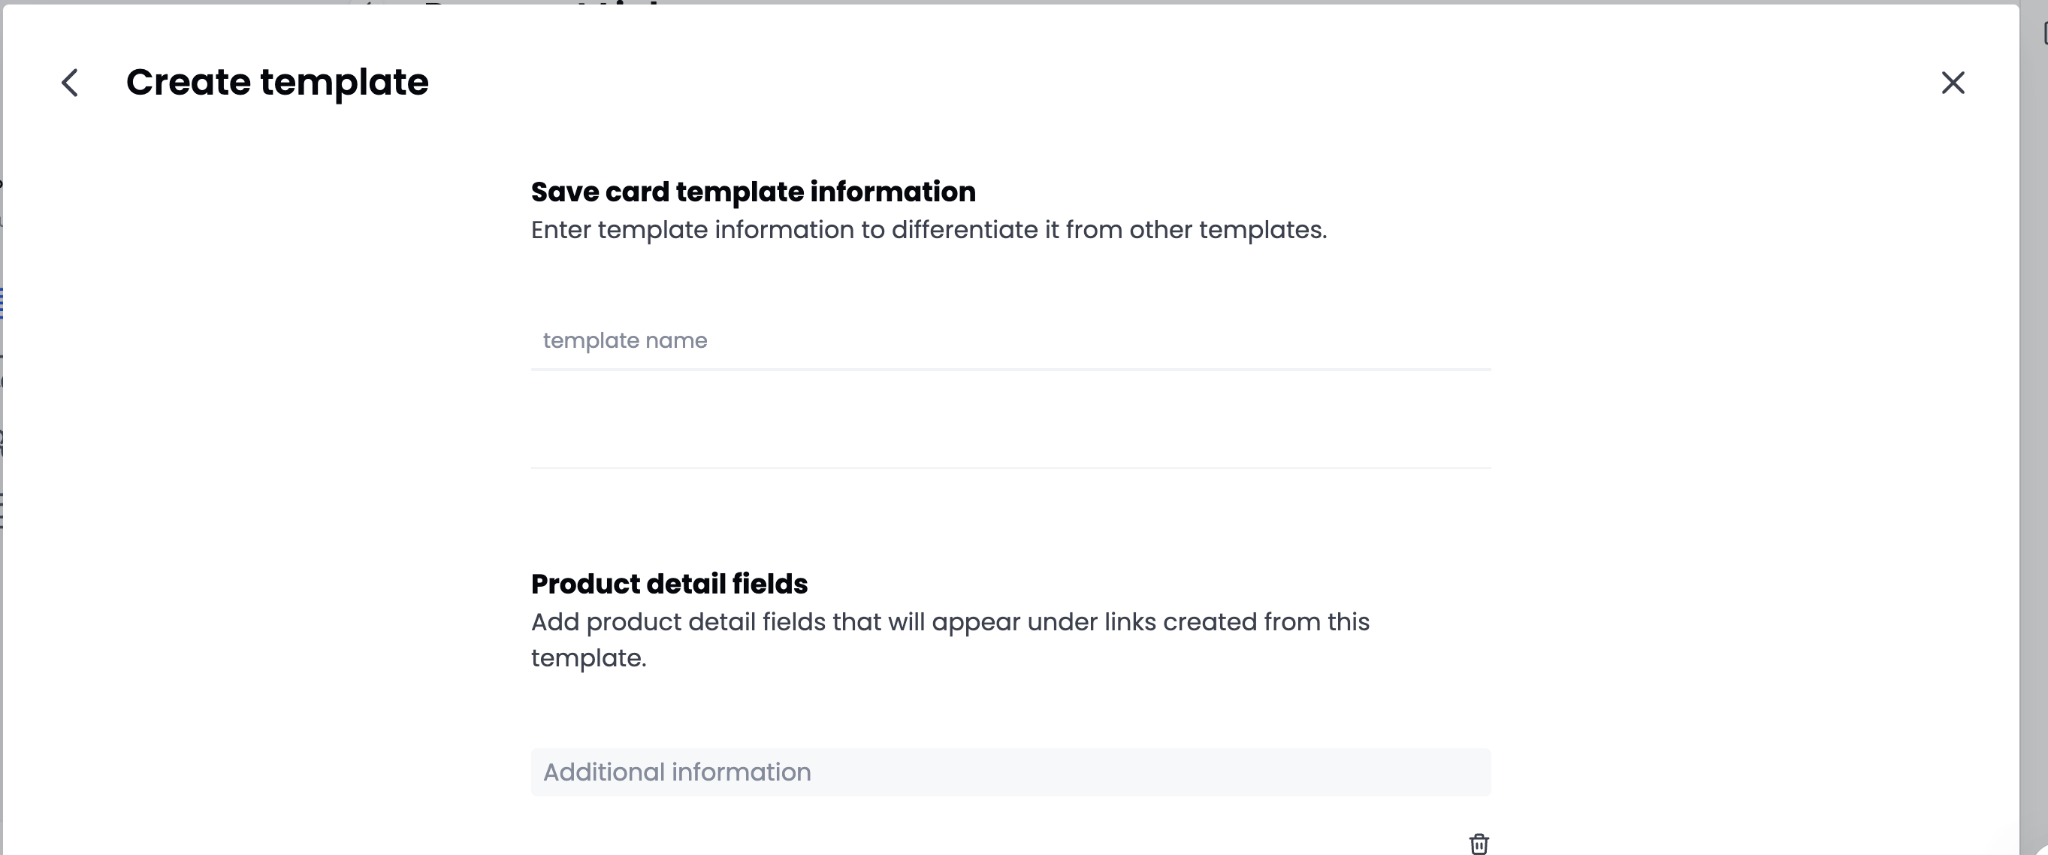
Step 3: Add product detail fields (optional)
Under Product detail fields, you can add an Additional information field that will appear on links created from this template.
Unlike Payment templates, Save card (NPA) templates do not include Amount or Currency fields. This template does not collect any payment from the customer.
To add more field sets, click Add product detail fields. To remove a field set, click the trash icon.
Step 4: Configure the Return URL (optional)
By default, the Return URL option stays disabled. To enable redirection after the card-saving process, select the Return URL checkbox, then enter a URL in the Return URL field. The system redirects the customer to this URL after it saves their card.
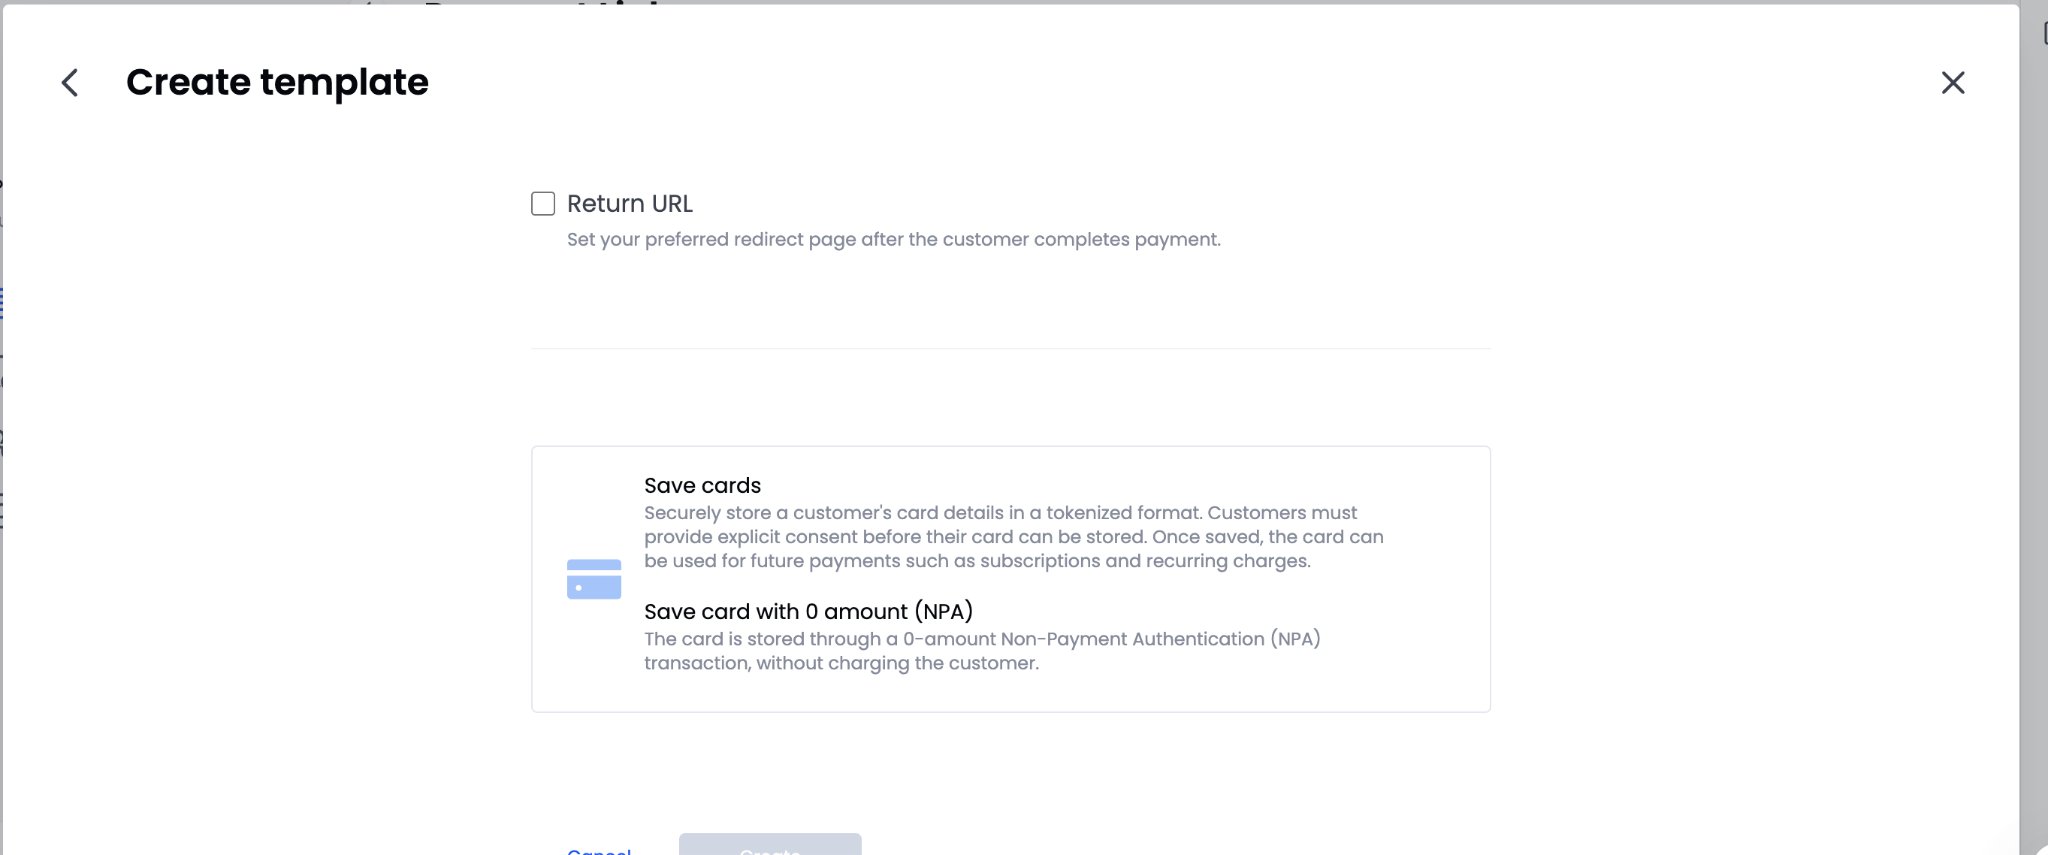
Step 5: Review the card-saving method
Save card (NPA) templates use the following card storage approach:
| Method | Description |
|---|---|
| Save cards | Securely stores a customer's card details in a tokenized format. Customers must provide explicit consent before the system stores their card. Once saved, the card becomes available for future payments such as subscriptions and recurring charges. |
| Save card with 0 amount (NPA) | This method stores the card through a 0-amount Non-Payment Authentication (NPA) transaction, without charging the customer. |
Step 6: Create the template
Click Create. Create stays inactive until you complete all required fields. The system displays a success message when it saves the template.
To exit without saving, click Cancel.
Edit or Delete a Template
- In the sidebar, select Create template.
- Click the three-dot menu (...) on the template you want to modify.
- Select Edit template or Delete template.
- If editing, save your changes before exiting.
- If deleting, confirm the action. The system displays a success message after it removes the template.
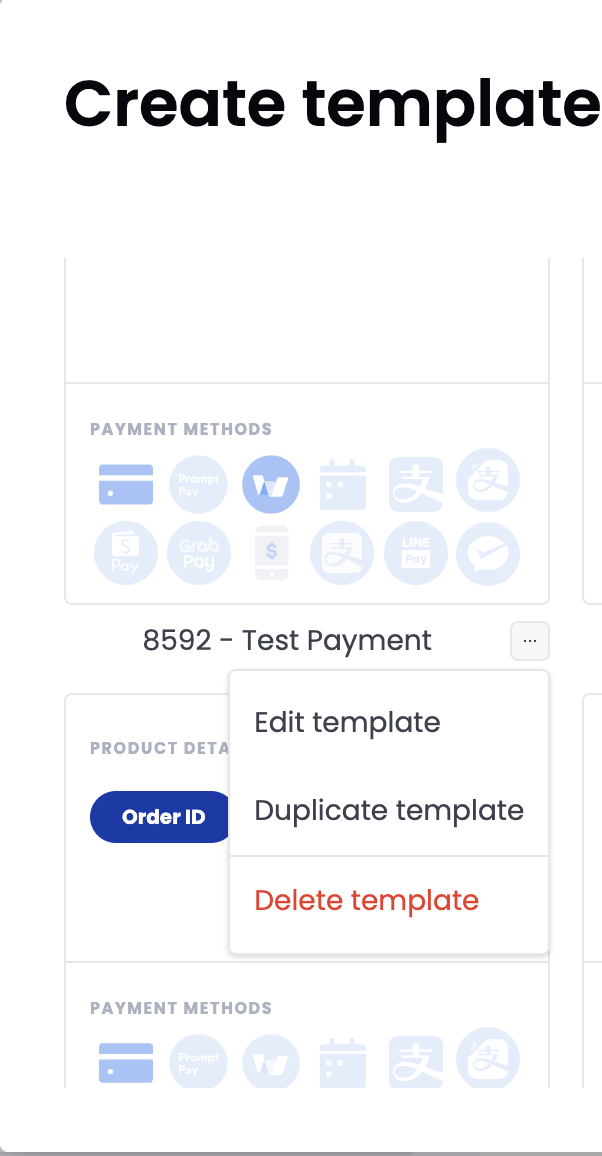
Duplicate a Template
- In the sidebar, select Create template.
- Click the three-dot menu (...) on the template you want to duplicate.
- Select Duplicate template. The system duplicates the template and names the copy Copy of [Original template name].
How to Manage Branding
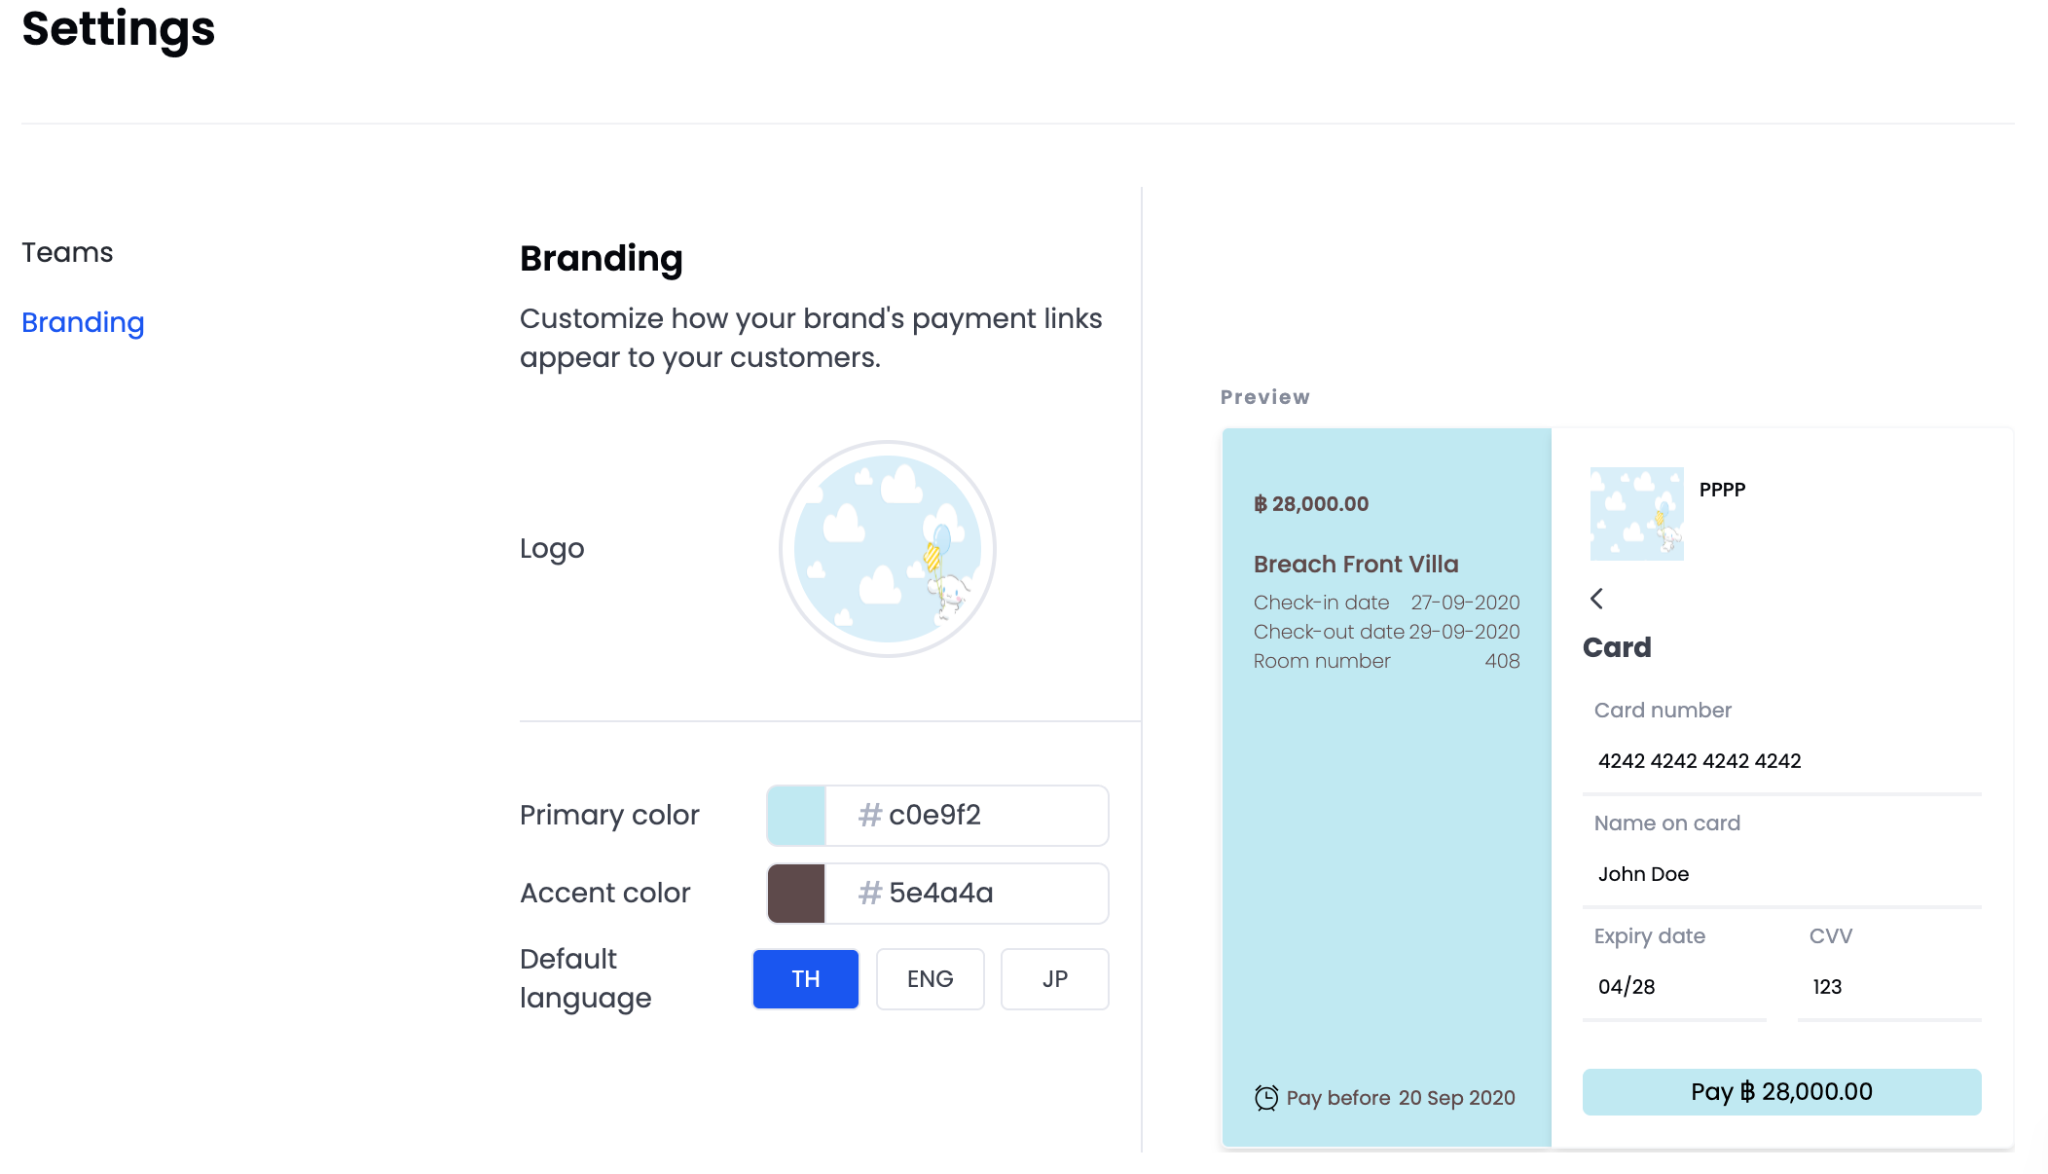
- Go to Settings > Branding in the sidebar.
- The left panel is the editable area; the right panel shows a live preview of the checkout page.
- Customize the colors to match your brand.
- Select a preferred default language.
- Click Save after making any changes.
How to Manage Keys
The Keys page in Settings displays your account's public and secret keys. Use these keys to authenticate API requests and integrate the payment platform with your applications.
How to Access the Keys Page
- Navigate to Settings from the main menu.
- In the left sidebar, click Keys.
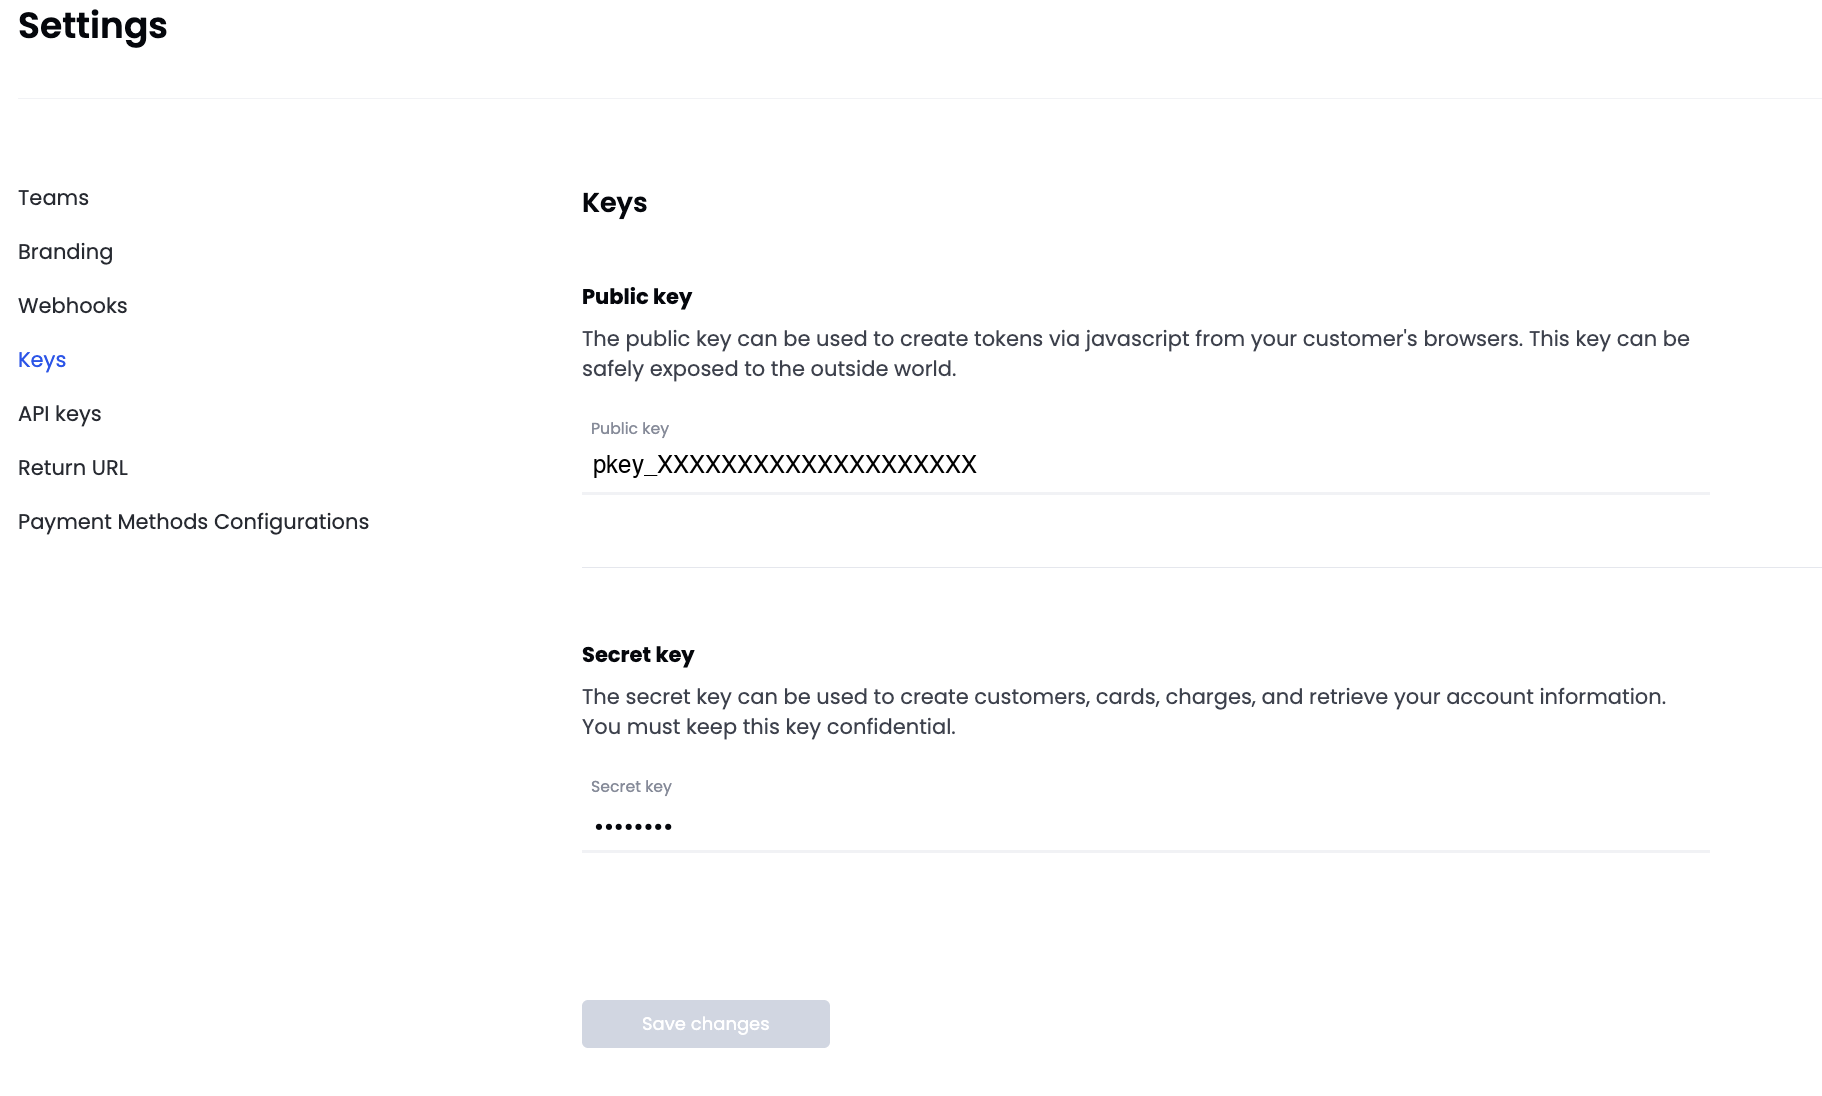
The Keys page displays two read-only fields: Public key and Secret key.
How to View Your Public Key
The public key appears in plain text in the Public key field.
- Field label: Public key
- Example format: pkey_XXXXXXXXXXXXXXXXXXXX
You can use the public key to create tokens in your customers' browsers via JavaScript. Exposing this key publicly is safe.
How to View Your Secret Key
The Secret key field masks the secret key by default and shows it as a series of dots.
Important: Keep your secret key confidential at all times. Do not share it or expose it in client-side code.
You can use the secret key to:
- Create customers
- Create cards
- Create charges
- Retrieve your account information
How to Save Changes
If you update any key-related settings, click Save changes to apply them.
Note: Save changes stays inactive until you make a change.
How to Manage API Keys
The API keys page in Settings displays your Payment Links+ API key, which you use to create payment links and templates and to retrieve information from your links and Payment Links+ templates.
How to Access the API Keys Page
- Navigate to Settings from the main menu.
- In the left sidebar, click API keys.
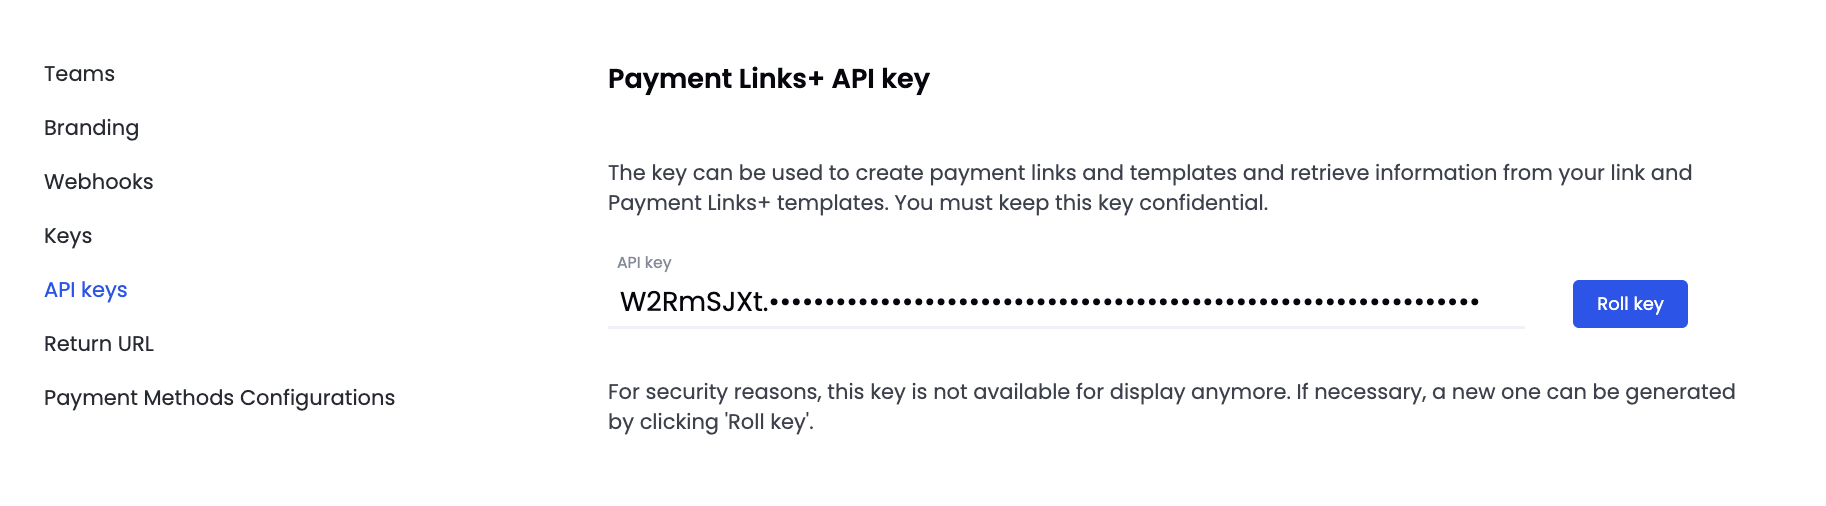
The API keys page displays the Payment Links+ API key section.
How to View Your Payment Links+ API Key
The API key appears partially masked in the API key field, showing only the first few characters followed by dots.
Important: For security reasons, we no longer display the full key. Keep this key confidential at all times.
You can use the Payment Links+ API key to:
- Create payment links and templates
- Retrieve information from your link and Payment Links+ templates
How to Roll Your API Key
Rolling your API key generates a new key and invalidates the existing one.
- On the API keys page, locate the Payment Links+ API key section.
- Click Roll key.
The system generates a new API key that replaces the existing one.
Note: Roll your key only when necessary. Any integration currently using the old key will stop working immediately after you roll it.
How to Manage the Return URL
The Return URL page in Settings allows you to set your preferred redirect page after the customer completes payment.
How to Access the Return URL Page
- Navigate to Settings from the main menu.
- In the left sidebar, click Return URL.
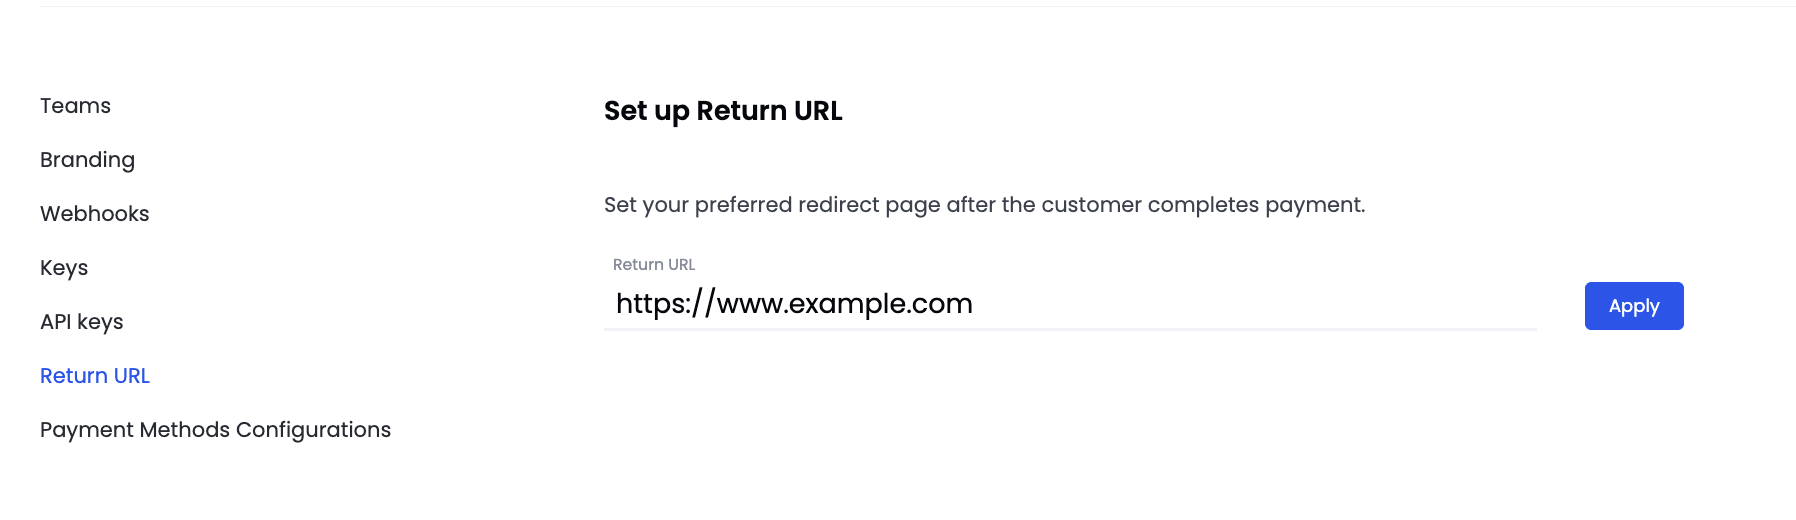
The Return URL page displays the Set up Return URL section.
How to Set a Return URL
- On the Return URL page, locate the Return URL field.
- Enter your preferred URL in the field (for example, https://www.example.com).
- Click Apply.
The platform saves the return URL and redirects customers to the specified page after completing payment.
How to Use Payment Links+
Create a quick link
A quick link is a one-time payment link with a QR code that you can generate in seconds, without setting up a template first. Use it when you need to collect payment for a single transaction quickly, such as an ad-hoc invoice or a one-off sale. The Quick link page also shows each link's charge status, so you can track payments without leaving the page.
Note: Quick links are for one-time use. If you plan to reuse the same payment details repeatedly, create a template instead.
Note: Quick links support multiple currencies. When you select a currency other than THB, only card payments are available.
Before you begin
Make sure you have:
- Access to the merchant dashboard
- The payment amount and currency you want to charge
Steps
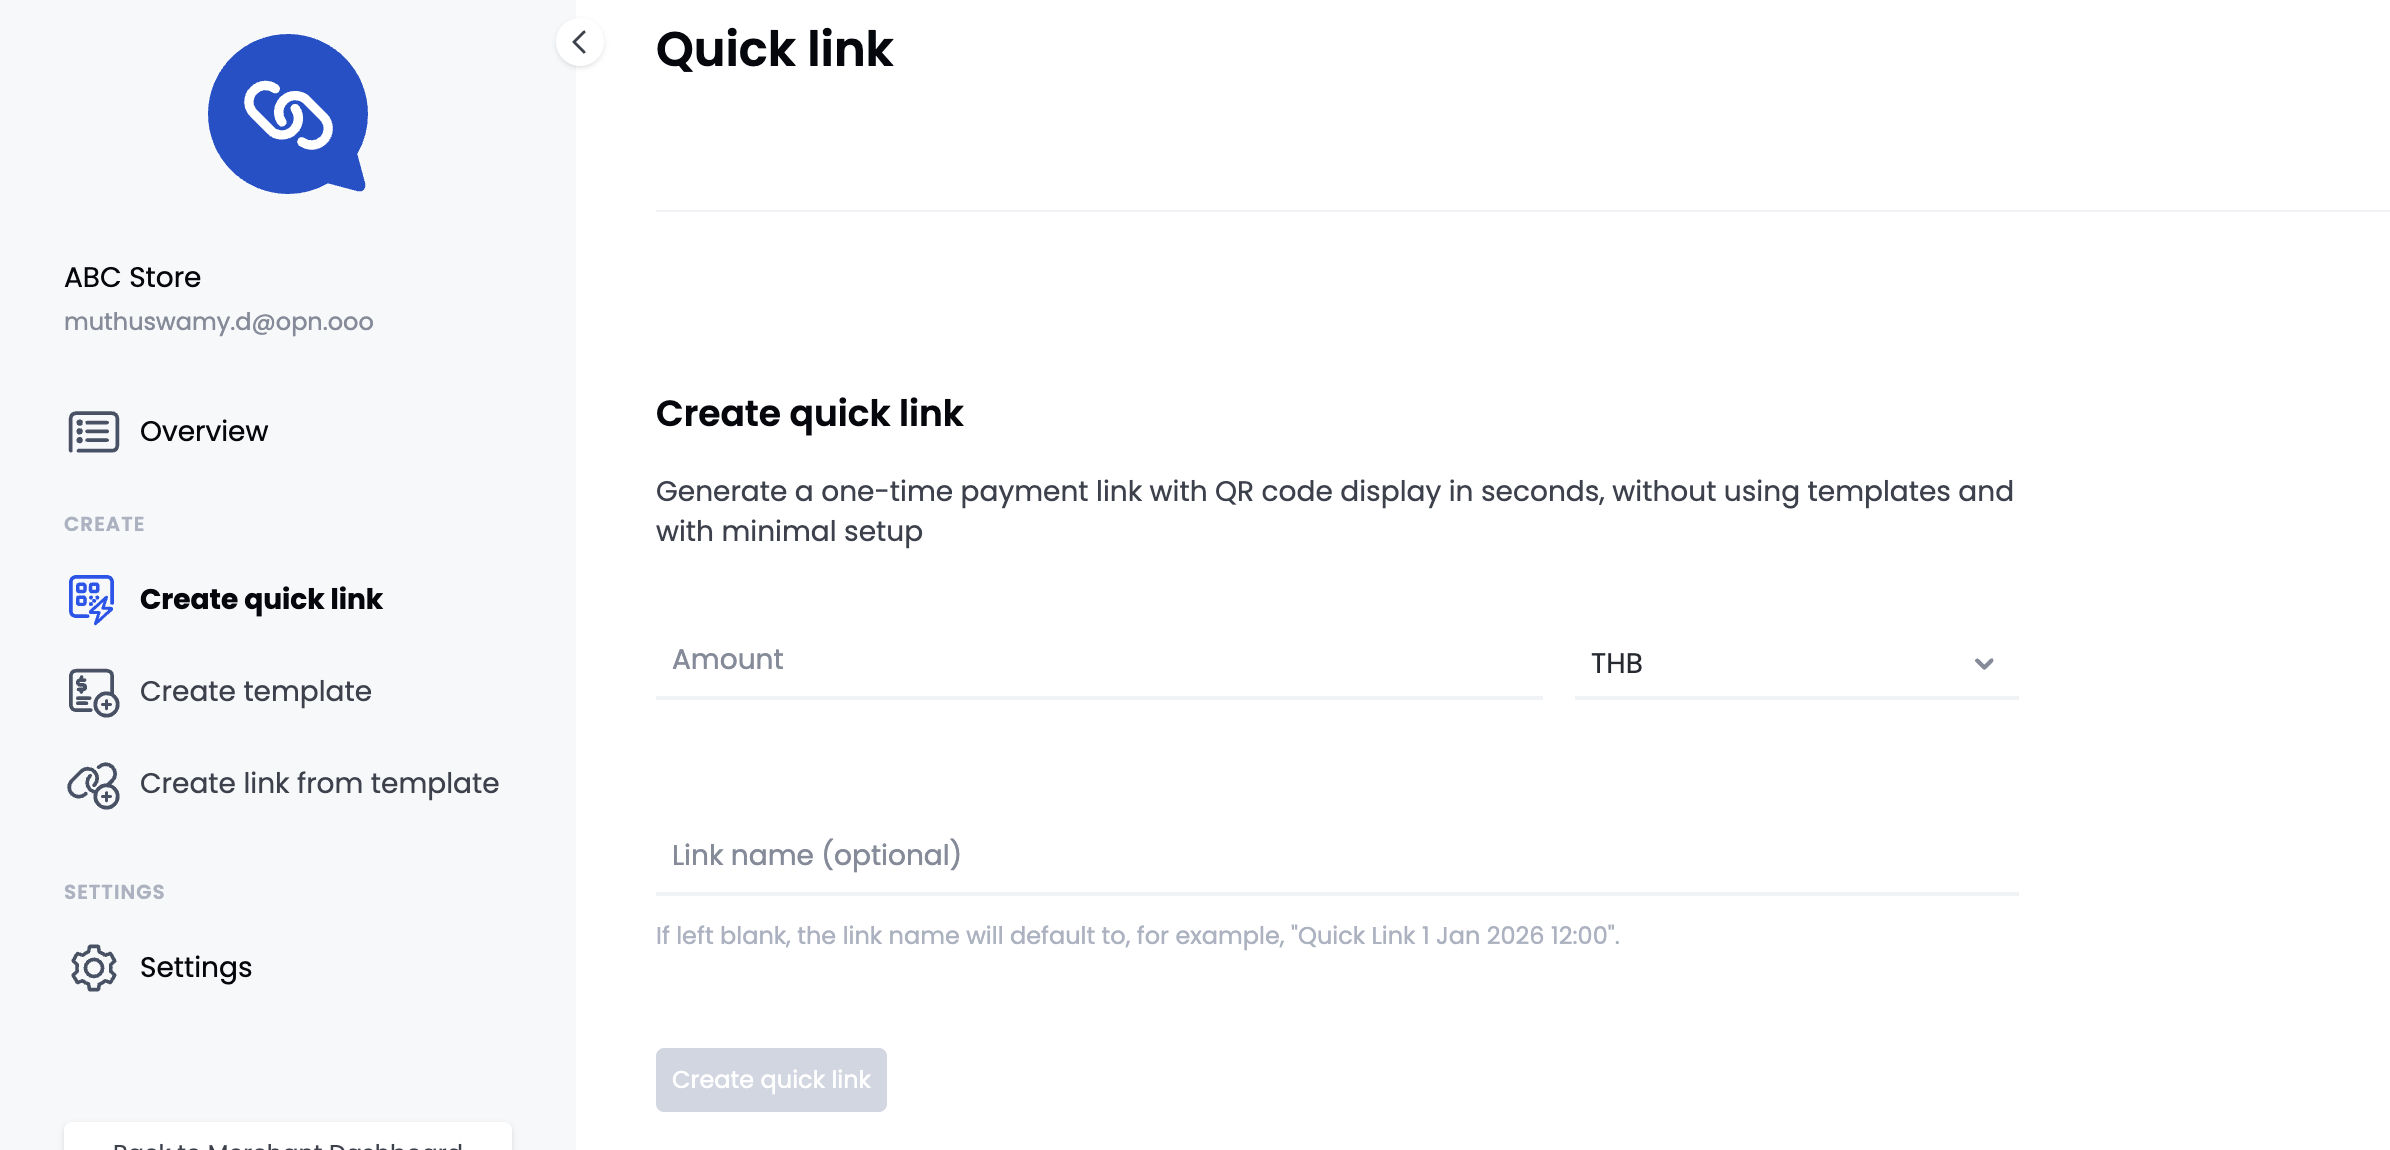
- In the sidebar, under Create, select Create quick link.
- Enter the Amount you want to charge.
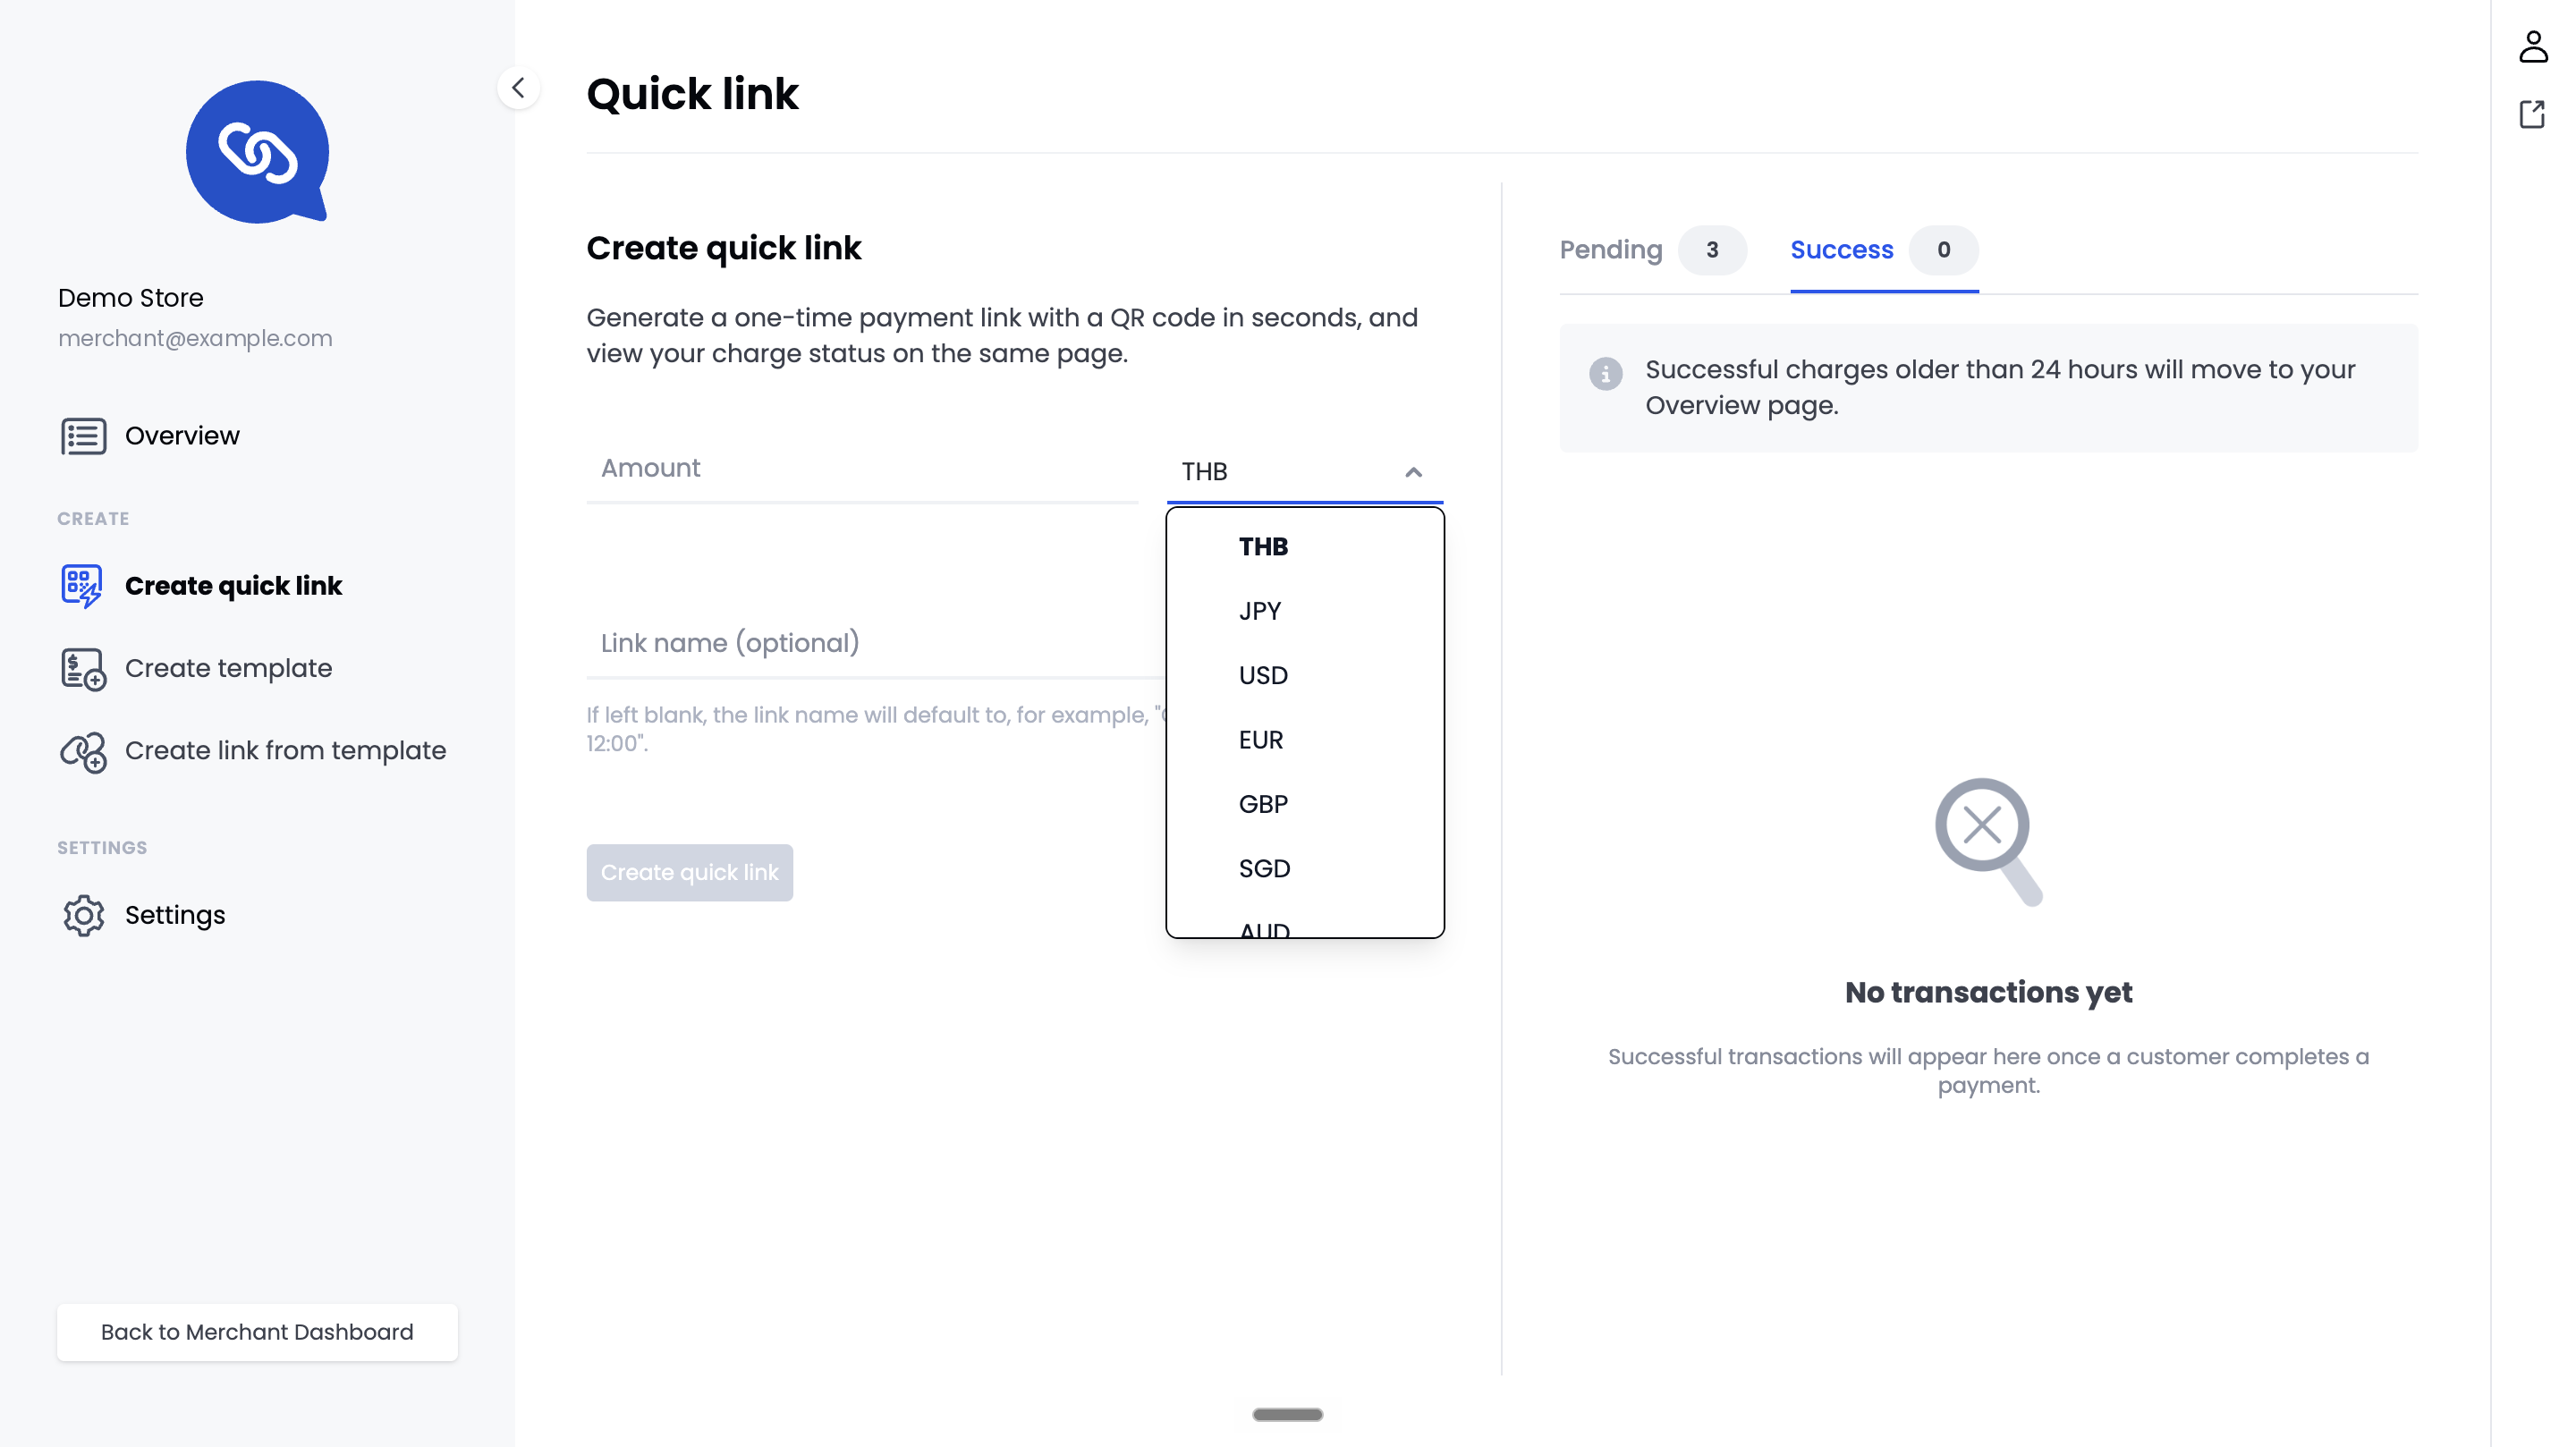
- Select the currency from the dropdown next to the Amount field. The currency defaults to THB. The list includes THB, JPY, USD, EUR, GBP, SGD, and AUD, among others.
(Optional) Enter a Link name.
Tip: If you leave Link name blank, the link name defaults to the creation date and time, for example, Quick Link 1 Jan 2026 12:00.
Select Create quick link (inactive until you enter an Amount).
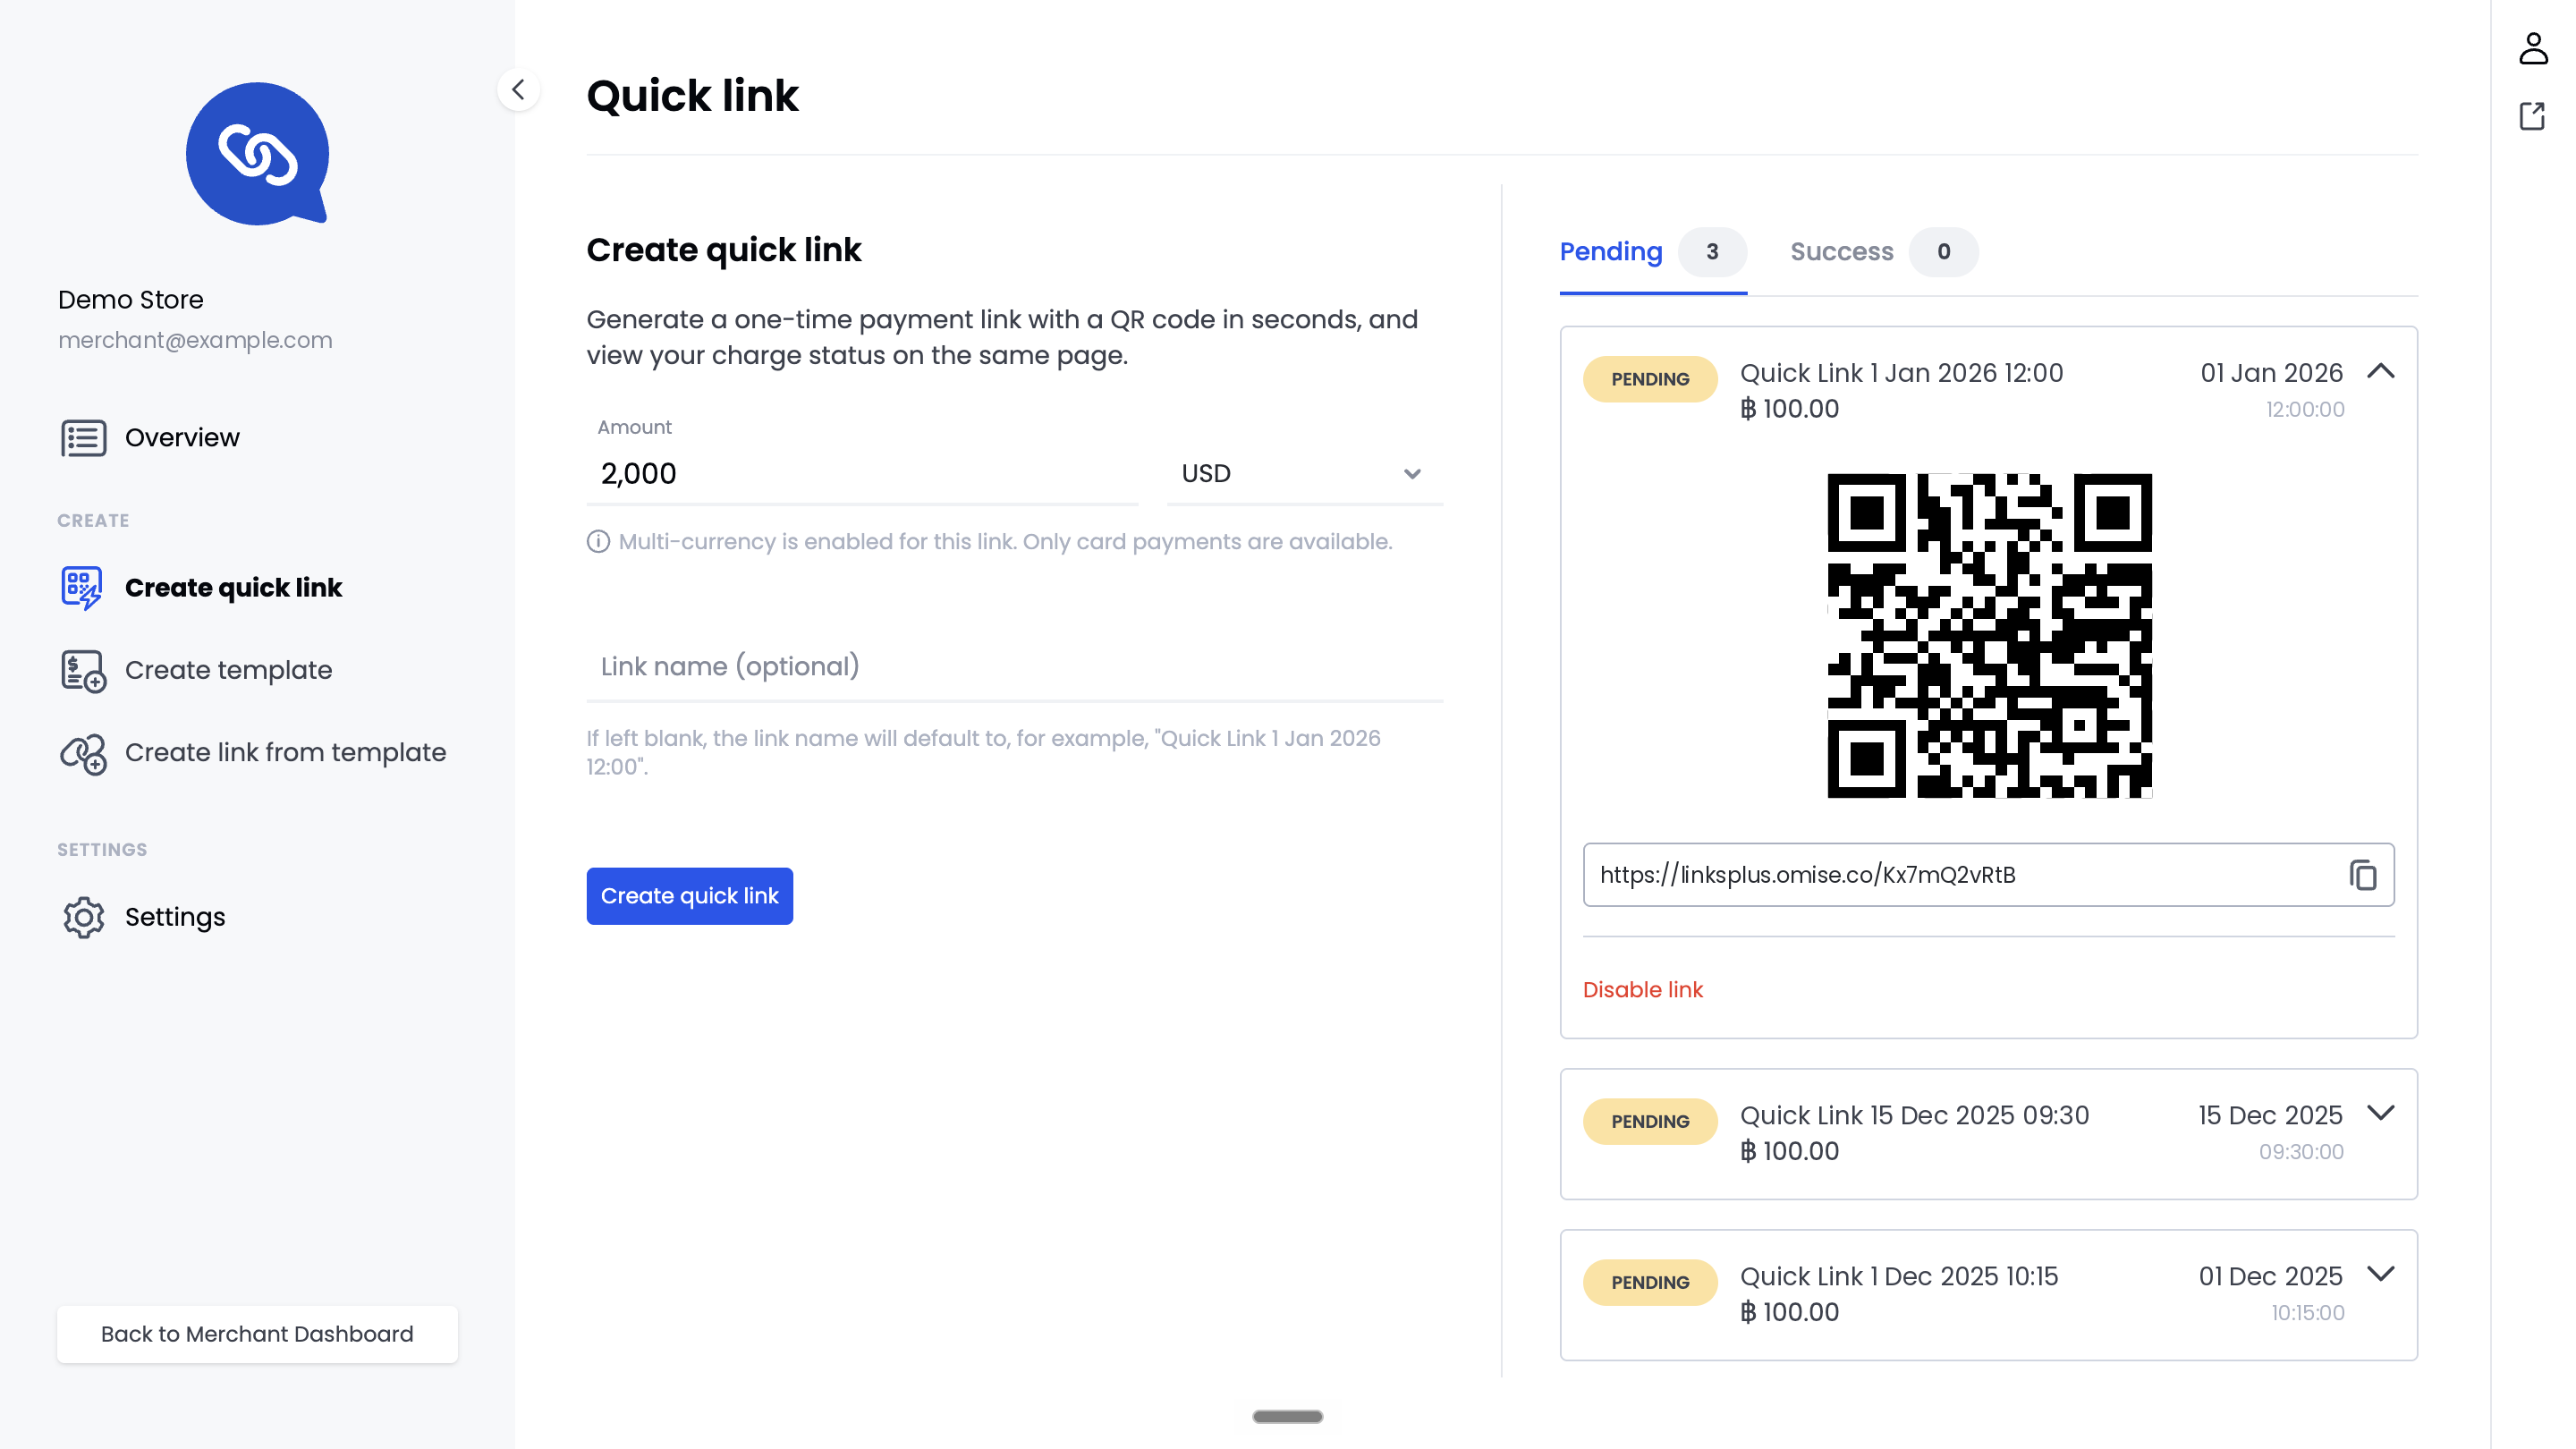
The dashboard generates your quick link and QR code immediately, ready to share with your customer. The new link appears at the top of the Pending tab.
Track and manage your quick links
The right side of the Quick link page lists your quick links on two tabs:
| Tab | Description |
|---|---|
| Pending | Links that customers have not yet paid. Each entry shows the status, link name, amount, and the date and time you created the link. |
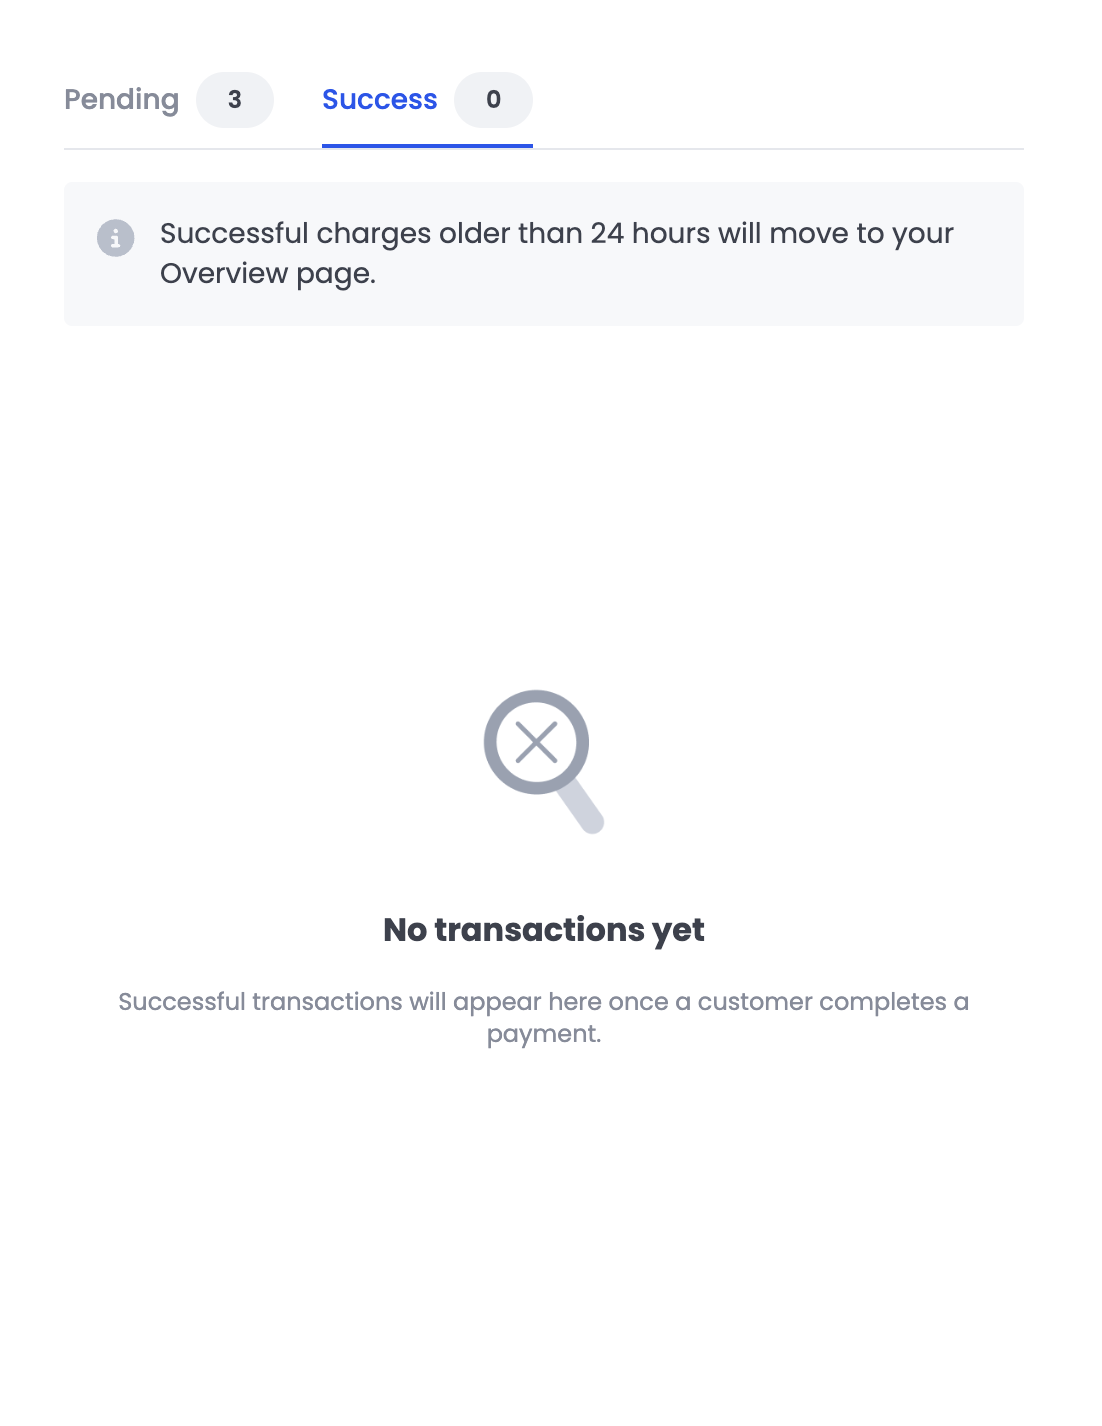
| Success | Links that customers have paid. Successful charges older than 24 hours move to your Overview page. Until a customer completes a payment, the tab displays No transactions yet. |
The number next to each tab name shows how many links the tab contains.
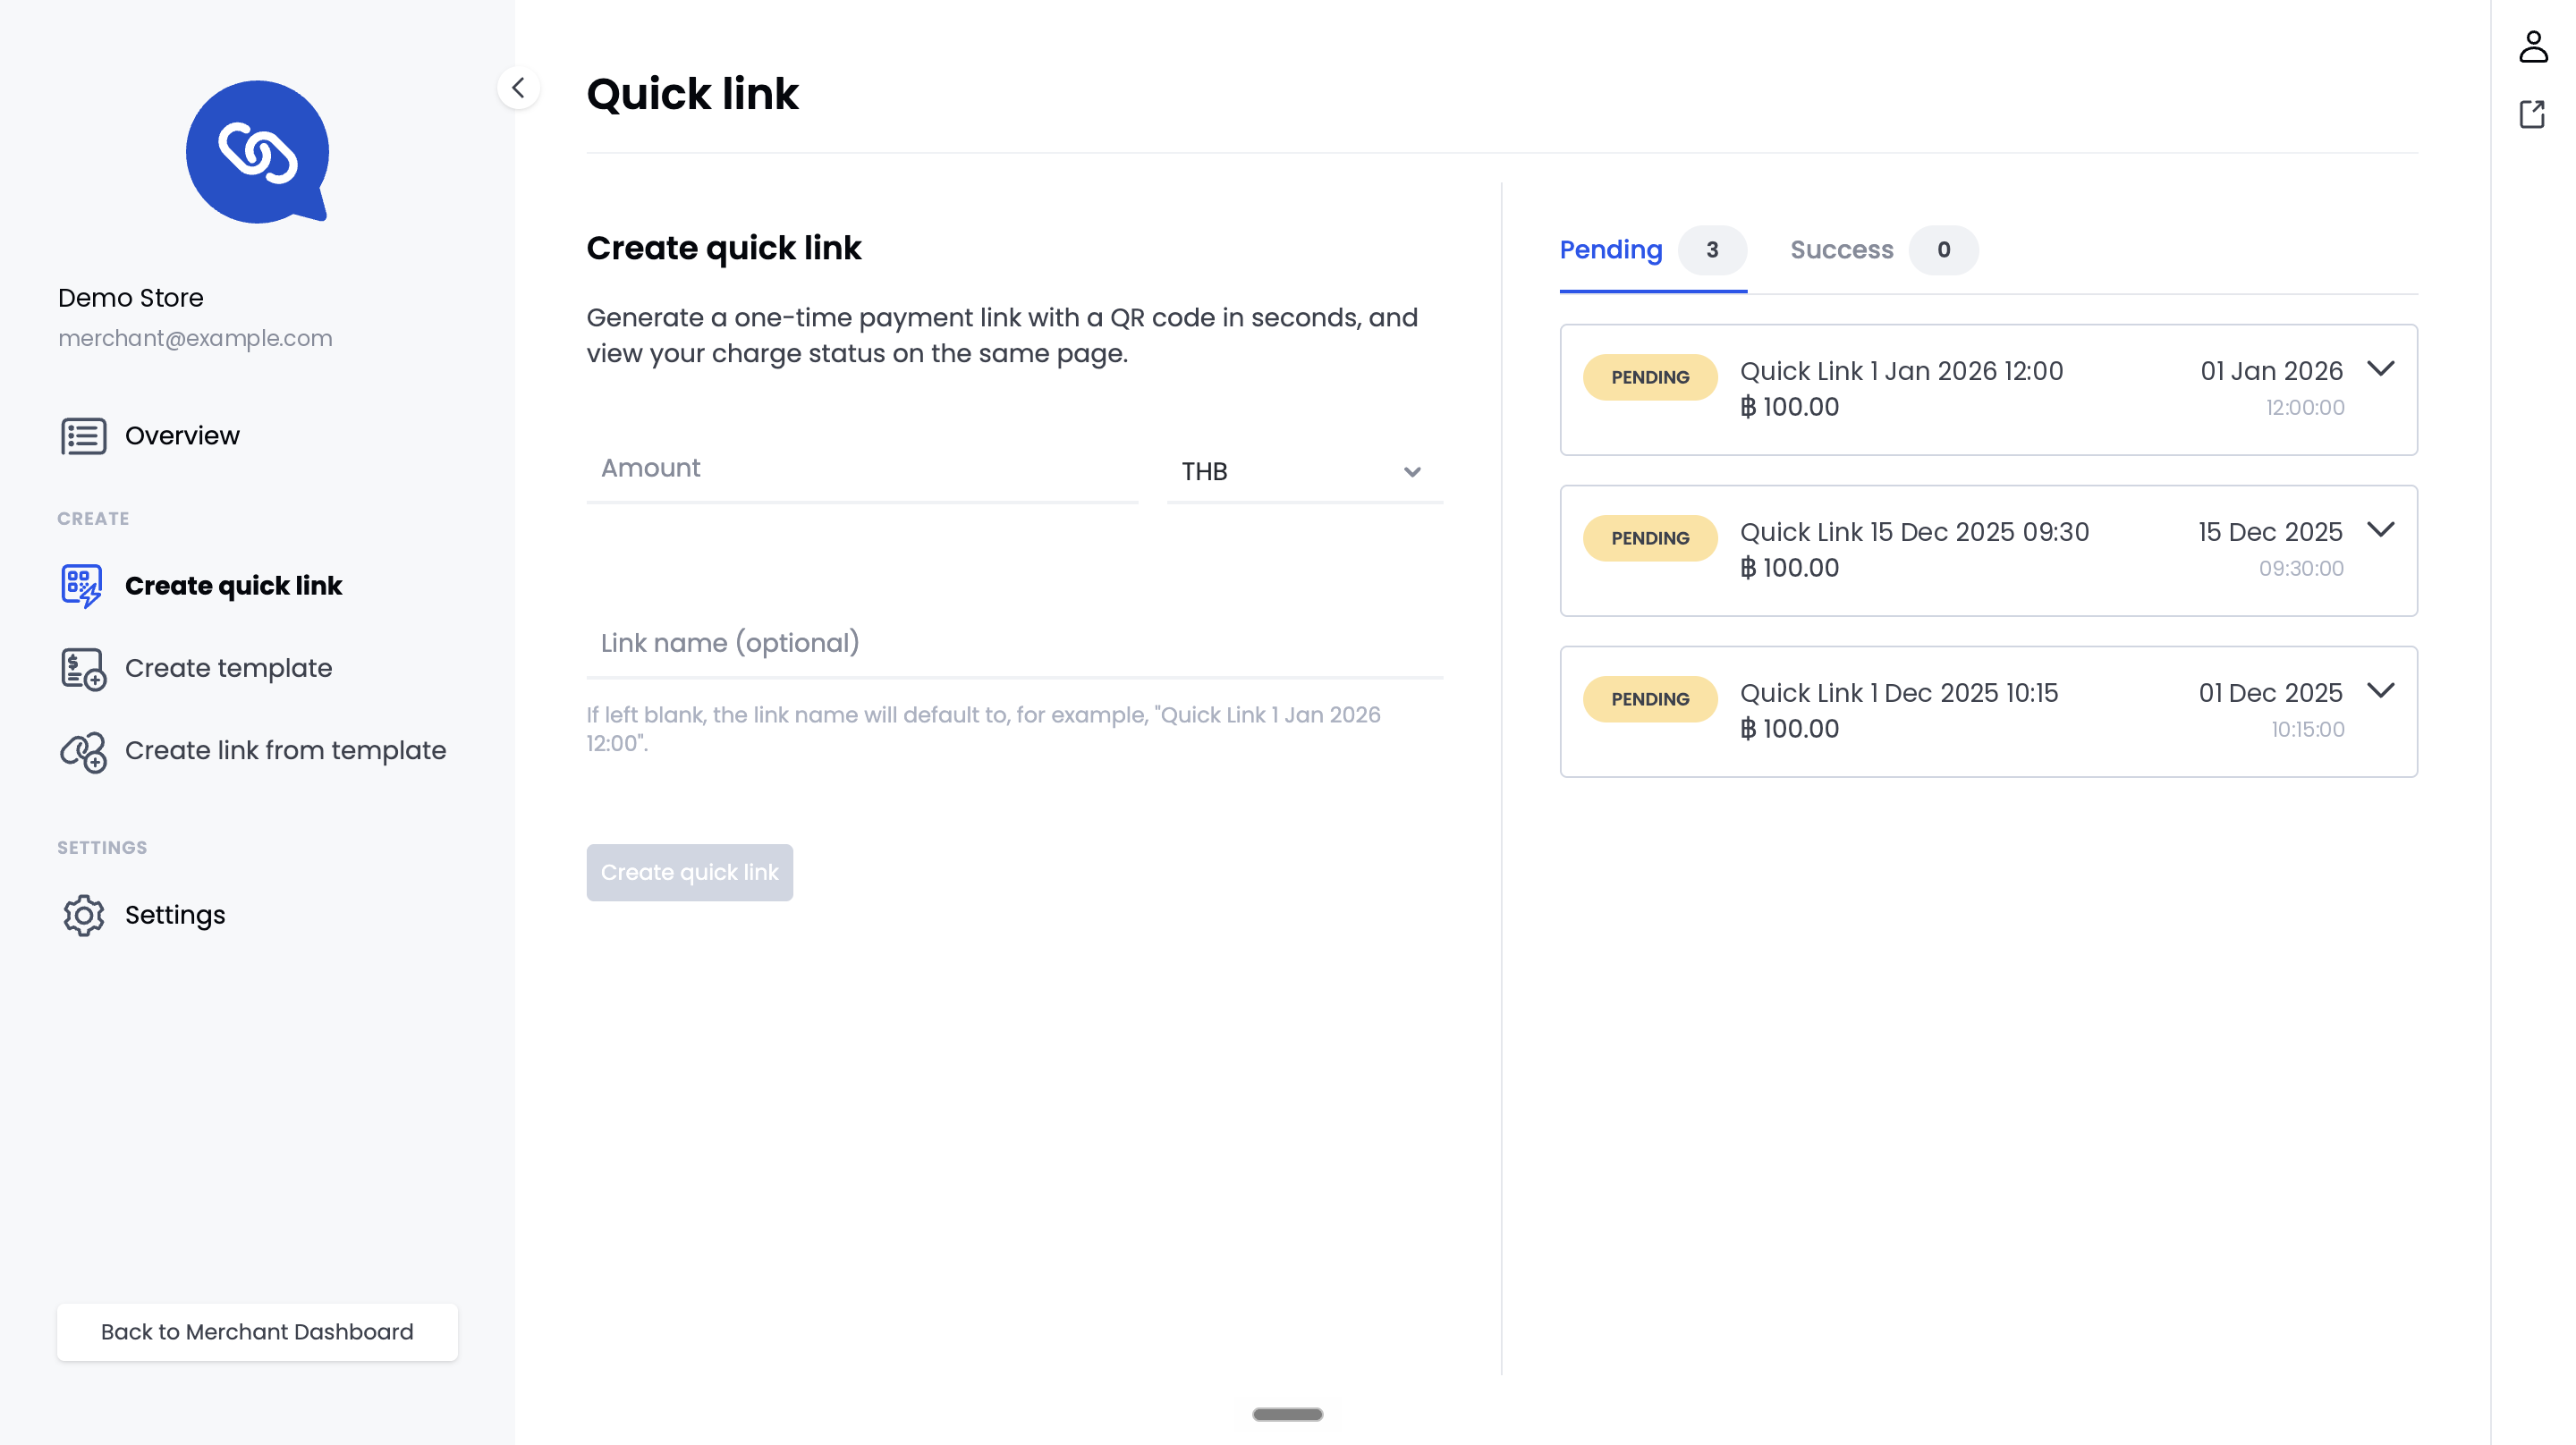
To share a pending quick link:
- Select the Pending tab.
- Click the arrow to the right of the link you want to share. The entry expands to show the QR code and the link URL.
- Show the QR code to your customer, or click the copy icon next to the URL to copy the link.
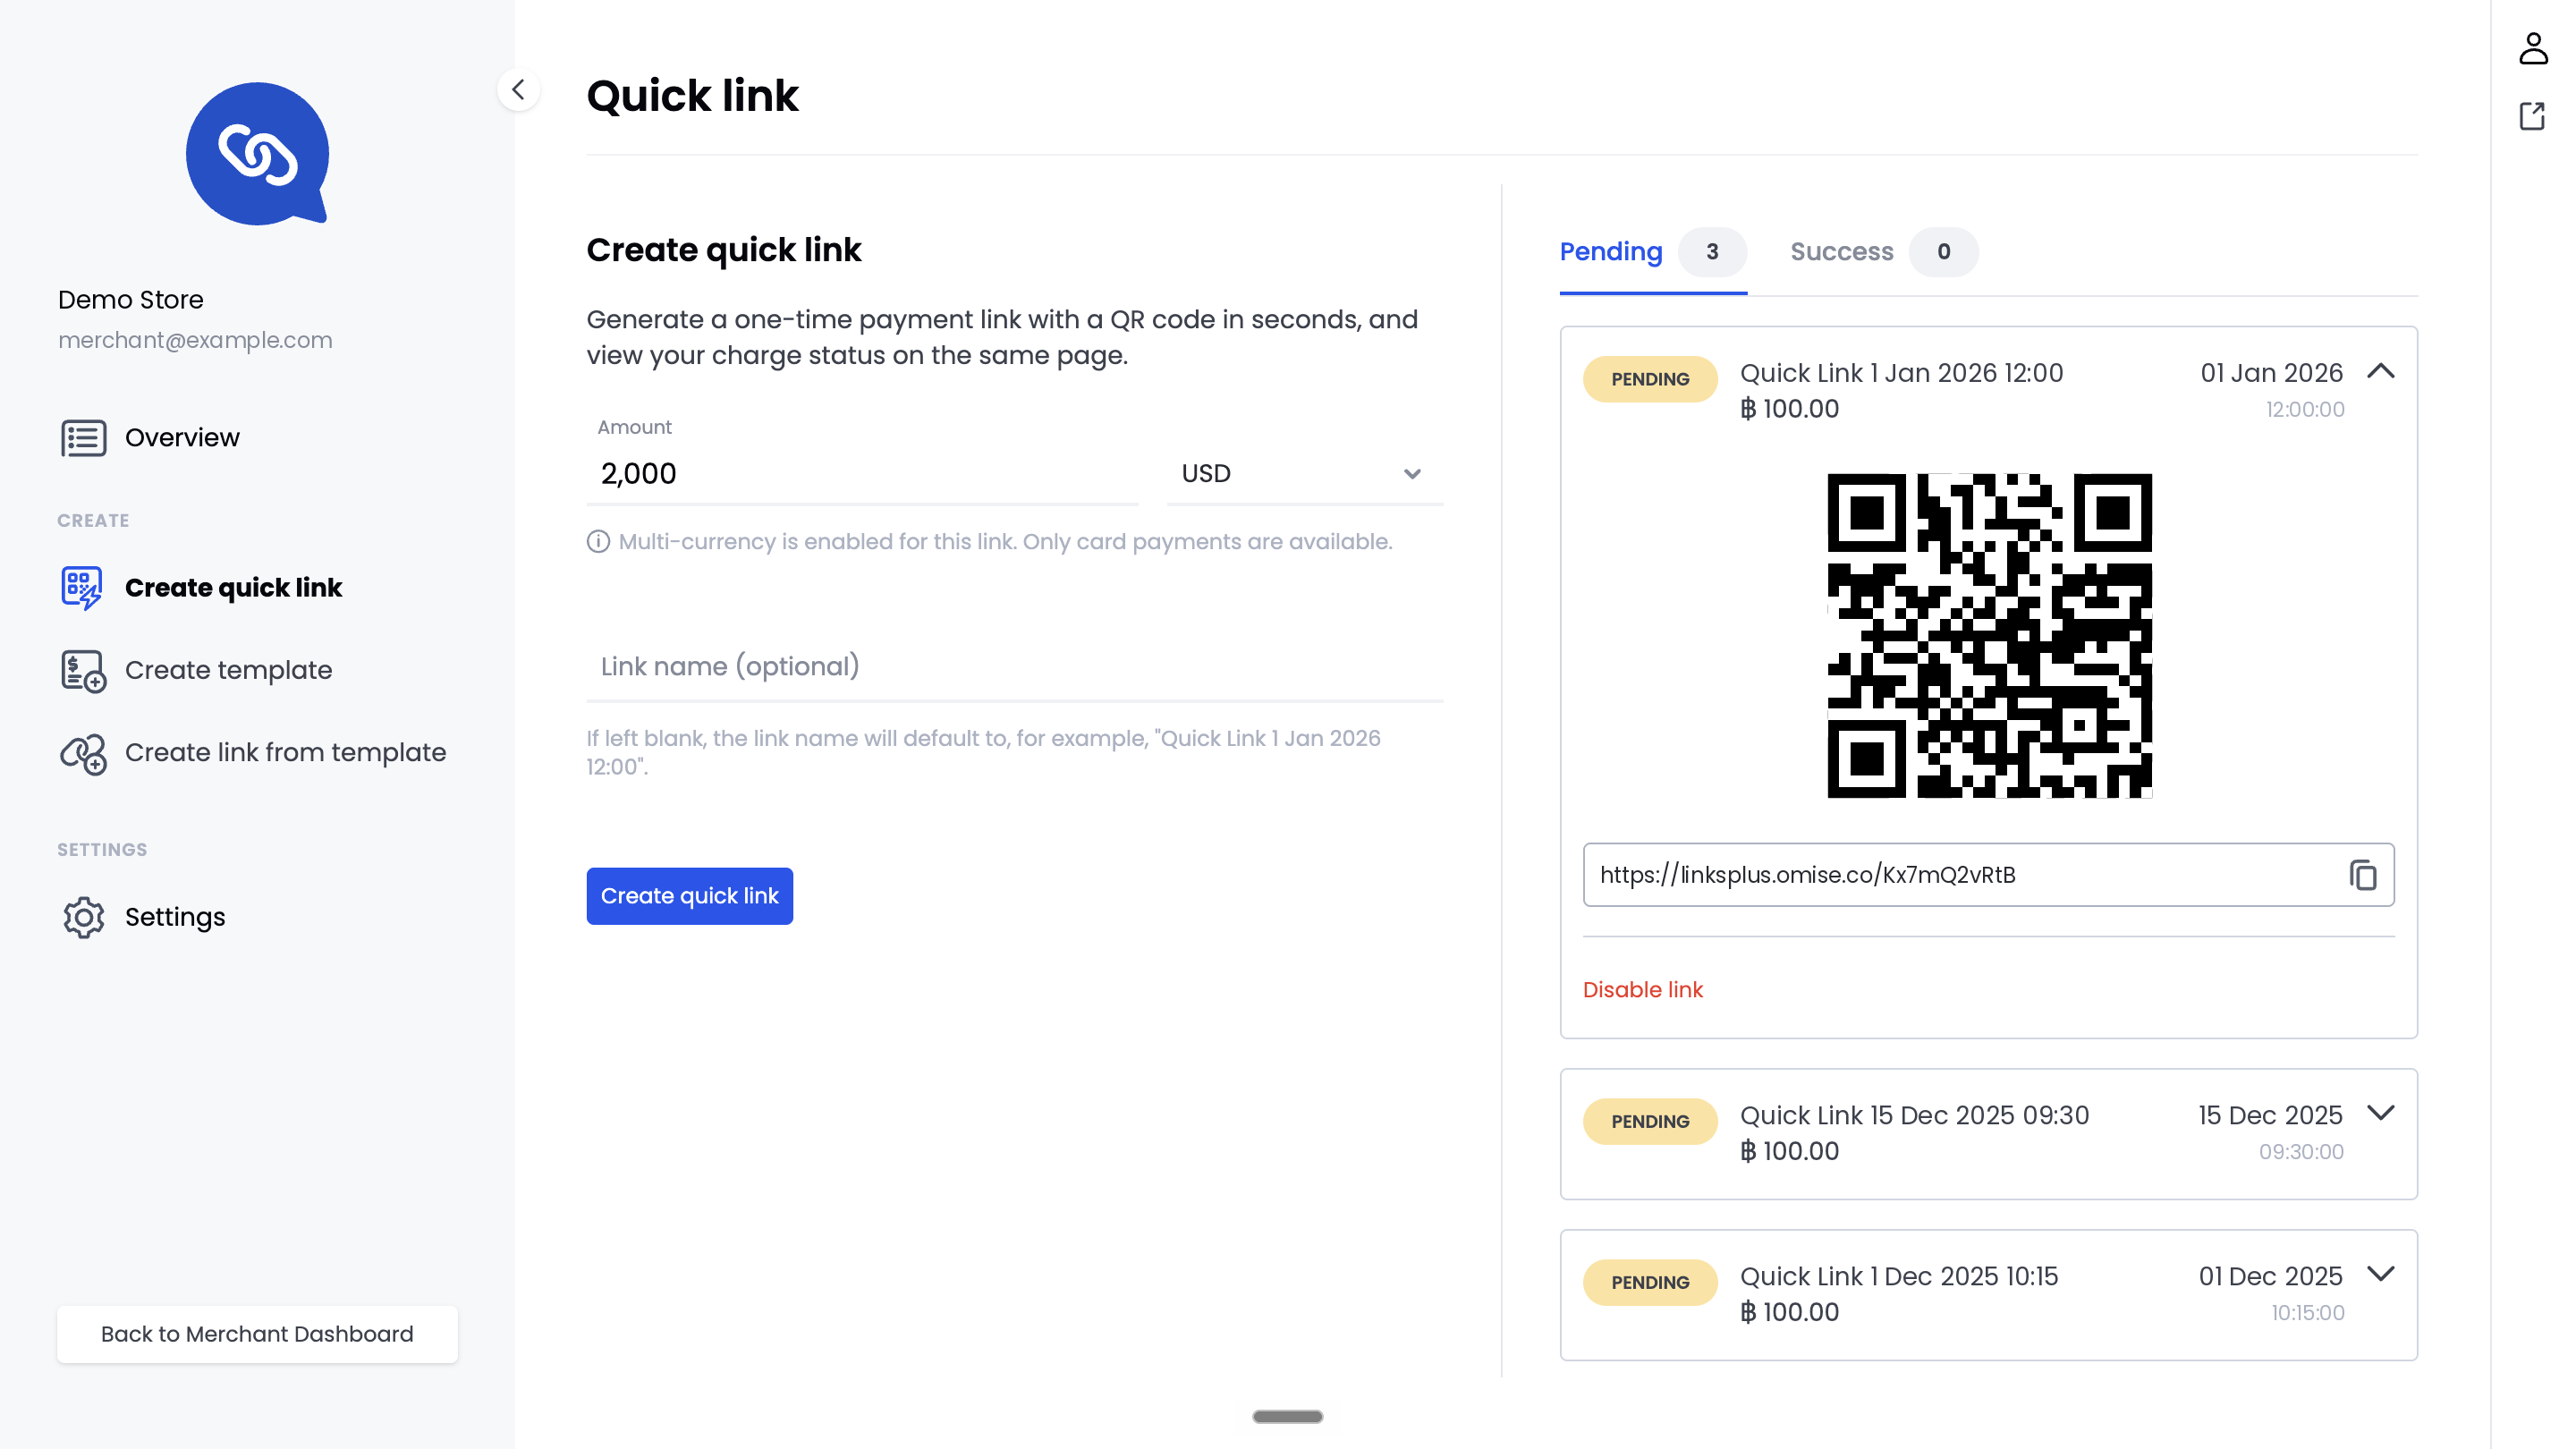
To stop customers from using a pending quick link, expand the link and select Disable link.
Create a Payment Link
- Click Create link from template in the sidebar.
- Select the template you want to use.
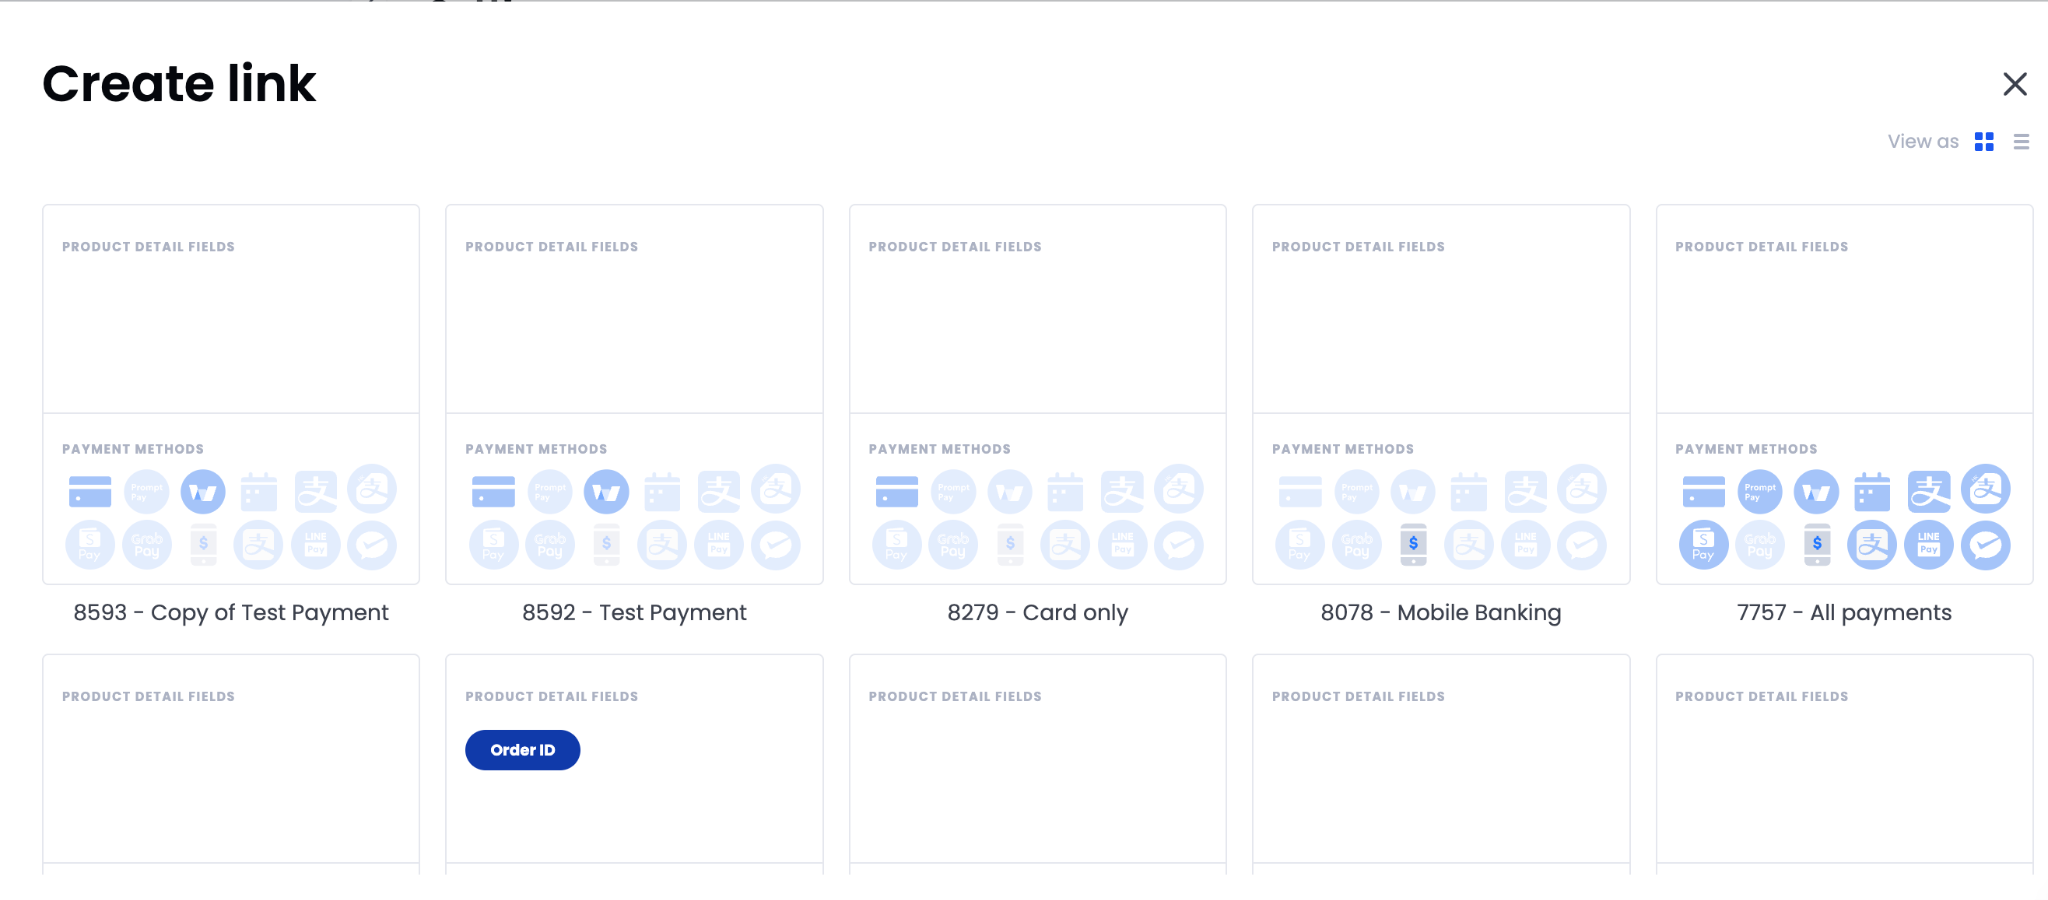
- Choose Create link.
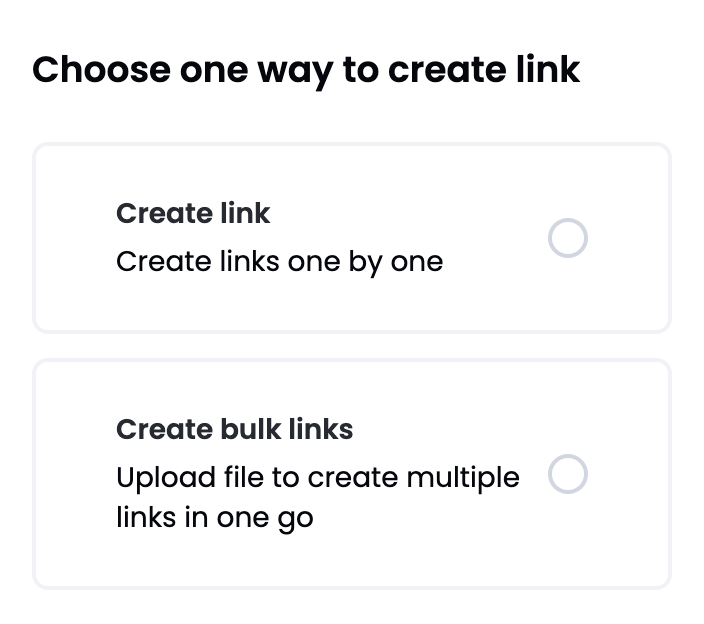
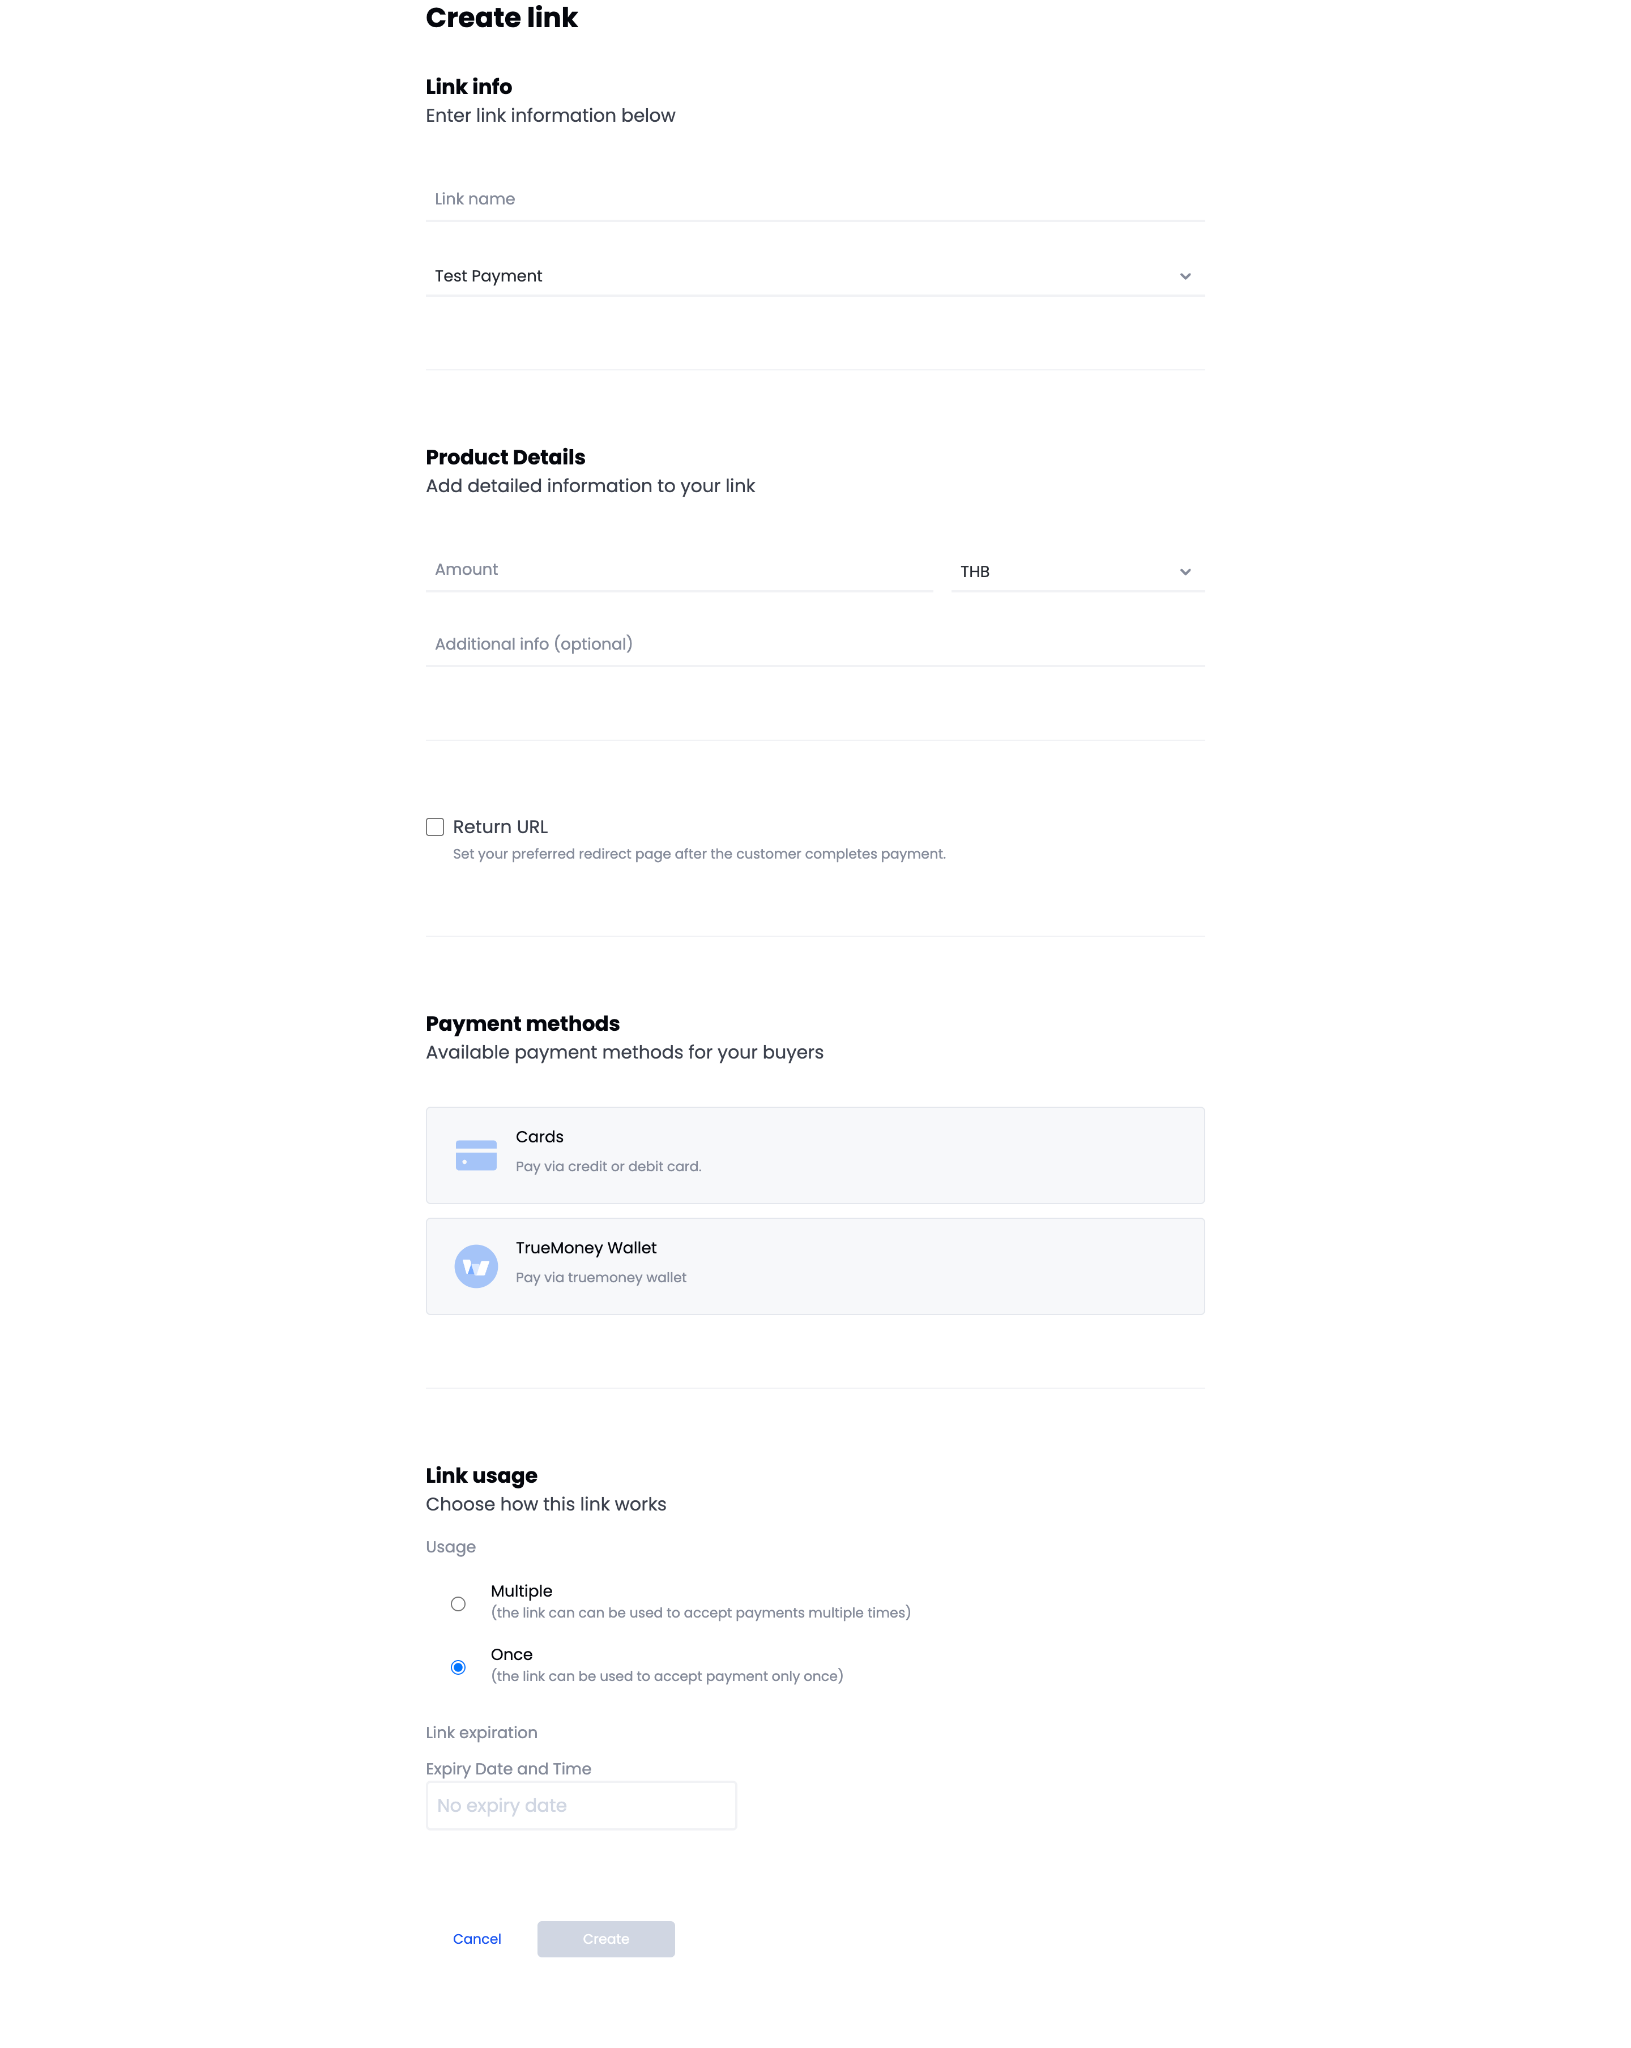
- Enter the link information:
- Link name
- Template
- Product details (amount, currency, additional information, and any custom fields from the template)
- Payment method (the template settings determine the available methods)
- Link usage: one-time use or multiple uses
- Expiry date
- Click Create.
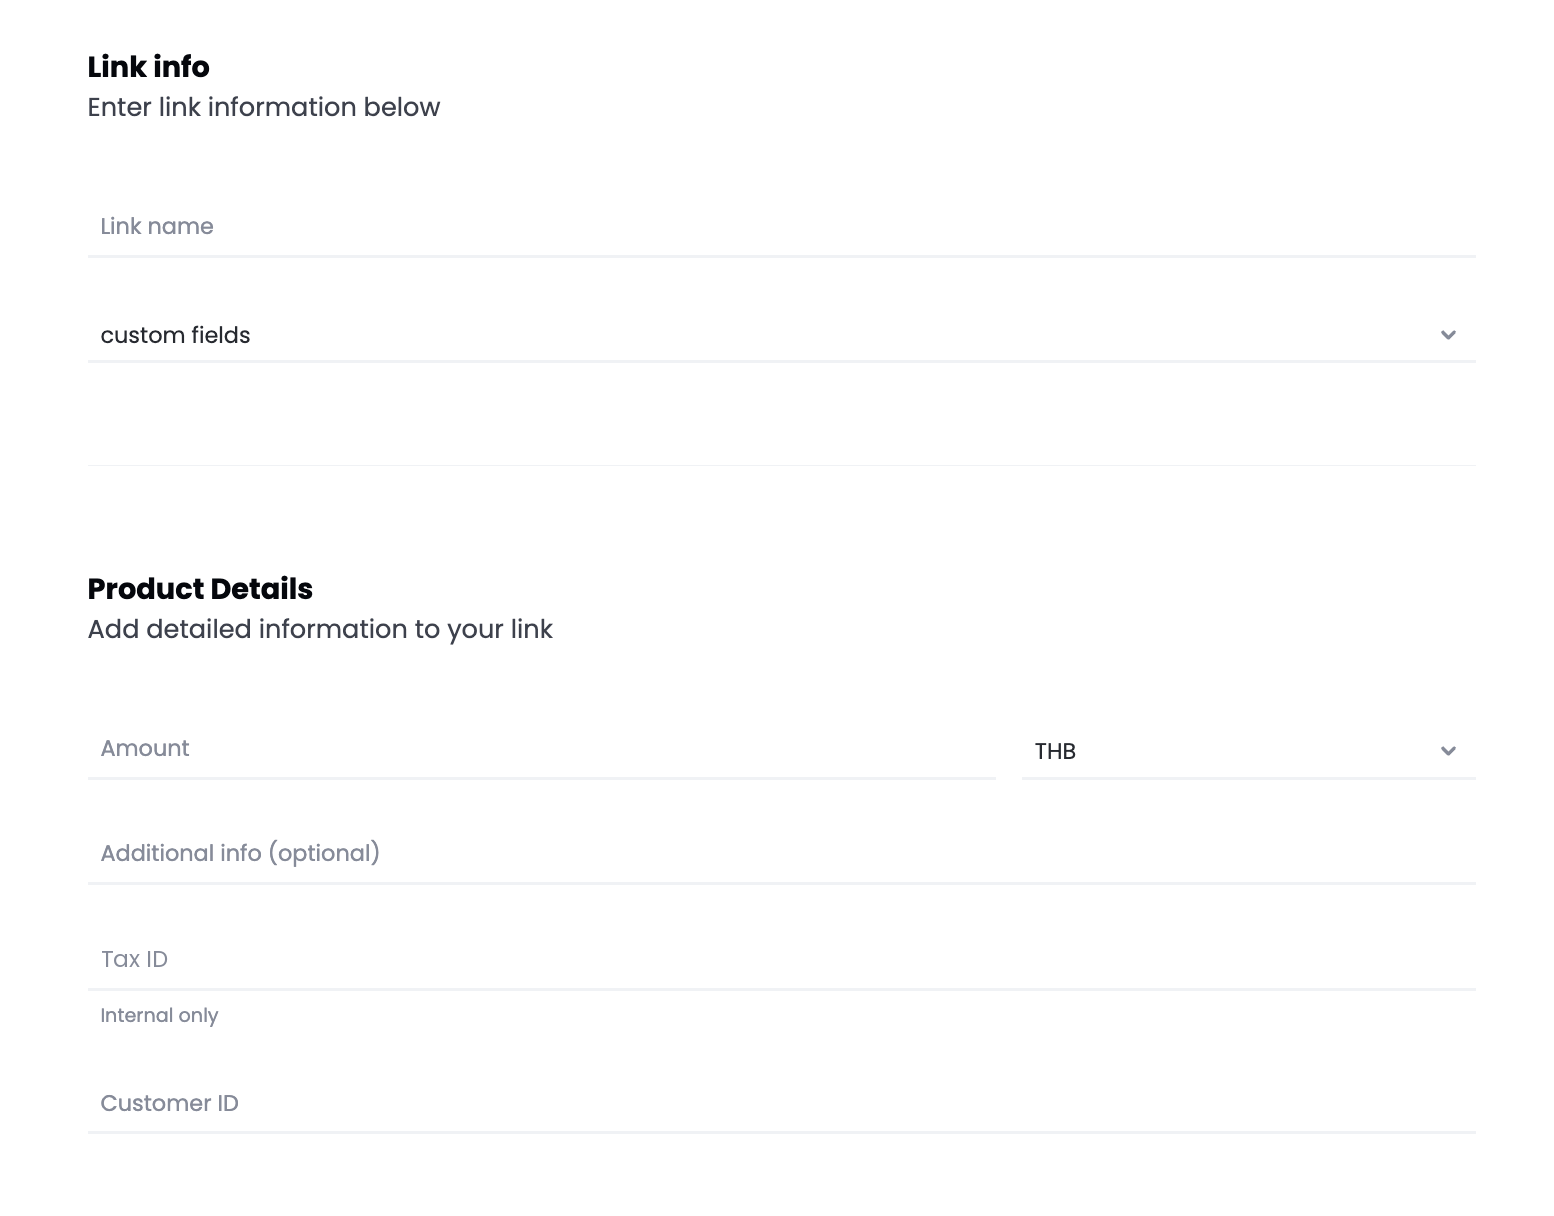
Custom fields that you added to the template appear under Product Details as extra input fields, after the Additional info field. The visibility setting that you chose in the template determines how each field behaves on the link form:
| Visibility | Behavior on the link form |
|---|---|
| Internal only | The field displays the label Internal only beneath it. The customer does not see its value on the payment link. |
| Show to customer | The field displays no label, and the customer sees its value on the payment link. |
For example, if the template contains a Tax ID field set to Internal only and a Customer ID field set to Show to customer, both fields appear under Product Details, and only the Tax ID field carries the Internal only label.
How to Create Bulk Payment Links
Use bulk link creation to generate multiple payment links at once by uploading a pre-filled spreadsheet.
Steps
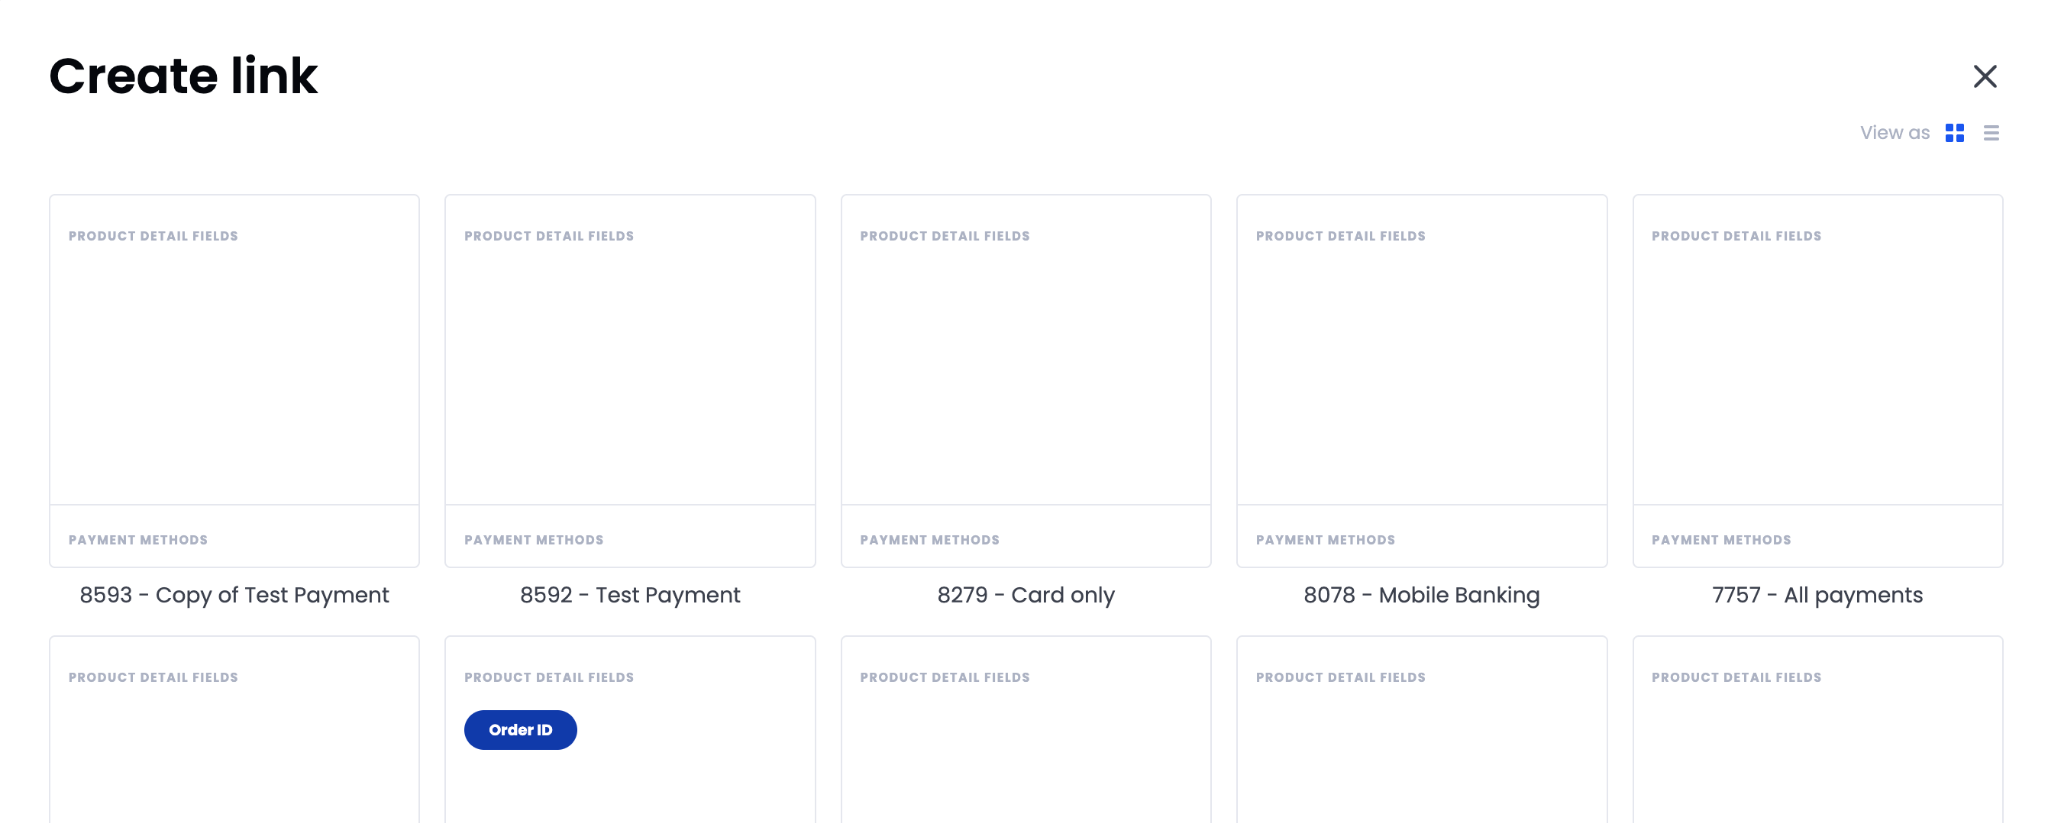
Select a template
On the Create link screen, select the template you want to use for your bulk links.
Select Create bulk links
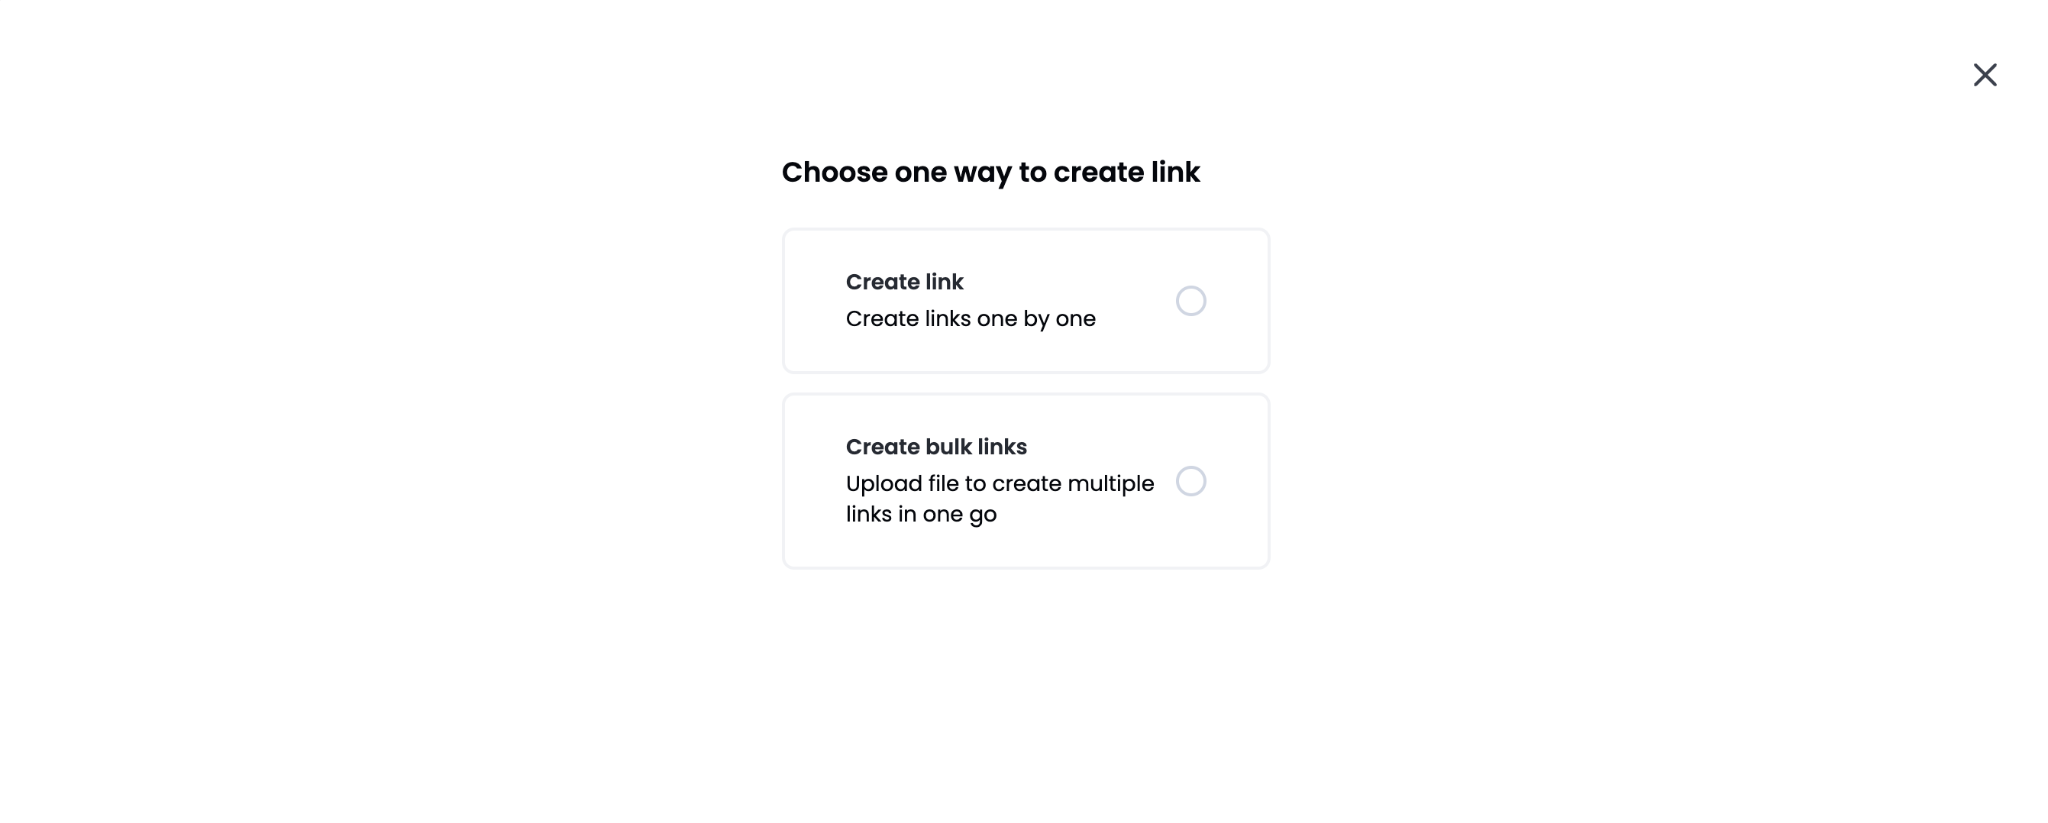
On the Choose one way to create link screen, select Create bulk links, then click Next.
Set link usage and expiration
Under Link usage, choose how each link in the batch will work:
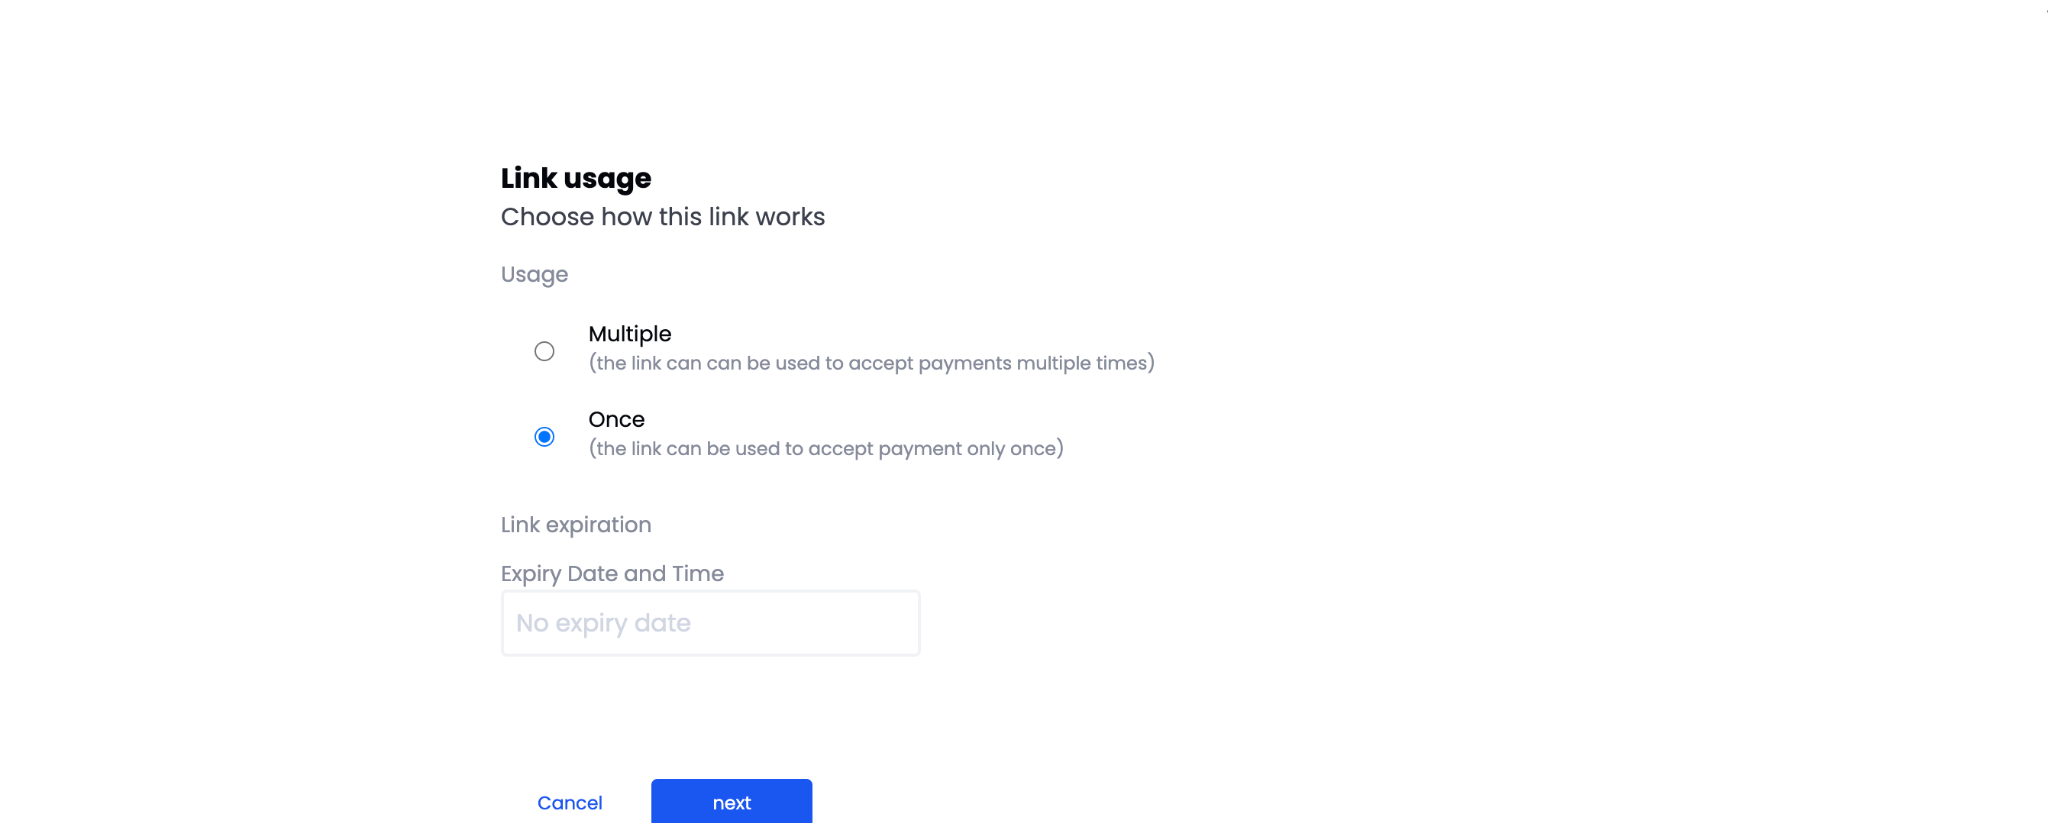
| Option | Description |
|---|---|
| Multiple | You can use the link to accept payments multiple times |
| Once | You can use the link to accept payment only once |
Under Link expiration, enter an Expiry Date and Time if needed, or leave the field blank for no expiry. Click Next.
Download the .xlsx file
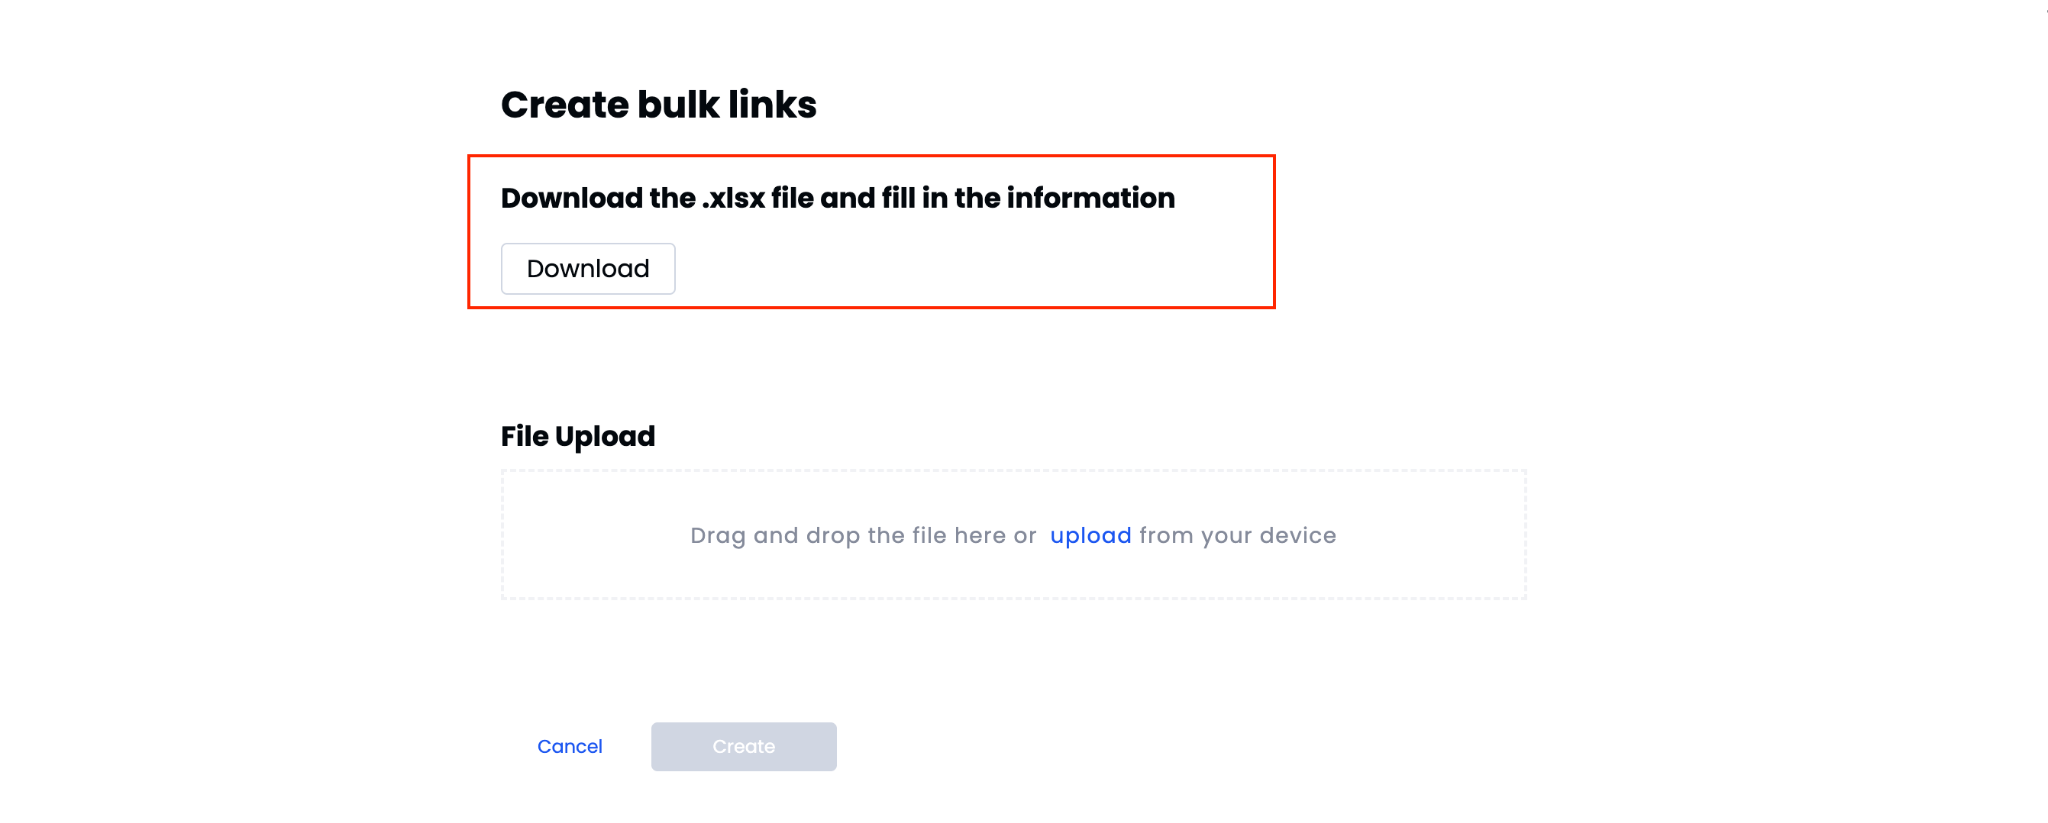
On the Create bulk links screen, click Download to get the spreadsheet template.
Fill in the spreadsheet
Open the downloaded .xlsx file and fill in the following columns for each link:
| Column | Required | Description |
|---|---|---|
| Link Name | Yes | A name to identify the payment link |
| Additional Info | No | Optional description or notes |
| Amount | Yes | Payment amount in your account currency |
Save the file when done.
Upload the completed file
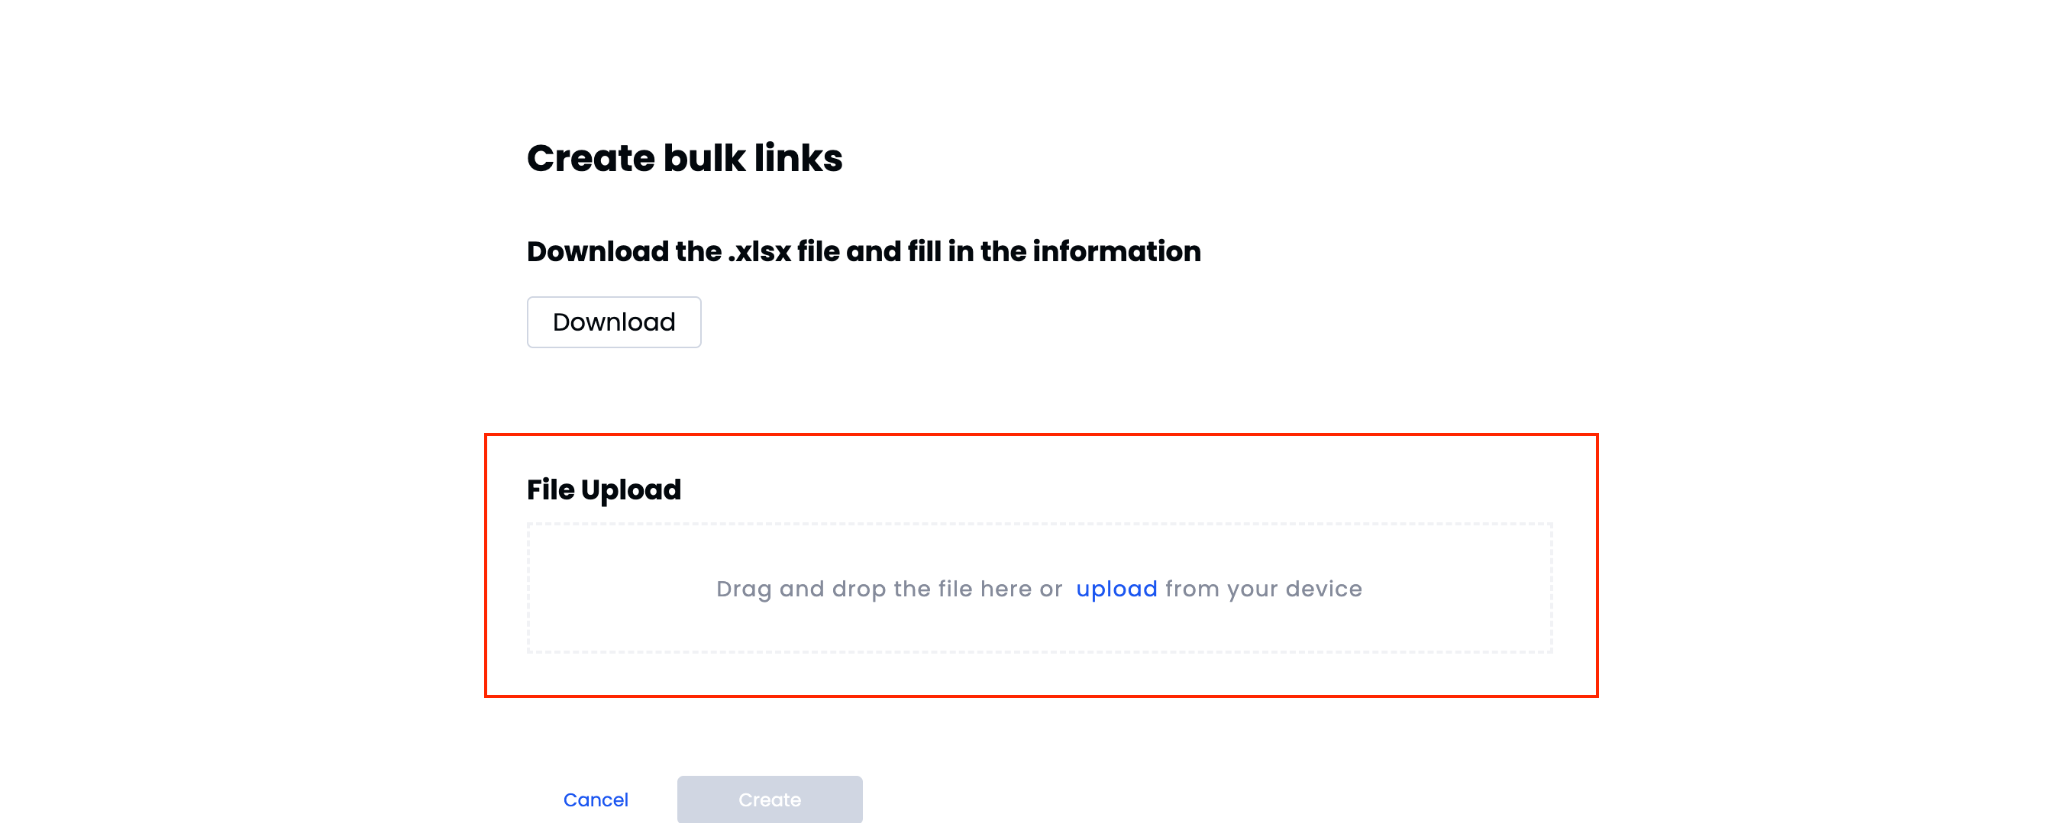
Back on the Create bulk links screen, drag and drop your saved file into the File Upload area, or click upload to browse and select it from your device.
Create the bulk links
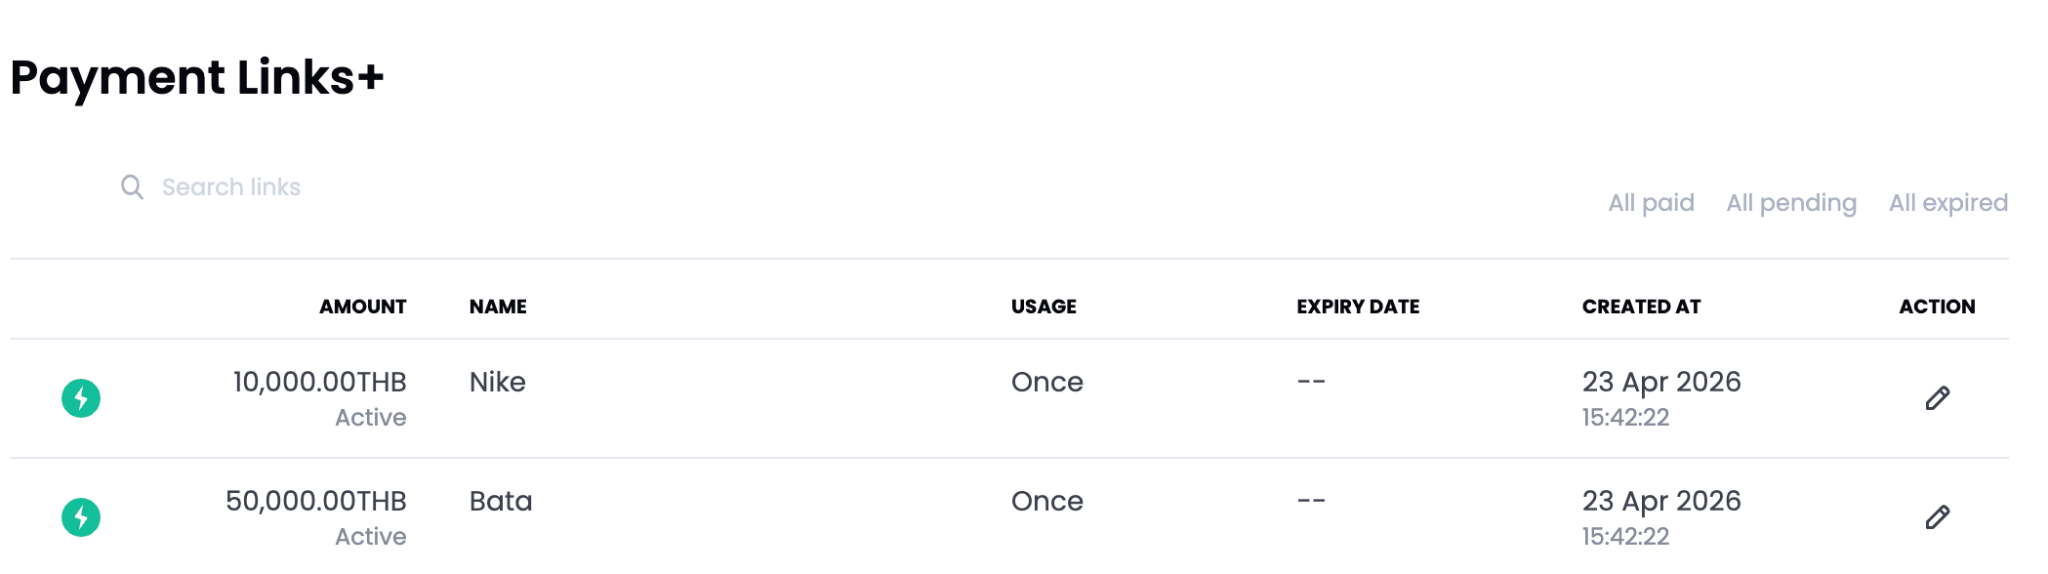
Click Create. The system generates your bulk links, and they appear on the Payment Links+ page, each showing the amount, name, usage type, expiry date, and creation timestamp.
Edit or Share a Payment Link
- Click Overview in the sidebar.
- To edit a link, click the Edit icon next to it.

- To share a link, hover over the Edit icon to reveal sharing options. You can:
- Copy the link
- Share via email
- Download the QR code

